Maintenance
Preva
90
Maintenance
Preva Tubehead Removal Instructions
Overview
Tubeheads are shipped with the yoke cable assembly already premounted to the
tubehead. This guide provides instructions for the installation technician on how to
remove the original head, install the replacement tubehead and, how to calibrate the
replacement tubehead.
DO NOT REMOVE THE TUBEHEAD UNTIL THE ARTICULATING AR
ASSEMBLY HAS BEEN SECURED WITH THE PROVIDED CABLE TI
AND FOAM INSERT. THE SPRING TENSION IS ADJUSTED TO
ACCOUNT FOR THE WEIGHT OF THE TUBEHEAD. THE
ARTICULATING ARM WILL SPRING OPEN IF IT IS NOT SECURED
AND CAN CAUSE SERIOUS INJURY.
Models
Affected
All Preva Dental X-rays
Required
tools
Spanner wrench (30-T0055)
Needle nose pliers
Metric Allen wrenches
#2 Phillips head screw driver
#1 Small Phillips head screw driver
Fluorescent screen (22-11467)
Instructions
Figure 68
1. The replacement head will have the yoke cable assembly attached.
NOTE: Do not remove the yoke cable from the tubehead.
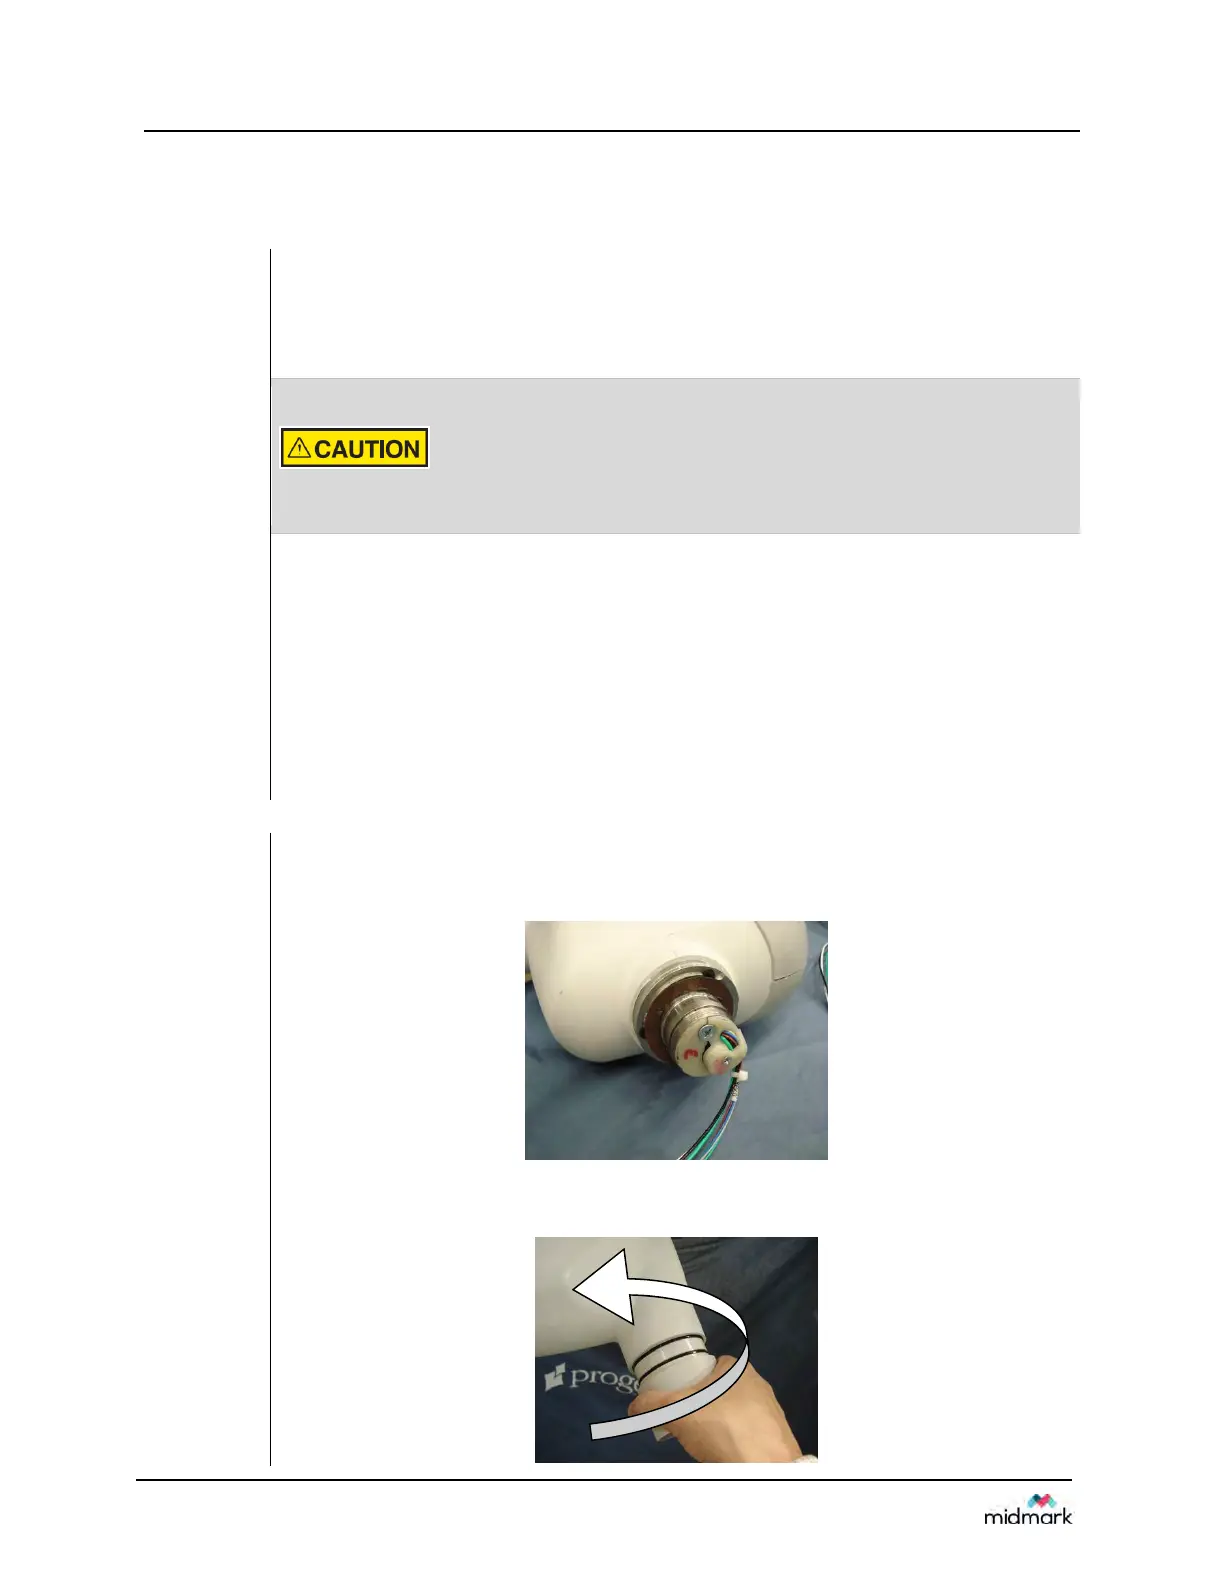
Figure 69
2. Remove the cone from the head being replaced. The cone sits in the
tubehead. Grab the cone firmly, pull and twist out in the same motion.