13
Chapter 1: Introduction & OverviewGR8
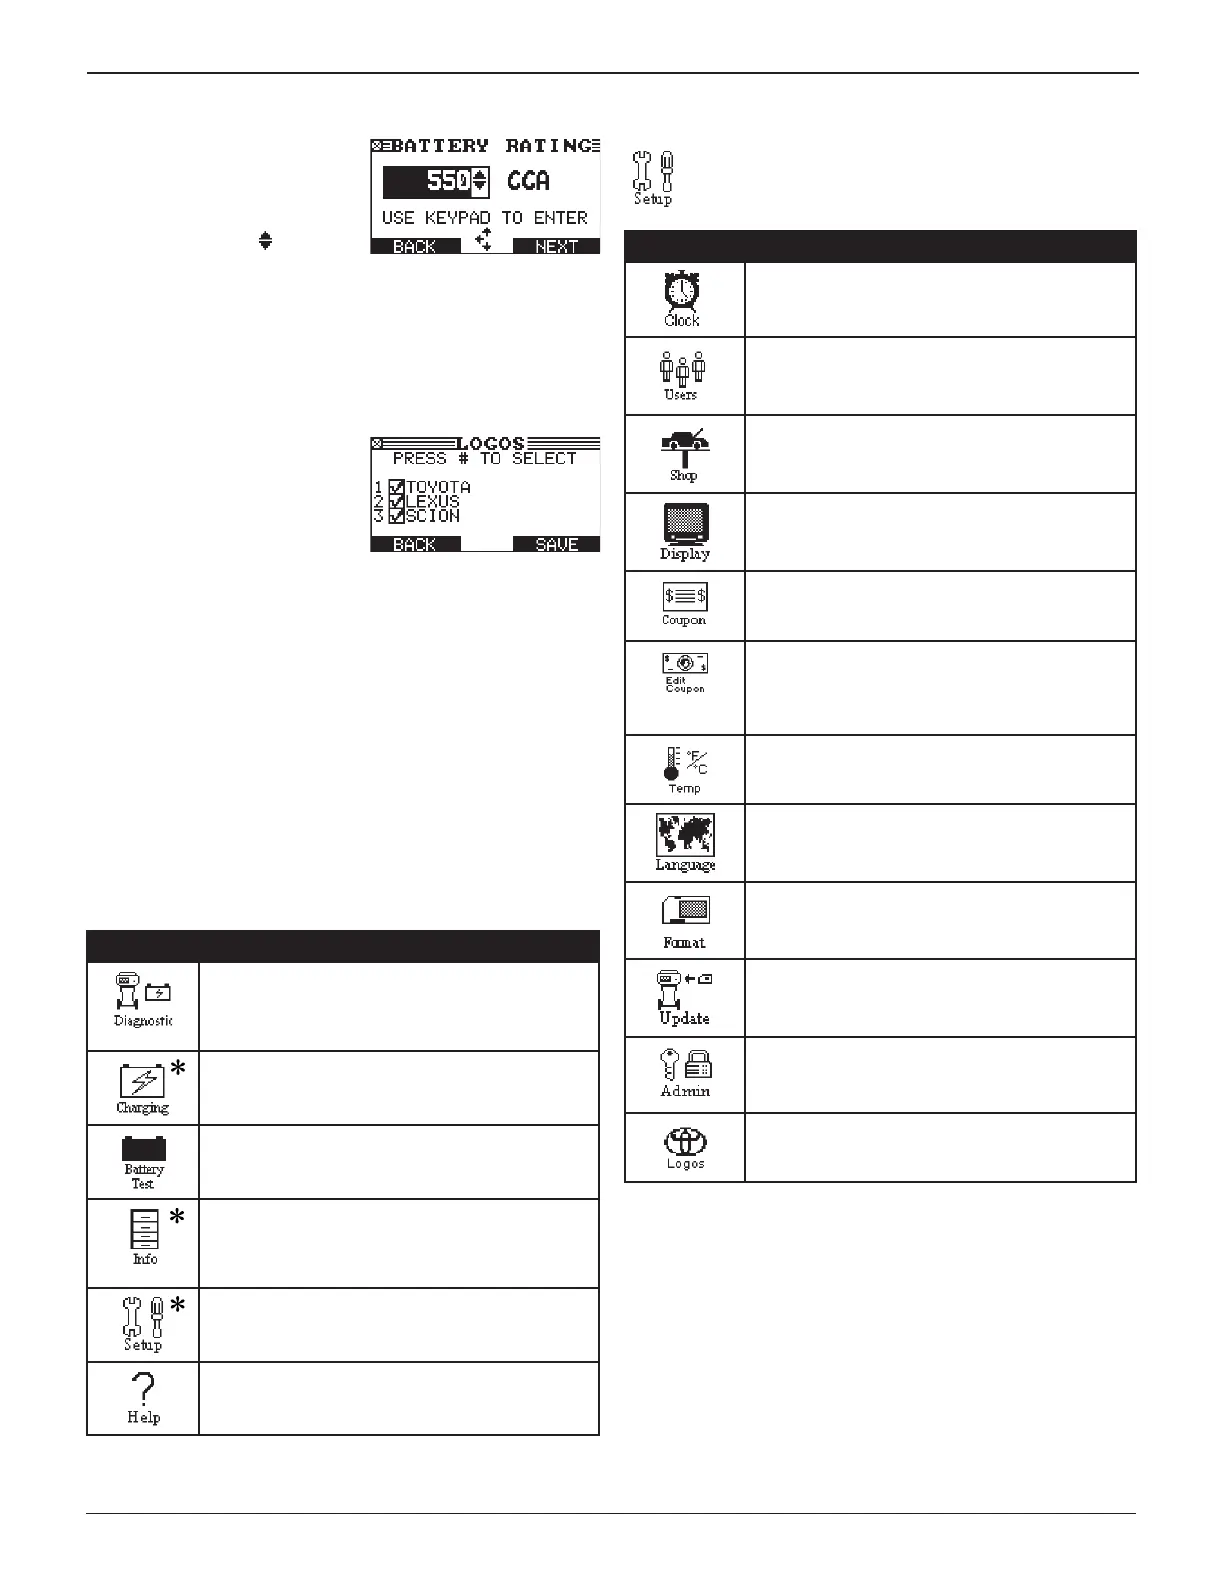
Value Boxes
Value boxes contain items that
extend above and below the
selection box that contain them.
To indicate that there are more
values, the symbols appear to
the right of the box. To select,
use or to scroll to the value, or use the keypad to enter
the value directly, and press the appropriate soft key. In the
illustration the left directional arrow indicates that you can
press t to clear all or part of the entry.
Check Boxes
To indicate that you can choose
more than one option, the Logos
Utility has check boxes. Select
(check) and deselect (uncheck)
logos by pressing the numerical
key that corresponds to the logo
number (1, 2, 3). In the illustration all three logos are selected.
Menu Structure
This section contains a graphical representation of the menu
structure with brief descriptions of the utilities in each menu.
Main Menu
The Main Menu is the starting point for all tools and utilities,
which are depicted as icons. Some icons lead directly to the
function they represent, while others are menu icons that lead
to two or more options. Menu icons marked with an asterisk (
*
)
are mapped on the following pages.
Icon Description
Automatically tests, charges, and makes a
decision on a battery using the information
you select in a series of screens. Generates a
warranty code.
Tests and charges a battery using the battery
information you select in a series of screens.
Tests a battery using the battery information
you select in a series of screens.
Includes a utility to view and print test results, a
total test counter, a data transfer utility, and the
software version and date, and charger serial
number for the control module.
Twelve setup utilities, many of which customize
your user interface. Includes administrative
functions.
Provides a list of topics and denitions. Also
includes Midtronics Customer Service phone
numbers.
Setup Menu
Use the Setup Menu to customize the charger’s user
options. (Admin PIN required to access the Setup
Menu.)
Icon Description
Settings to adjust the time.
Add, edit, or delete User IDs.
Allows you to add a custom header to printed
test results.
Settings to adjust the screen contrast and
backlight time.
If you’ve created a coupon in the Edit Coupon
utility, use Coupon to turn it on and off.
Allows you to create and store up to three
separate coupons to be printed on test
results coupon at the bottom of printed test
results.
Enables you to select degrees C or F for
temperature measurements.
Sets the language of the display and printouts.
Formats the data card to receive data. Also
erases all data on the card.
Updates the charger software using les on an
data card.
Allows you to enable or disable PIN settings
and User IDs, clear test totals, and restore
defaults.
Select one or more logos to appear on printed
results.