14
Chapter 1: Introduction & Overview GR8
Charging Menu
The Charging Menu provides three charging options:
Diagnostic Charging, Jump Start, and Manual Charging.
Icon Description
Power Supply Mode: Tests and maintains
battery voltage at 13.5 volts to allow
for uninterrupted reashing of vehicle’s
computers or to retain vehicle system
settings.
Makes high output current available to boost
charge an in-vehicle battery and assist in
starting the engine.
Provides a timed charge that ranges from 5
to 120 minutes or a continuous charge that
ends when you press the STOP key.
Info Menu
Use the Info Menu to manage test data, view and
print test results, track the usage and history of the
charger.
Icon Description
Displays the last battery test results. Sends
the results to the IR printer.
Reports menu that includes the following type
of test totals: LIFETIME, USER TOTALS,
LAST 100 LOG, and TOTALS BY DECISION.
A future optional accessory consists of an
IR software and hardware package that will
enable you to transfer test data to a PC.
Displays the software version and release
date, and the serial number of the control
module.
Initial Startup
The charger is initially set to require a default USER ID and
PIN to access the Main Menu. In addition, it requires a default
ADMIN PIN to access the Setup Menu. The instructions in this
section will help you quickly put your charger to work.
It takes approximately 5 to 10 seconds for the charger to power
up while testing the internal software integrity.
When using the ARROW keys to select option buttons, press
NEXT to continue to the next step. BACK returns you to the
Main Menu at the start of the test and to the previous screen as
you progress. When using the keypad, no additional keypress
is needed.
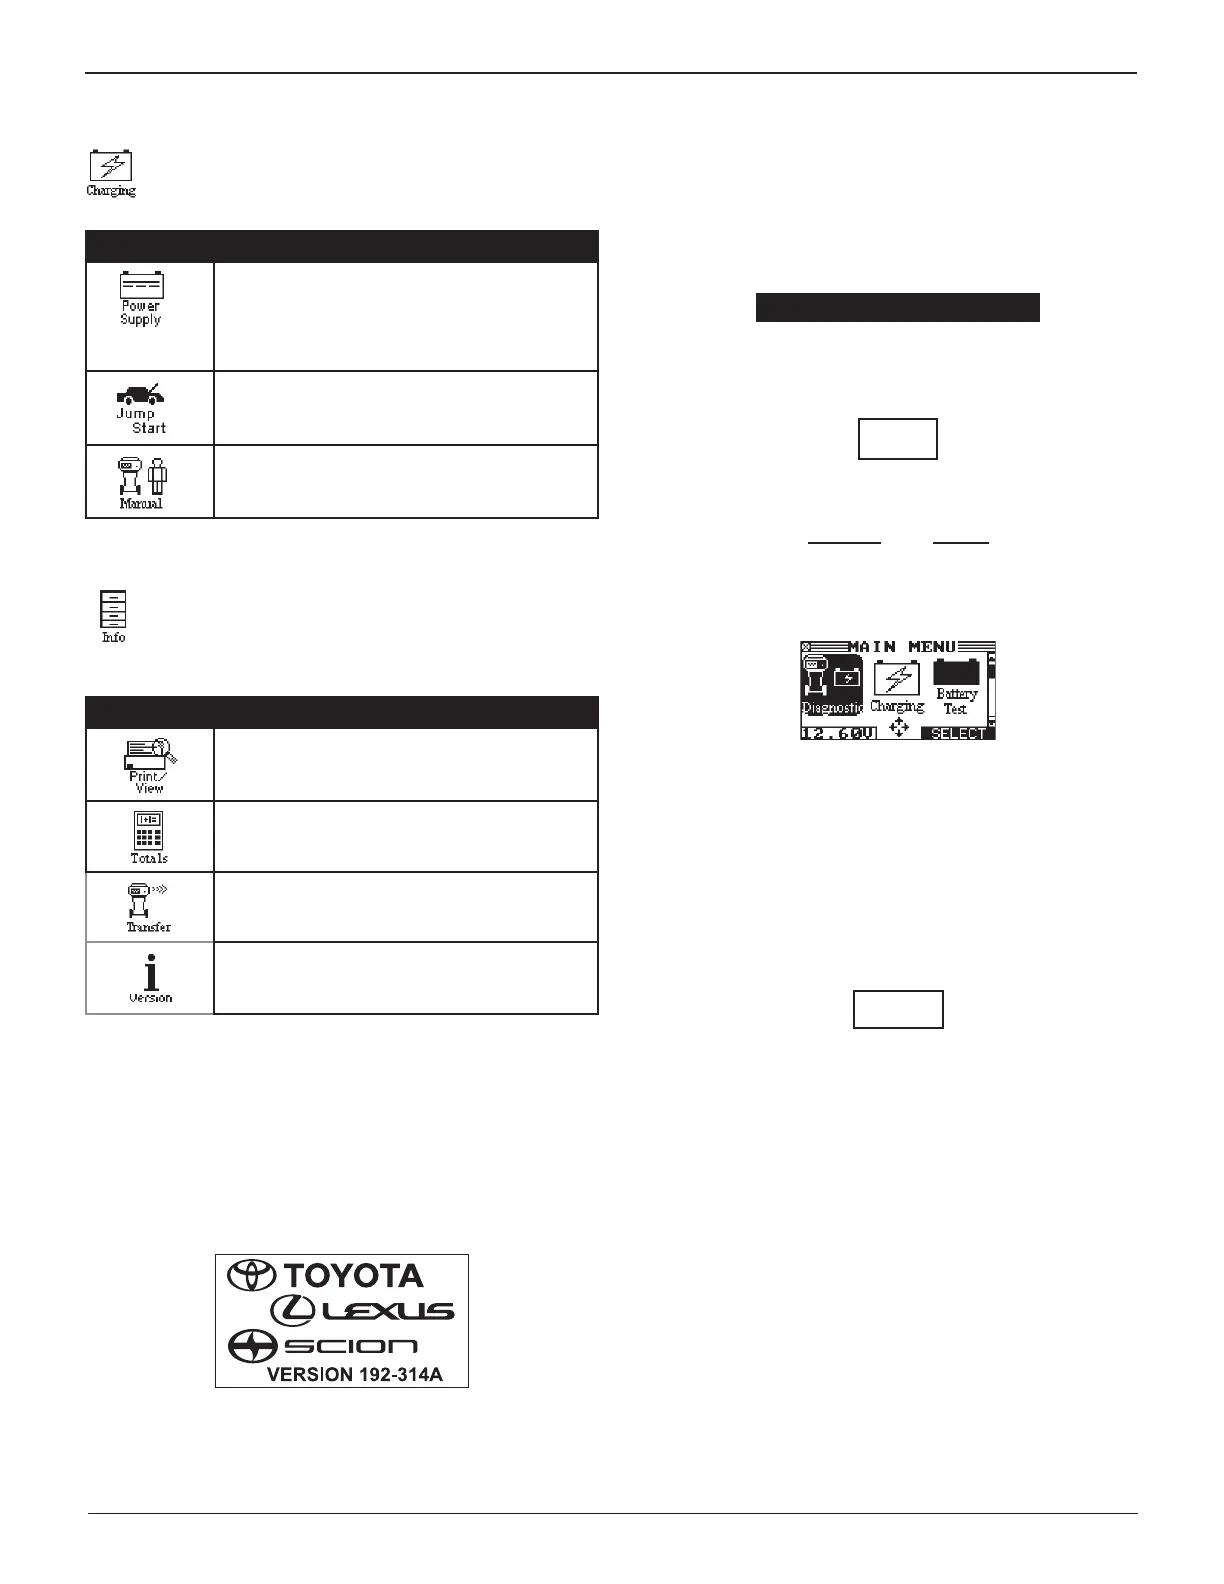
Following the initial power up screen,
the default User ID is
displayed. Press NEXT to continue.
0 UNREG
4. The PIN login screen is displayed. Enter the default user
password “0000” (four zeros) and press NEXT.
ENTER PIN
****
5. A HELLO screen is displayed showing the selected User ID
and the total number of tests conducted.
USER ID
UNREG
TOTAL
0
SINCE : 4/24/2015
Press NEXT to continue to the Main Menu.
Screen will also advance to the Main Menu after a few
seconds.
Initial Administrator Login
1. At the Main Menu, select the SETUP icon.
2. ADMIN PIN: The PIN login screen appears. Enter the default
PIN “12345”. You now have access to the ADMIN screen.
ENTER PIN
*****
3. Press BACK to re-enter thr PIN, or press EXIT to return to
the Main Menu.
It is recommended that the PIN is changed as soon as possible
and a record of it kept in a secure place.
See Chapter 6: Setup for more information.