The device supports booting RouterOS (for complete routing and switching configuration) or SwOS (for only using as a switch). By default, the device will
boot RouterOS, but you can reboot into SwOS in the following ways:
From SwOS: In the System menu, click the "Boot RouterOS" button on the bottom of the page.
From RouterOS: in the System, RouterBOARD menu, click "Settings" and there select "Boot OS".
Configuration
RouterOS includes many configuration options in addition to what is described in this document. We suggest starting here to get yourself accustomed to
the possibilities: . https://wiki.mikrotik.com/wiki/Manual:CRS3xx_series_switches
The Initial connection has to be done via the Ethernet cable, using the MikroTik Winbox utility. Winbox should be used to connect to the default IP address
of 192.168.88.1 from any port, with the username admin and no password.
For recovery purposes, it is possible to reinstall the device from the network, see the .Reset button
In case the IP connection is not available, the Winbox tool ( ) can also be used to connect to the MAC address of the device. Applies https://mt.lv/winbox
only when the device has booted RouterOS.
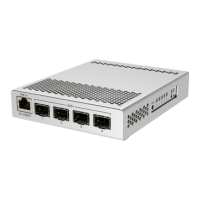
Extension Slots and Ports
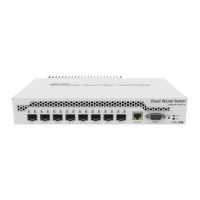
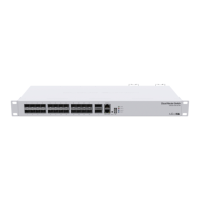
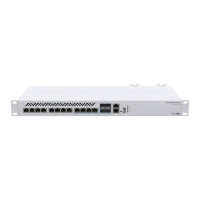
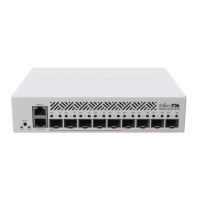
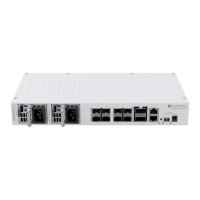
Four SFP+ cages, which accept both 1.25 Gb SFP and 10 Gb SFP+ modules.
One Gigabit Ethernet port, suggested to be used for management (Supports Auto MDI/X so you can use either straight or cross-over cables for
connecting to other network devices). The Ethernet port (ETH/BOOT) can also be used for network booting and recovery with Netinstall.
Reset button
To use the reset button, hold it and then turn on the device, while still holding the button.
Release the button when green LED starts flashing, to reset RouterOS configuration. To not load backup bootloader, you can start holding the
button after power is already applied.
Release the button after LED is no longer flashing (~20 seconds) to cause the device to look for Netinstall servers (required for reinstalling
RouterOS over the network). You can also release the button at the time when the device has appeared in the Netinstall utility device list.
Regardless of the above option used, the system will load the backup RouterBOOT loader if the button is pressed before power is applied to the device.
Useful for RouterBOOT debugging and recovery.
Accessories
Package includes the following accessories that come with the device:
Please visit wiki pages for MikroTik SFP module compatibility table: https://wiki.mikrotik.com/wiki/MikroTik_SFP_module_compatibility_table
Operating system support
The device supports dual boot SwOS software version 2.9 and RouterOS v6. The specific factory-installed version number is indicated in the RouterOS
menu /system resource. Other operating systems have not been tested.
https://wiki.mikrotik.com/wiki/SwOS/CRS3xx
 Loading...