EasyManuals Logo

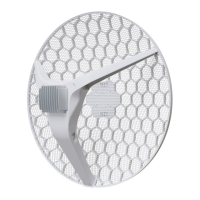
MikroTik LHG Series User Manual

MikroTik LHG Series
9 pages
To Next Page IconTo Next Page
To Previous Page IconTo Previous Page
Page #2 background imageLoading...
Page #2 background image
1.
2.
3.
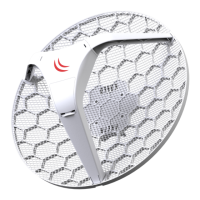
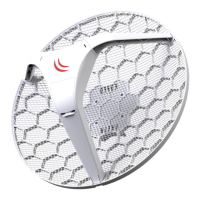
Attach the two legs to the LHG case.
Snap the assembled LHG unit to the grid in the appropriate locations.
Fix the legs in place with two self-thread screws (Use Phillips screwdriver PH2).
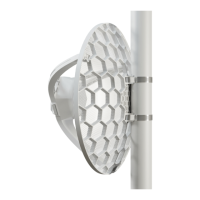
The device is designed to be mounted on the pole using zip ties or steel clamps as shown in the picture. The clamping diameter with provided steel clamps
is 35 – 70 mm.

Other manuals for MikroTik LHG Series

Questions and Answers:

Question and Answer IconNeed help?

Do you have a question about the MikroTik LHG Series and is the answer not in the manual?

MikroTik LHG Series Specifications

General IconGeneral
Power OptionsPassive PoE
Supported Input Voltage11-30 V
Ethernet1x Gigabit Ethernet port
Frequency Band5 GHz
Operating SystemRouterOS
Operating Temperature-40°C to 60°C
WaterproofIP54
CPUDepends on the specific model in the LHG series (e.g., IPQ-4018, QCA9531)
CPU FrequencyDepends on the specific model in the LHG series (e.g., 716 MHz, 650 MHz)
RAMDepends on the specific model in the LHG series (e.g., 64 MB, 32 MB)
StorageDepends on the specific model in the LHG series (e.g., 16 MB, NOR Flash)
DimensionsDiameter: 391 x 222 mm (varies slightly by model)

Related product manuals