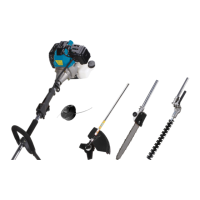
The Line Trimmer Head
• Toadvancethenylonline,bumpthedownwardprotrudingbuttonontothe
ground while maintaining engine speed.
• Donotbumptheheadtoattempttofeedlinewhenoperatingthemachine
above 4,500 revolutions per minute.
• Optimumcuttingspeedisapproximately6,000revolutionsperminute.
• Iftheheaddoesnotproperlyextendnylonline,checktheheadfordamage
and rewind cutting line
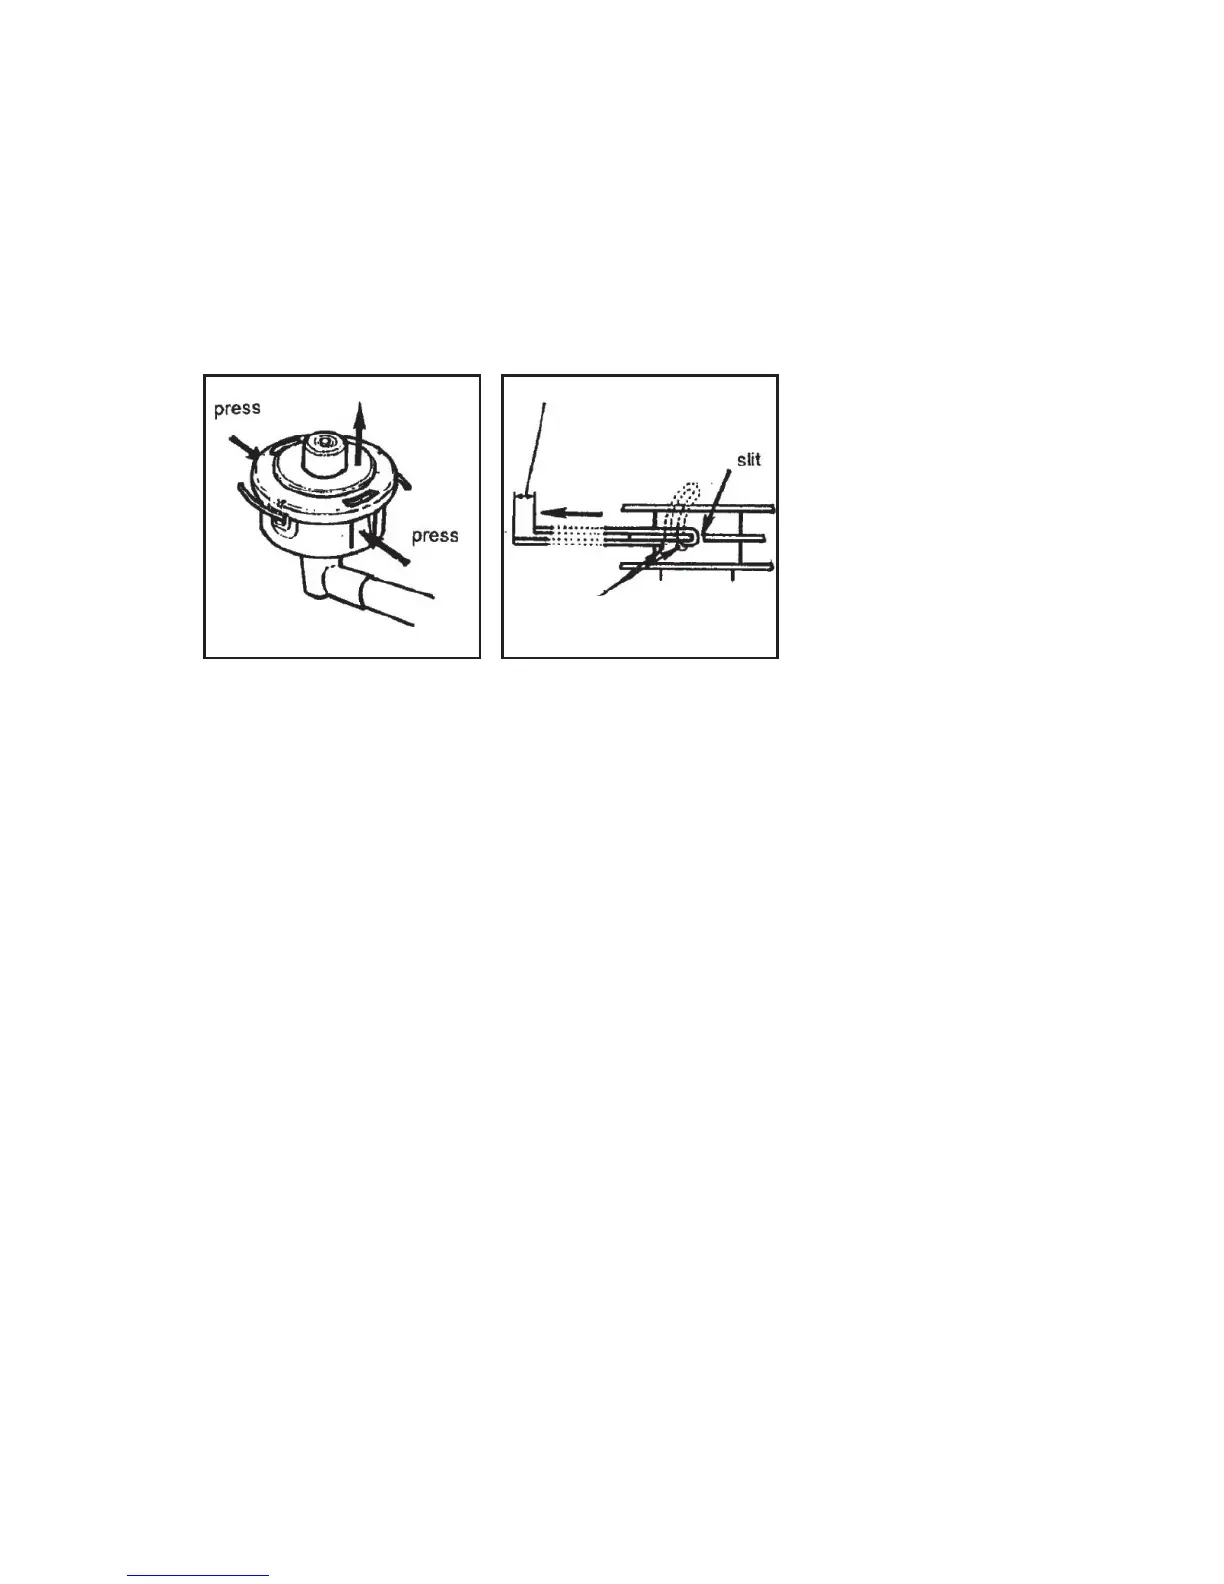
Fig. 1 Fig. 2
pull off Leaveapprox.3inches
There are two holes on
spool drum
Rewinding the Head
CAUTION!
1. Remove the cover by depressing the locking tabs located 180 degrees
opposite of each other (Fig 1).
2. Remove the line spool from the housing.
3. Fold 18ft. of cutting line in two halves, leaving one half 3 inches longer than
the other, (the three additional inches will make the line even on both sides of
the head when wound on the spool).
4. The spool is divided in the center and has a slot to accommodate the folded
portion of the nylon line (Fig 2).
5. Windthelinermlywithonestrandoneithersideofthecenterdivider
according to the directional arrow indicated on the spool (Fig 3).
6. Hookthelinestrandstothelineholdingnotchesononeoftheouteranges
of the spool. This will help to hold the line in place while the spool is installed
inthebodyofthehead(Fig4).Leave4-6inchesofthelinesprotruding
from the notches.
7. The tension spring should stay in the housing hub. Put the spool onto the
housing, positioning it to move up and down freely against the spring tension.
8. Put the lines into the respective eyelets (Fig 5 & 6).
9. Put the cover onto the housing, aligning the locking tabs on the cover. Make
sure the tabs are fully locked into place in the cover (Fig 7).