Do you have a question about the Milwaukee 2503-20 and is the answer not in the manual?
Keep work area clean and well lit. Cluttered or dark areas invite accidents.
Avoid body contact with earthed surfaces. Do not expose tools to rain or wet conditions.
Stay alert, watch what you are doing. Use personal protective equipment.
Do not force the power tool. Use the correct tool for your application.
Recharge only with the specified charger. Keep battery pack away from metal objects.
Instructions for installing and removing the battery pack.
How to determine the amount of charge left in the battery.
Step-by-step instructions for inserting and removing drill bits.
How to choose between drilling, driving, and clutch settings.
How to choose between hammer-drill, drill-only, and drive modes.
Instructions on how to adjust the tool's speed setting.
How to operate the forward, reverse, and lock functions of the control switch.
Recommended techniques for drilling different materials.
Specific advice for drilling into metal, including lubrication.
How to drill into masonry using the hammer drill mode.
Best practices for driving screws and running nuts with the tool.
Regular inspection and service recommendations for the tool.
Proper methods for cleaning the tool and its parts.
Information on where to get the tool serviced or repaired.
| Model | 2503-20 |
|---|---|
| Category | Drill |
| Voltage | 18V |
| Chuck Size | 1/2 inch |
| Max Torque | 350 in-lbs |
| Battery System | M18 |
| Battery Type | Lithium-Ion |
| Speed Settings | 2 |
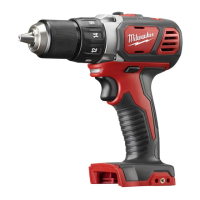
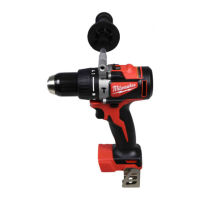
| Type | Cordless Drill/Driver |


 Loading...