page 5
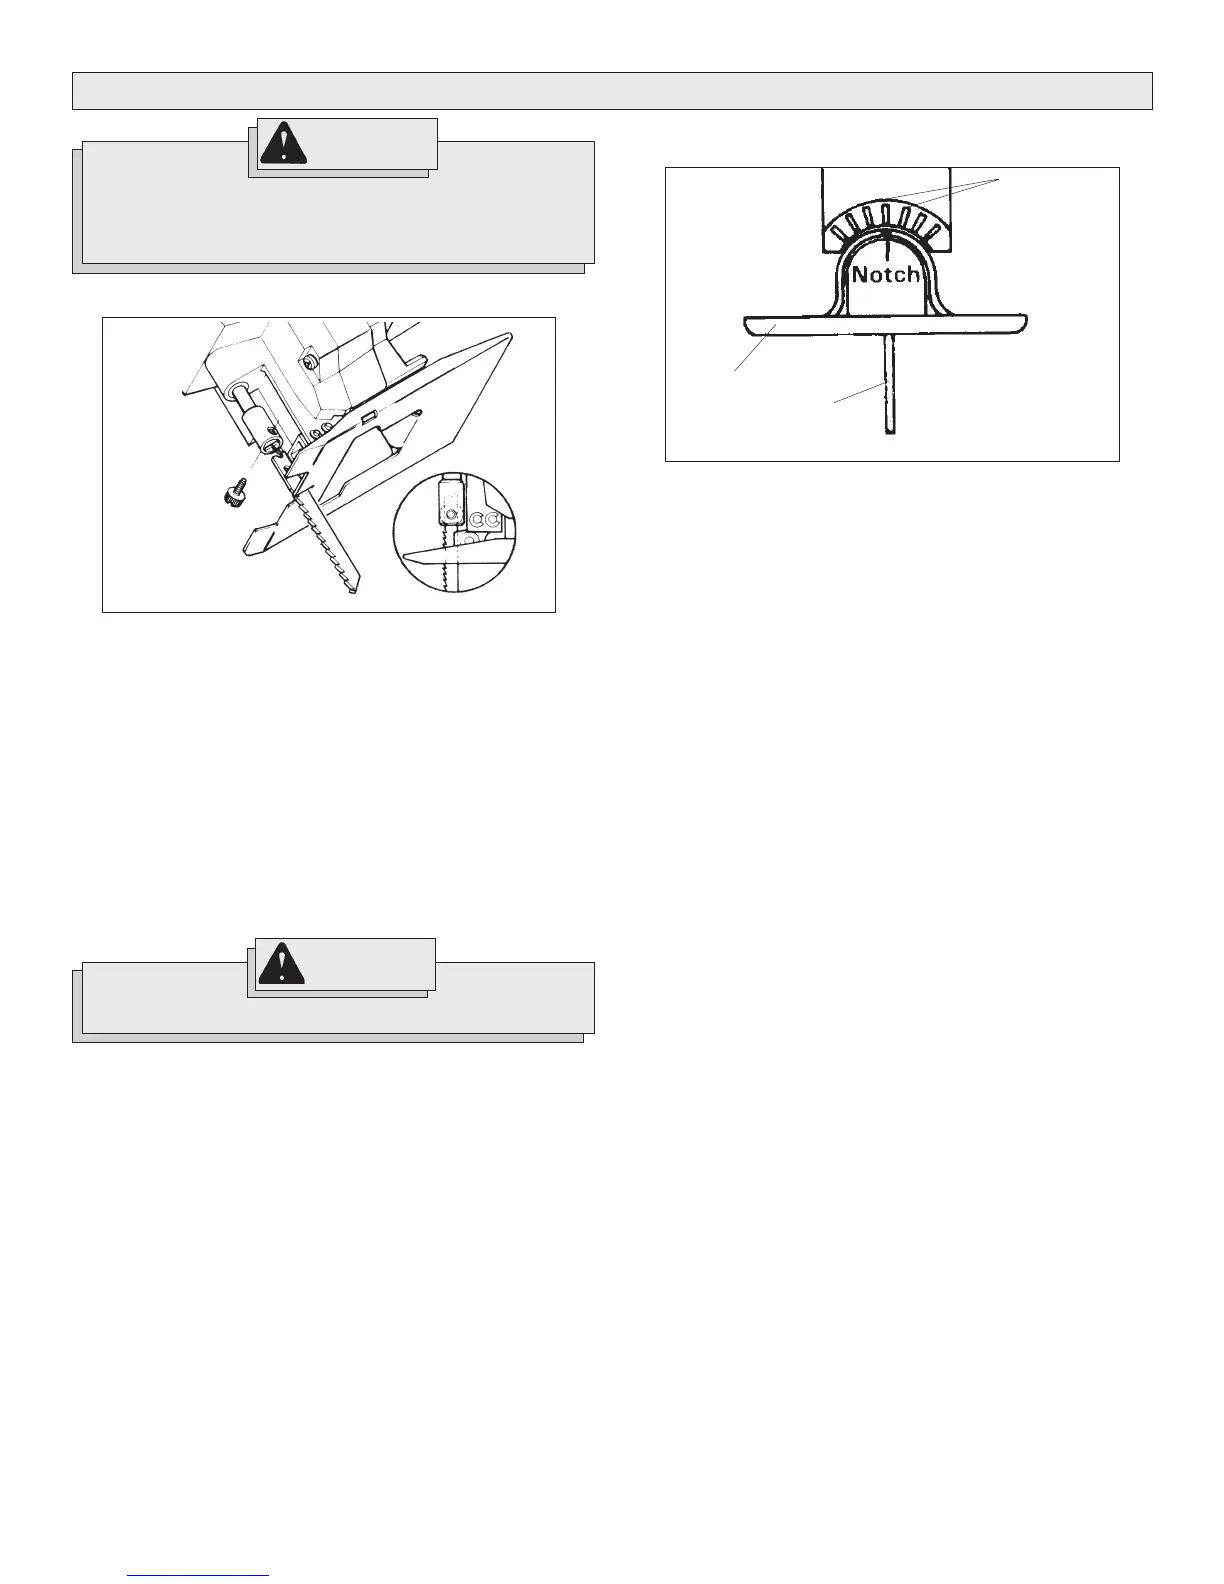
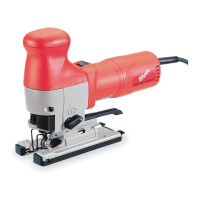
Inserting Blades (Fig. 1)
Fig. 1
WARNING!
Blade and clamping screw may be hot after use.
1. Unplug tool. This tool uses only 1/4" universal tang blades. Select
appropriate blade for the job.
2. To insert blade, loosen blade clamp screw.
3. Insert blade into spindle.
4. Line up holes in spindle and blade.
5. Insert blade clamp screw through holes.
6. Hand tighten blade clamp screw.
7. When properly installed, back of blade will fit into groove on blade
roller.
8. Finish tightening blade clamp screw with a screwdriver.
9. To remove blade, loosen blade clamp screw and slide blade out of
spindle.
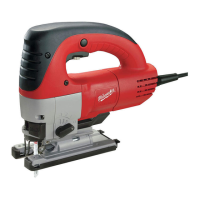
Adjusting Shoe (Fig. 2)
For angle cutting, shoe may be tilted up to 45° in either direction.
1. To adjust angle, unplug tool.
2. Loosen large shoe retaining screw under shoe with a large flat
blade screwdriver.
3. Slide shoe toward rear of tool as far as possible (about 1/2").
4. Shoe may now be adjusted to desired angle. Lower rear of gear
case is marked with lines at 15° intervals. Line up notch in shoe with
marking desired
5. Tighten shoe retaining screw securely.
6. To return tool to position for 90° cuts, loosen shoe retaining screw,
align notch with center line and slide shoe forward. Tighten shoe
retaining screw securely.
Using Rip Fence Kit
1. Unplug tool.
2. Insert rip fence through slots in shoe with edge guide facing up.
3. Place edge guide against edge of work.
4. Adjust fence to obtain desired straight cutting width
5. Tighten thumb screw to secure fence.
Fig. 2
Shoe
Blade
15°
WARNING!
TOOL ASSEMBLY
To reduce the risk of injury, always unplug tool before
attaching or removing accessories or making adjustments.
Use only specifically recommended accessories. Others
may be hazardous.