4
OPERATION
WARNING $OZD\VUHPRYHEDWWHU\
SDFNEHIRUHFKDQJLQJRU UHPRYLQJ
DFFHVVRULHV2QO\ XVH DFFHVVRULHV VSHFL¿-
FDOO\UHFRPPHQGHGIRUWKLVWRRO2WKHUVPD\
EHKD]DUGRXV
WARNING 7RUHGXFHWKHULVNRILQMXU\
ZHDU VDIHW\ JRJJOHV RU JODVVHV ZLWK
VLGHVKLHOGV
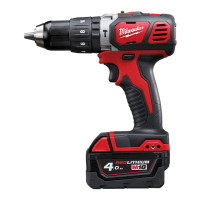
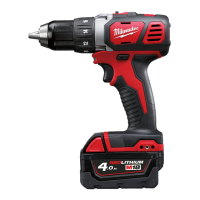
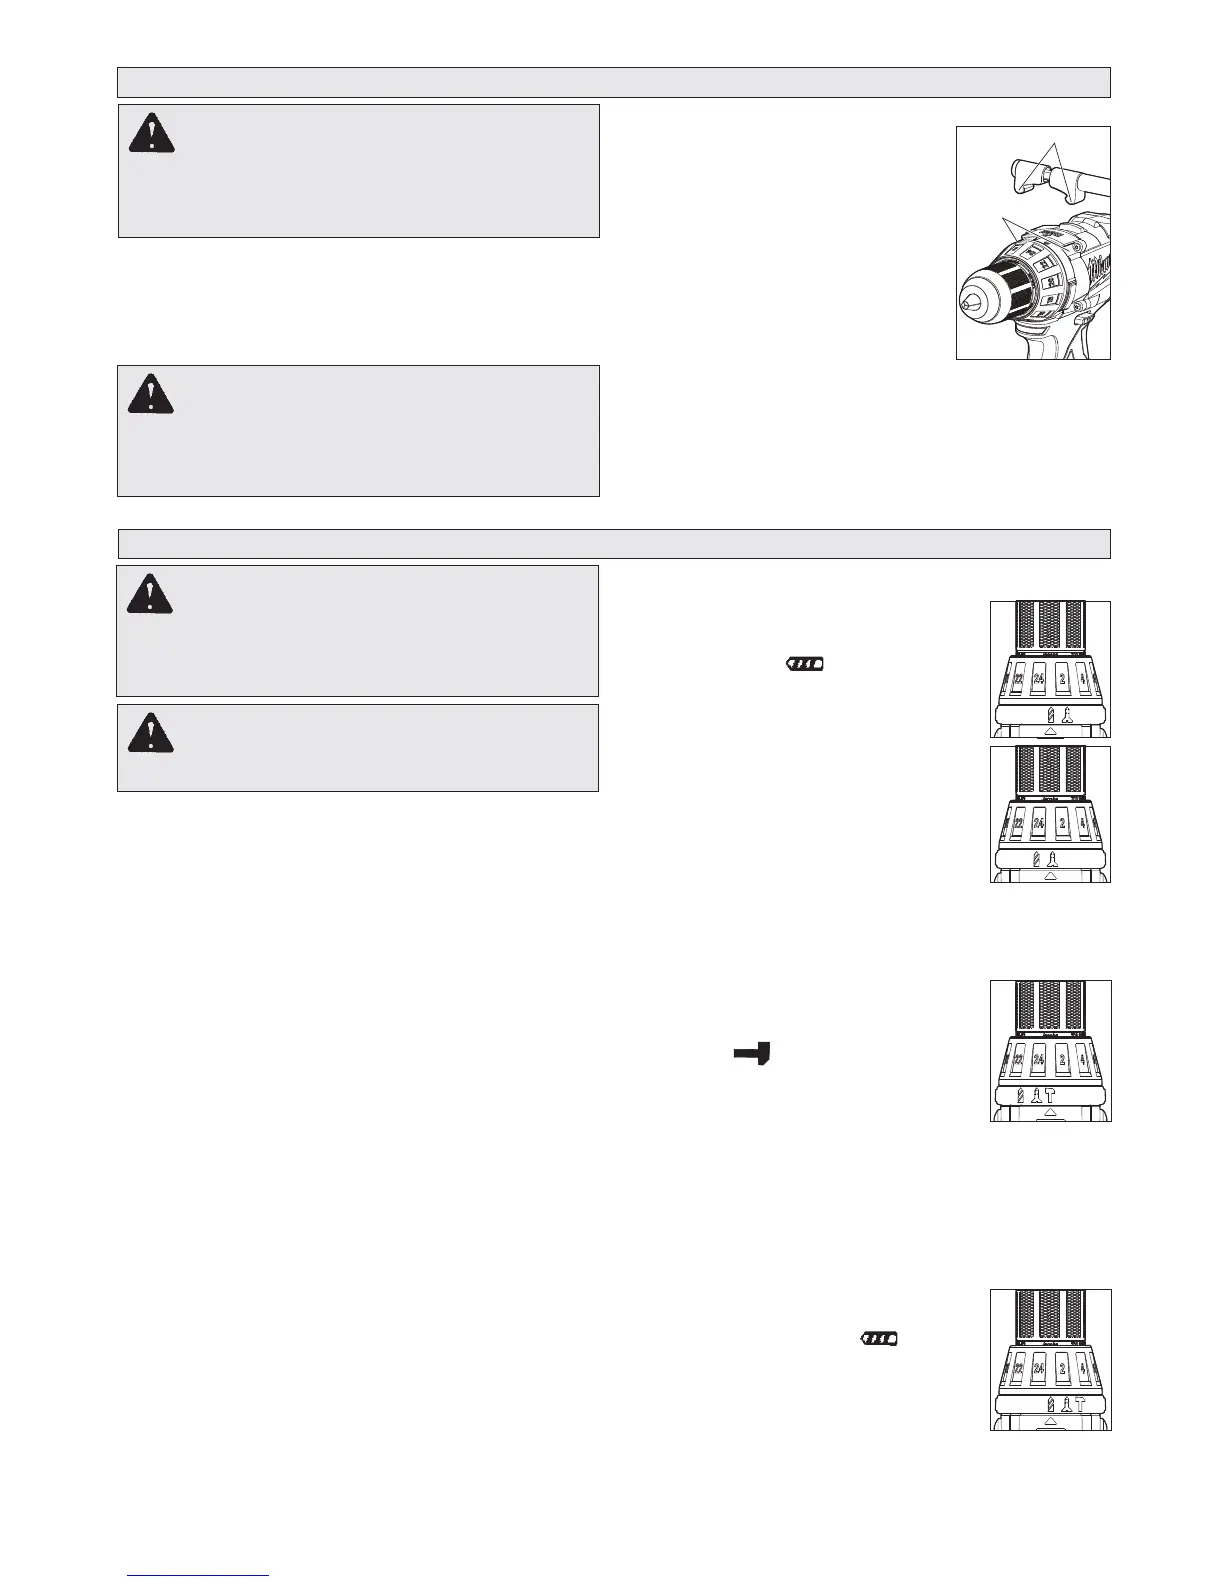
6HOHFWLQJ'ULOORU'ULYH$FWLRQ
(Cat. No.
1. 7RXVHWKHGULOOLQJPRGH rotate
the torque selector collar until the
drill symbol
M18 CDD)
appears in line
with the arrow.
2. 7RXVHWKHGULYLQJPRGHrotate
the torque selector collar until the
desired clutch setting appears in
line with the arrow.
The adjustable clutch, when prop-
erly adjusted, will slip at a preset
torque to prevent driving the
too deep into different materials
and to prevent damage to the
screw or tool.
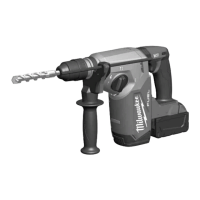
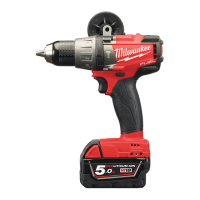
6HOHFWLQJ+DPPHU'ULOORU'ULYH$FWLRQ
(Cat. No.
1. 7R XVH WKH KDPPHUGULOOLQJ
PRGH rotate the application
selector collar until the hammer
symbol
M18 CPD)
screw
appears in line with
the arrow. Apply pressure to the
to engage the hammering mecha-
nism.
127( The number selected on the torque
selector collar has no effect on operation of the
drill in hammer mode.
127(When using carbide bits, do not use wa-
ter to settle dust. Do not attempt to drill through
steel reinforcing rods. This will damage the
carbide bits.
2. 7R XVH WKH GULOOLQJ RQO\ PRGH
rotate the application selector collar
until the drill symbol
bit
appears
in line with the arrow.
127(The number selected on the
torque selector collar has no effect
on operation of the drill in drilling
mode.
,QVWDOOLQJ%LWV
Always remove the battery before inserting or
removing bits. Select the proper style and size bit
for the job.
This tool is equipped with a spindle lock. The chuck
can be tightened with one hand, creating higher grip
strengths on the bit.
1. To open the chuck jaws, turn the sleeve in the
counterclockwise direction.
When using drill bits, allow the bit to strike the
bottom of the chuck. Center the bit in the chuck
jaws and lift it about 18mm (1/16”) off of the
bottom.
When using screwdriver bits, insert the bit far
enough for the chuck jaws to grip the hex of the
bit.
2. To close the chuck jaws, turn the sleeve in the
clockwise direction. The bit is secure when the
chuck makes a ratcheting sound and the sleeve
can not be rotated any further.
3. To remove the bit, turn the sleeve in the coun-
terclockwise direction.
127( A ratcheting sound may be heard when the
chuck is opened or closed. This noise is part of the
locking feature, and does not indicate a problem
with the chuck’s operation.
ASSEMBLY
WARNING 5HFKDUJHRQO\ZLWKWKH
FKDUJHUVSHFL¿HGIRUWKHEDWWHU\ )RU
VSHFL¿FFKDUJLQJLQVWUXFWLRQVUHDGWKHRSHUD-
WRU¶VPDQXDOVXSSOLHGZLWK\RXUFKDUJHUDQG
EDWWHU\
,QVHUWLQJ5HPRYLQJWKH%DWWHU\
To UHPRYH the battery, push in the release buttons
and pull the battery pack away from the tool.
To LQVHUW the battery, slide the pack into the body of
the tool. Make sure it latches securely into place.
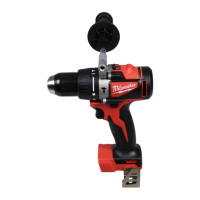
,QVWDOOLQJWKH6LGH+DQGOH
1. To LQVWDOO the side handle,
loosen the side handle grip
until the hooks are far enough
DSDUW WR ¿W LQWR WKH VORWV RQ
2. To UHPRYH the side handle,
loosen the side handle grip
until the side handle can be removed. Reposition
and tighten securely.
the gear case ring. The side
handle can only be positioned
on the top of the tool.
Tighten the side handle
grip until it is secure.
WARNING 7RUHGXFHWKHULVNRILQMXU\
DOZD\VXVHDVLGHKDQGOHZKHQXVLQJWKLV
WRRO$OZD\VEUDFHRUKROGVHFXUHO\(QVXUH
VLGHKDQGOHLVWLJKWHQHGVHFXUHO\EHIRUHHDFK
XVH
Hooks
Slots