4
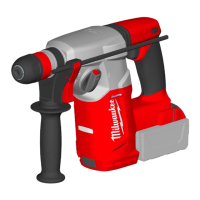
Fig. 1
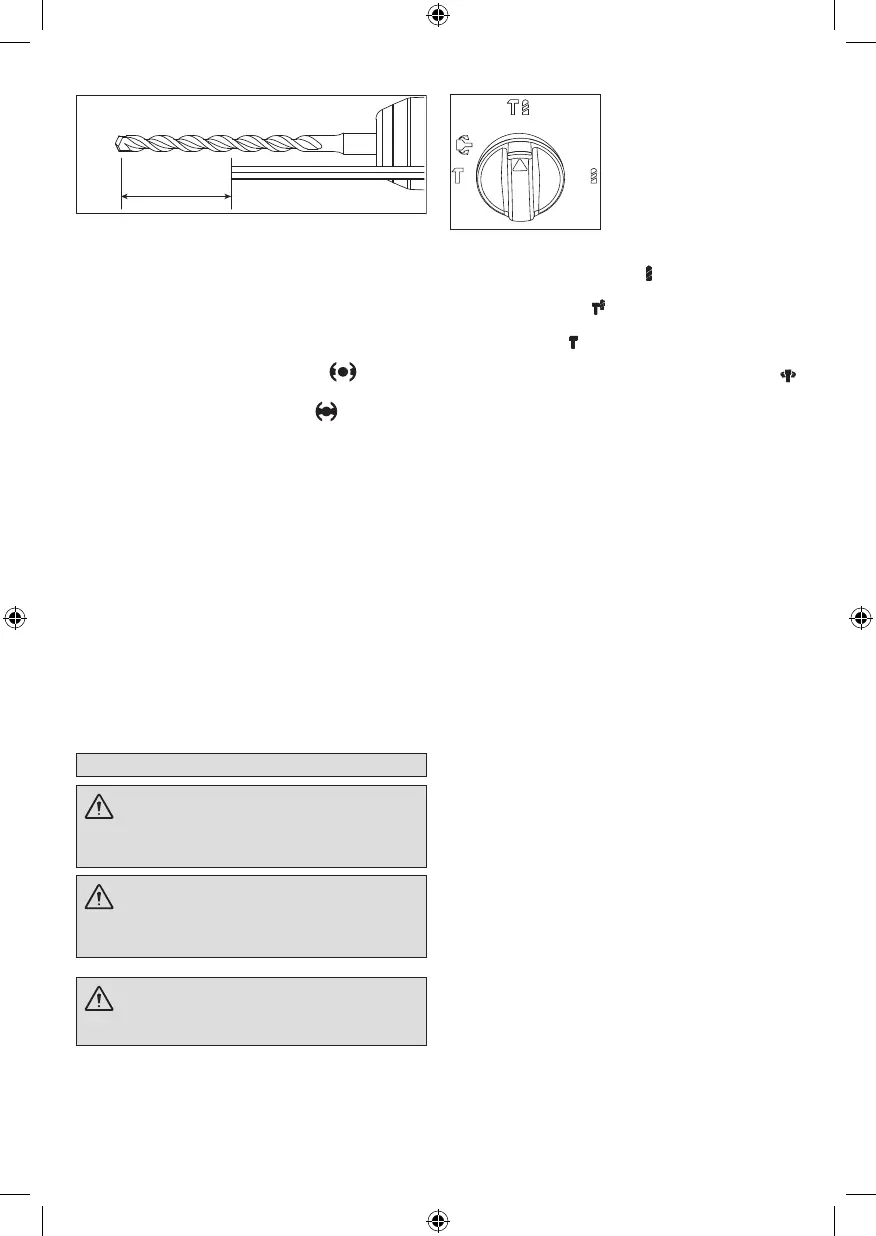
Drilling Depth
Installing drill bits and chisels (M18 CHX)
NOTE: Only use accessories with SDS or SDS Plus
shanks.
Besurethatthe shank of the bit isclean.Dirtparticles
may cause the bit to line up improperly. Do not use
bits larger than the maximum recommended capacity
of the drill because gear damage ormotor overloading
may result. For best performance, be sure that the bit
is properly sharpened and the shank is lightly greased
beforeuse.
1. Ensurethebitholderispositionedin .
2. Insertthebitorchiselintothenoseofthetool.
3. Rotatebitslowlyuntilitalignswith .
4. Pushbitintotooluntilitlocks.
5. Check that the bit is locked properly; it should be
possibletopullthebitbackandforthslightly(about
7mm).
6. To remove bits and chisels, pull bit holder release
collartowardtherearoftoolandremovebit.
NOTE: Use caution when handling hot bits and
chisels.
Installing 13mm chuck (M18 CHX)
1. Removebatteryfromtoolpriortochangebitholder
orchuck.
2. PullFIXTEC towards therearof tool to releasethe
collar.RemovetheSDSPlusbitholder.
3. Screwthechuckadaptorintothebackofchuck.
4. PullFIXTEC towards therearof tool to releasethe
collar.Insertthemetalchuckandthechuckadaptor
intoFIXTECtolockthecollar.
5. Toremovethemetal chuck and the chuck adaptor,
repeatsteps1to3.
OPERATION
WARNING Always remove battery pack
before changing or removing accessories. Only
use accessories specifically recommended for
this tool. Others may be hazardous.
WARNING To reduce the risk of injury,
keep hands away from the bit and all moving parts.
Always wear safety goggles or glasses with side
shields.
WARNING To reduce the risk of injury,
always use a side handle when using this tool.
Always brace or hold securely.
Selecting action
MILWAUKEE
®
Rotary Hammers have three settings:
rotationonly,rotaryhammer,andhammeronly.Always
allow the motor to come to a complete stop before
changingthemodeselectiontoavoiddamagetothetool.
1. For rotation only, rotate the mode selector so the
arrowontheleverpointsto .
2. For rotary hammering, rotate the mode selector so
thearrowpointsto .
3. Forhammeringonly,rotatethemodeselectorsothe
arrowpointsto .
4. To freely rotate the bit to the desired angle for
hammering only, rotate the mode selector to .
Then,followstep3.
NOTE: Toengagethehammeringmechanism,maintain
pressureonthebit.Whenpressureonthebitisreleased,
thehammeringactionwillstop.
Using the control switch
Thecontrolswitchmaybesettothreepositions:forward,
reverseand lock. Alwaysallow the motorto come toa
complete stop before using the control switch to avoid
damagetothetool.
For forward (clockwise) rotation, push in the control
switchfromtherightsideofthetool.Checkthedirection
ofrotationbeforeuse.
For reverse (counterclockwise) rotation, push in the
control switch from the left side of the tool. Check
directionofrotationbeforeuse.
Tolockthetrigger,pushthecontrolswitchtothecenter
position. The trigger will not work while the control
switch is in thecenter locked position. Always lock the
trigger and remove the battery pack before performing
maintenance,changingaccessories,storingthetooland
anytimethetoolisnotinuse.
Starting, stopping and controlling speed
1. To start the tool, grasp the handle rmly and pull
thetrigger.
2. Tovary thespeed,increaseordecreasethepressure
on the trigger. The further the trigger is pulled, the
greaterthespeed.
3. Tostopthetool,releasethetrigger.Makesurethe
toolcomestoacompletestopbeforelayingthetool
down.
Operating
Position the tool, grasp the handles rmly and pull the
trigger.Alwaysholdthetoolsecurelyusingbothhandles
to maintain control. This tool has been designed to
achieve top performance with only moderate pressure.
Letthetooldothework.
Ifthespeedbeginstodropoffwhendrillinglargeordeep
holes,pullthebitpartiallyoutoftheholewhilethetoolis
runningtohelpcleardust.Donotusewatertosettlethe
dustsinceitwillclogthebitutesandtendtomakethe
bitbindinthehole.Ifthebitshouldbind,abuilt-in,non-
adjustableslipclutchpreventsthebitfromturning.Ifthis
occurs,stopthetool,freethebitandbeginagain.
 Loading...