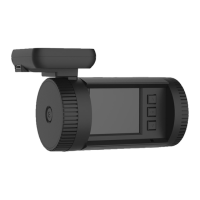
2.5.20 Setting Driver Number
This is a 9 character number to help identify the recording. This is proved useful in a fleet of
vehicles as it can be created to relate to a vehicle registration or indicate an individual’s
name.
In the menu select ‘Driver Number’, then press OK button to enter, use the UP and DOWN
buttons to scroll through characters and press OK to move to next, then OK to confirm.
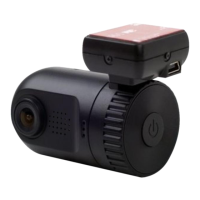
2.5.21 Turn GPS logger on
The dash camera comes with the GPS module (apply to the cameras which have GPS
module), which allows for vehicle tracking and easy identification of where an accident
happens. It can also help estimate the speed of the vehicle. If you do not want this function
you can turn it off here.
In the menu select ‘GPS’, then press OK button to enter, use the UP and DOWN buttons to
scroll through options and press OK to confirm. (Yes / No)
2.5.22 Setting Speed Measurement
The speed of the vehicle can be estimated from the GPS data, this can be shown in MPH or
KMH.
In the menu select ‘Speed’, then press OK button to enter, use the UP and DOWN buttons to
scroll through options and press OK to confirm. (MPH/ KMH)
2.5.23 Setting Display Rotation
The screen display of this camera can be rotated UP-SIDE-DOWN for your special usage.
In the menu select ‘Video Rotation’, then press OK button to enter, use the UP and DOWN
buttons to scroll through options and press OK to confirm. (Yes / No)
2.5.24 Setting LDWS (Lane Departure Warning System)
The LDWS function is used to alarm you if there is a un-expected lane departure.
There are two lines shown on LDWS calibration screen, please use UP and DOWN buttons to
move the bottom line to align with your car hood and the top line align with the landline,
then press OK to switch and confirm.
2.5.25 Setting WDR (Wide Dynamic Range)
WDR function will help to make the darker section more light when the most view range is
bright, which will help to distinguish the darker details.
In the menu select ‘WDR’, then press OK button to enter, use the UP and DOWN buttons to
scroll through options and press OK to confirm (ON / OFF)
 Loading...