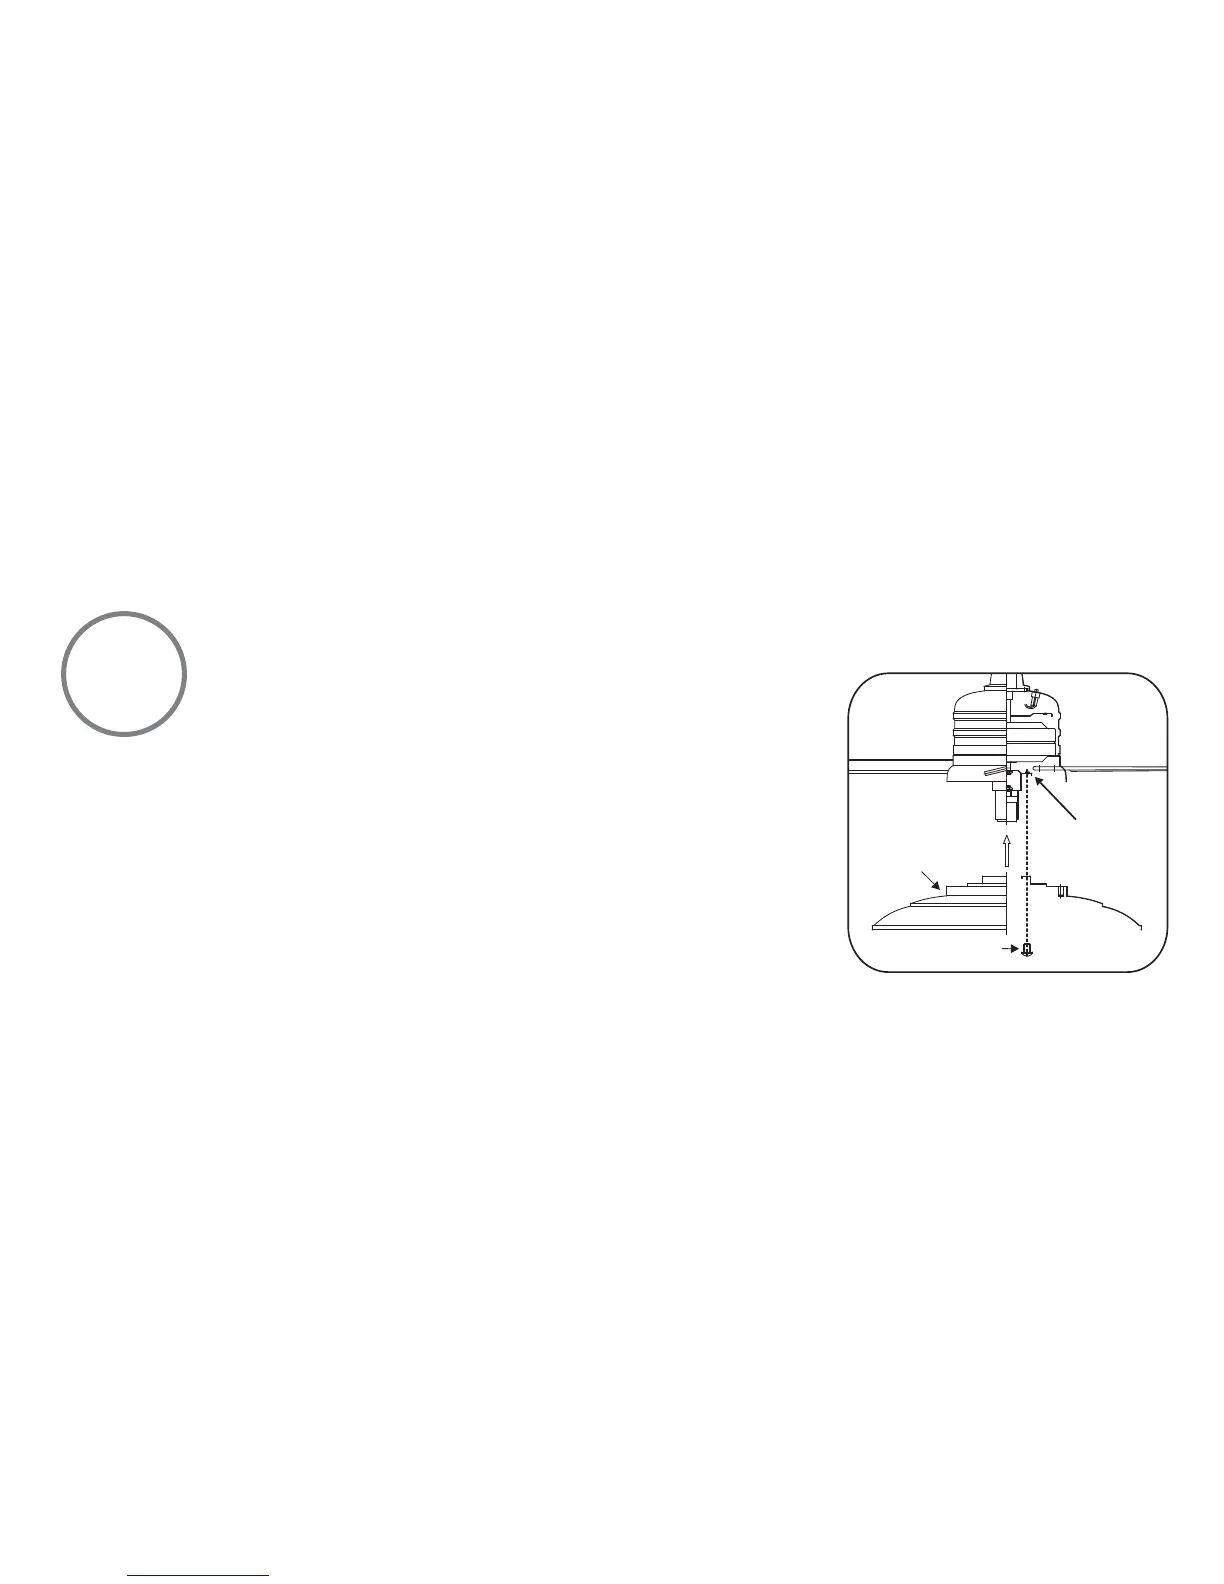
Fig 18
9
INSTALLING THE LIGHT KIT
REMEMBER to disconnect the power. The fan blades must already be attached to the fan.
ATTENTION: The Energy Policy Act of 2005 requires this fan to be equipped with a 190 watt
limiting device. If lamping exceeds 190 watts, the ceiling fan's light kit will shut off automatically.
Your fan and light kit, though pre-wired, have been disassembled at the factory to ease in shipping.
Please follow these steps to complete the installation of your fan.
Step 1. (Fig. 18) Remove 1 of 3 screws from the mounting ring and loosen the other 2 screws. (Do
not remove)
Step 2. (Fig. 18) Place the key holes from the light kit housing over the 2 screws previously loosened
from the mounting ring, turn light kit housing until it locks in place at the narrow section of the key
holes. Secure by tightening the 2 screws previously loosened and the one previously removed.