Do you have a question about the MINN KOTA TRAXXIS and is the answer not in the manual?
Emphasizes user responsibility for safe boat operation and maintaining awareness of navigation hazards.
Details safety measures regarding the rotating propeller, power disconnection, and cable integrity.
Warns against operating the motor under impairment and advises on proximity to the propeller.
Guidance on safe handling during motor stowage/deployment and use of approved accessories.
Step-by-step instructions for securely attaching the trolling motor to the boat's transom.
Critical cautions regarding over-tightening clamp screws and safe transport of the motor.
A table providing recommended conductor gauges and circuit breaker sizes based on wire length.
Instructions for wiring two 12V batteries in series to achieve 24V for the motor.
Visual representation of the motor's wiring for various voltage configurations, excluding protection devices.
Solutions for common motor problems such as failure to run, power loss, and steering difficulty.
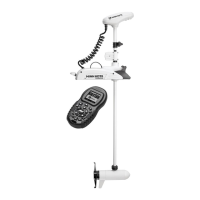
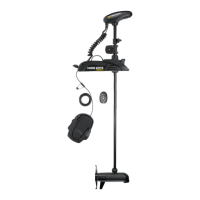
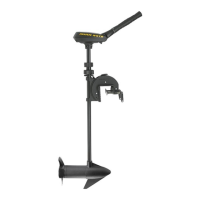
The device is a transom-mount trolling motor, specifically the Traxxis model, designed to enhance boat operation and improve fishing capabilities. It is built for freshwater use and features a variable speed switch for precise control.
The Traxxis trolling motor provides propulsion and steering for a boat, allowing for quiet and efficient movement on the water, particularly useful for fishing. It is designed to be mounted on the transom of a boat. The motor's primary function is to offer variable forward and reverse speeds, controlled by a tiller handle. Turning the tiller handle counterclockwise from the "OFF" position increases reverse speed, while turning it clockwise increases forward speed. Speed decreases as the handle approaches the "OFF" position. The motor is equipped with a "Cool Quiet Power Motor" for silent operation.
The Traxxis trolling motor offers several features for ease of use and adjustment:
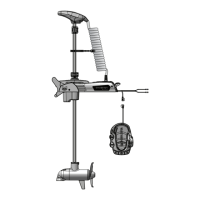
The motor is installed on the boat's transom using Transom Clamp Screws on the Mounting Bracket. The bracket is designed to fit over the top of the boat transom. Users are advised to hand-tighten the clamp screws to prevent damage to the bracket or boat. For transport, the motor should be tilted into the boat, with the motor and prop assembly completely out of the water and positioned close to the Mounting Bracket. The Steering Tension Knob and Quick Release Depth Collar should be secured for added stability during transport.
The motor operates with lead-acid, deep cycle marine 12-volt batteries, with a recommended rating of at least 105 amp-hours. Proper battery care, including regular recharging, is crucial for extending battery life. For 24-volt systems, two 12-volt batteries are wired in series. The manual provides detailed wiring diagrams and guidelines for conductor gauge and circuit breaker sizing, emphasizing the importance of an over-current protection device. It also advises against connecting multiple electrical devices to the same power circuit to avoid impacting performance.
The motor can be stowed and deployed in both horizontal and vertical positions.
The motor's depth can be adjusted to ensure the top of the motor is submerged at least 12 inches below the water surface, preventing churning or agitation. This involves firmly grasping the motor shaft, loosening the Steering Tension Knob, opening the Lever Arm to loosen the Quick Release Depth Collar, adjusting the motor height, and then re-securing the Depth Collar and tightening the Steering Tension Knob.
The Steering Tension Knob allows users to adjust the tension for steering. It can be set to allow the motor to turn freely or tightened to hold the motor in a preset position, freeing the user's hands for fishing.
The tiller handle features seven usable tilt positions (45°, 30°, and 15° up and down from the 0° horizontal position) and a unique stow position. To use the down positions, a release button on the left underside of the pivot handle must be pressed. The handle can also extend a full 6 inches for customized comfort.
The motor can be locked in a vertical position, angled for shallow water, or tilted completely out of the water. This adjustment is made by firmly grasping the control head, pressing and holding the Tilt Lock Button, tilting the motor to the desired position, and then releasing the button to lock it.
A "push-to-test" battery meter is integrated into the motor, providing an accurate display of the remaining battery charge when the motor is off. The LED lights indicate charge levels: one light for recharge, two for low charge, three for good charge, and four for full charge.
Regular maintenance is essential for the longevity and optimal performance of the Traxxis trolling motor.
Propeller replacement involves several steps:
The manual provides troubleshooting tips for common issues:
For more complex malfunctions, users are directed to visit an Authorized Service Center or contact Minn Kota customer service.
| Voltage | 12V |
|---|---|
| Control | Hand Control |
| Steering | Tiller |
| Saltwater/Freshwater | Freshwater |
| Speed Control | Variable |
| Shaft Material | Composite |
| Speed Settings | Variable |
| Battery Indicator | Yes |
| Shaft Length | 36", 42" |
| Mount Type | Transom |
| Type | Electric |
| Digital Maximizer | Yes |
| Thrust | 55 lbs |
| Weight | Varies by model |
| Max Speed | Varies by model |