not compatible to the camera. In this case, please insert a compatible SD card – only then can you continue with the
settings for your camera.
Note: If the SD card was used to store data in other devices, reformat the SD card on a PC. By reformatting the card, all
previous data will be deleted to ensure error-free operation. If the SD card has only been used in the DTC 460, formatting
can be done with the camera as well (see instructions for Playback). It is recommended to take some test photos to make
sure that the SD card is functioning properly.
Language setting
The default language of your DTC 460 wildlife camera is in German. To change the language, please follow these steps:
1. Move the main switch to “SETUP”.
2. You will now be in the manual photo release mode.
3. Push the MENU button to enter the main menu of the camera.
4. Push the “down” arrow button until you reach “Sprache”.
5. Push the OK button.
6. Using the “up” and “down” buttons, choose your language.
7. Push the OK button.
8. The camera will now go back to the main menu. Your camera is now set to the language of choice.
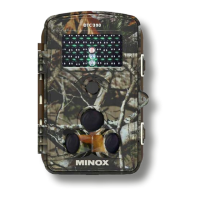
Mounting the camera
Mounting strap: on the sides of the camera housing, you can find mounting brackets which can be used to mount the
camera on a tree or post. Pull the straps (included in the delivery) through the brackets and around the tree or post and
tighten them using the fastening clips.
Tripod: The ¼” socket at the back of the camera can be used to mount the camera on a tripod or the wall mounting bracket
included in the scope of delivery.
Wall mount: The DTC 460 can be mounted on a wall or ceiling with the wall mount (included in the scope of delivery).
Please make sure that the fastening screws are tight before attaching the camera.
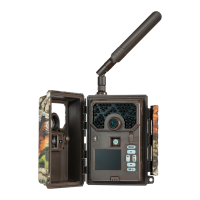
4. SETUP mode
Set your DTC 460 camera to “SETUP” mode (main switch to middle). The camera will automatically be set to “Manual
operation” mode (in this mode, you can record test photos and videos). Press the menu button to access the main menu
of the camera. Here you can select various basic settings for camera operation. The factory default settings are shown in
bold lettering in the following. You can simply ignore each menu item where you wish to retain the factory default setting.
a) Mode: Photo, Video, Photo+Video, record photos and videos at fixed intervals. First select whether you want the camera
to record photos or videos. In “Photo+Video” mode, the camera will first record a preselected number of photos and then a
video. If you select the option for recording photos or videos at specific intervals, the movement sensor will be
automatically deactivated.
b) Photo quality: Here you can select various photo resolution options. We recommend using the default setting of 5M.
Using a higher resolution provides photos in better quality, but the files will require more memory.
c) Video quality: Here you can select your desired video size. The default setting is at 1080 P (FHD). If you select a lower
resolution, the details of the video will be less sharp, but less space will be required on the memory card.
d) Number of photos: 1, 2 or 3 photos. Select the number of photos to be recorded when the camera is triggered. See also
“Interval setting”.