42 43
Note: The coloured LEDs light up only when in SETUP mode. When the main
switch has been moved to ON, the LEDs do not light up anymore.
If you wish to fine-tune the alignment of your camera, set the camera to ON mode
(main switch to the right) and enter the camera’s field of view from different direc-
tions. If necessary, you can correct the alignment and repeat the procedure. If the
alignment of the camera is to your satisfaction, the camera can be switched to ON.
Note: To avoid undesired images or videos, do not set the camera up in sunny
areas. Make sure that branches do not move in front of the camera. The MINOX
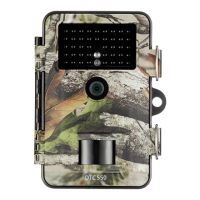
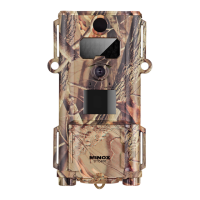
DTC 550 is dust and splash proof and fulfils the IP 54 protection classifica-
tion. It is suitable for outdoor use in all weather conditions.
Image and video playback
If the camera has made images or videos, these can be viewed in the camera’s
display. To do this, the camera must either be in SETUP mode (main switch in the
middle) or in ON mode (main switch to the right). Now press the “REPLAY” button
to view the photos and videos taken by the camera. You can navigate through the
menu using the Up and Down buttons.
If you wish to see more details in the photo, you can zoom in and out of the photo
using the “camera” and the “plus” / “minus” buttons and then the arrow buttons to
navigate within the photo.
If you wish to save the zoomed-in portion of the photo, push the “OK” button. The
original photo will remain unaffected.
To zoom out from the picture, use the button showing the video camera and the
minus sign.
To start and stop a video playback, use the OK button. Use the Right / Left buttons
to fast forward or rewind the video during playback and the Up / Down buttons to
regulate the volume.
While in playback mode, you can find a separate playback menu by pushing the
Menu button. From here, you can either delete the currently seen photo/video or
all of your recorded images and videos.
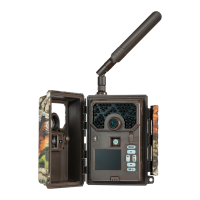
Connecting the camera to a computer
Your MINOX DTC 550 saves your photos and videos in a folder named “DCIM/
100Media” on your SD card. Photos have the file ending “.jpg” and videos “.avi”.
There are two possibilities to transfer the files to your PC: either you remove the
SD card and insert it into a card reader or you connect the DTC 550 to your PC with
the USB cable included in the scope of delivery.
Transferring your files via USB cable
Always ensure that the camera is switched off before connecting it to a computer.
Connect your camera to the computer using the USB cable (included in the scope
of delivery) via the USB port. Switch the camera to TEST mode (main switch in the
middle). The camera will now be recognized as a removable storage device. Your
photos and videos can now be copied to a folder on your PC.
Transferring your files via SD card
Always ensure that the camera is switched off before the SD card is removed from
the camera, otherwise the files on your memory card could be damaged. Remove
the memory card from the slot and insert it into the card reader connected to your
computer. Some computers also have an internal slot for SD cards – in this case,
insert the SD card directly into the slot on your computer. Your photos and videos
can now be copied to a folder on your PC.
Further information
Storage
If you will not be using your MINOX DTC 550 for an extended period of time,
remove the batteries and store the camera in a cool and dry place.
 Loading...