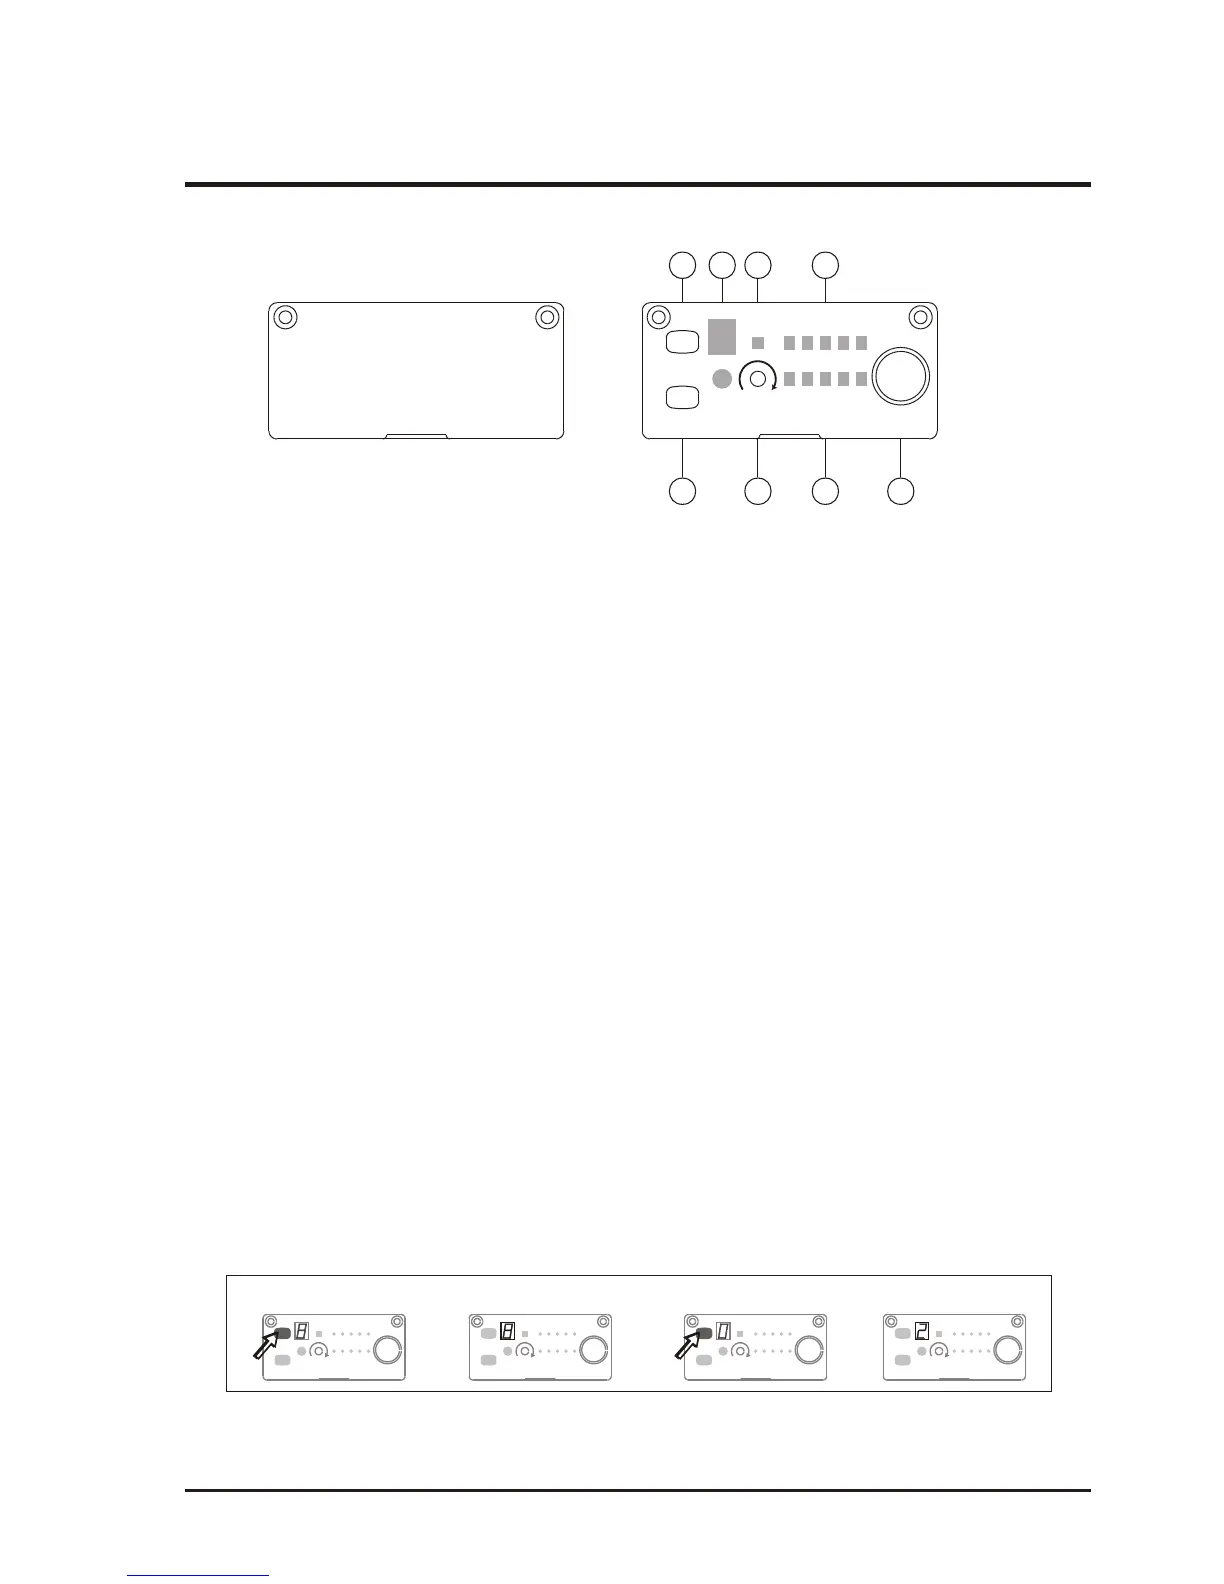
(a) This system incorporates advanced PLL synthesized oscillator design.
Preprogrammed with 16 switchable frequencies. Allow the user to freely select
any of the preprogrammed frequencies.
1. Functions:
(2) Switchable Channels Functions
2. How To Select a Frequency:
(a) Auto Scanning Frequency Set-up: Holding down the SCAN button (B5) for 1
second. Release the button when numeric LED (B6) flashes. It will flash a total
of 6 times. To activate the AutoScan function, press the SCAN button once
within these 6 times. An open frequency will automatically be scanned and
saved/locked. *Note AutoScan function works only during numeric LED
flashing and within 6 times.
a)
b)
c) d)
SCAN
SENSITIVITY
+
NOISE
AF
RF
CHANNEL
ACT
-
VOLUME
When done it will auto saved/locked.
LED display flashes.
Press and hold "SCAN" button
for 1 second.
Press "SCAN" button again and release
will auto scan for an open frequency.
SCAN
SENSITIVITY
+
NOISE
AF
RF
CHANNEL
ACT
-
VOLUME
SCAN
SENSITIVITY
+
NOISE
AF
RF
CHANNEL
ACT
-
VOLUME
SCAN
SENSITIVITY
+
NOISE
AF
RF
CHANNEL
ACT
-
VOLUME
Operating Manual
WIRELESS AMPLIFIER
(1) Operating a Wireless Microphone Receiver Module
(A1) Receiver Power Switch/Volume Control : Turns on/off of receiver module. After
power on, AF LED will flash. Turns knob clockwise to turn up volume.
(A2) Audio Signal Level Indicator: Indicate the audio signal level.
(A3) Sensitivity Adjuster: To adjust receiver sensitivity that ensures no noise output if
receiver is not receiving signals from transmitters.
(A4) ACT Button: To setup microphone frequency to match receiver frequency.
(A5) Scan Button: Press once to select receiving channel and autoscan the whole
bandwidth to avoid interference channel.
(A6) Channel Indicator: To display system's receiving channel.
(A7) Noise Indicator: To display if the system is under interference.
(A8) RF Signal Level Indicator: Indicate the RF signal strength received.
A1A2A3A4
A5 A6 A7 A8
SCAN
SENSITIVITY
++
NOISE
AF
RF
CHANNEL
ACT
--
VOLUME
- 10 -



 To Next Page