-15-
8. Charge
(A) Timing:
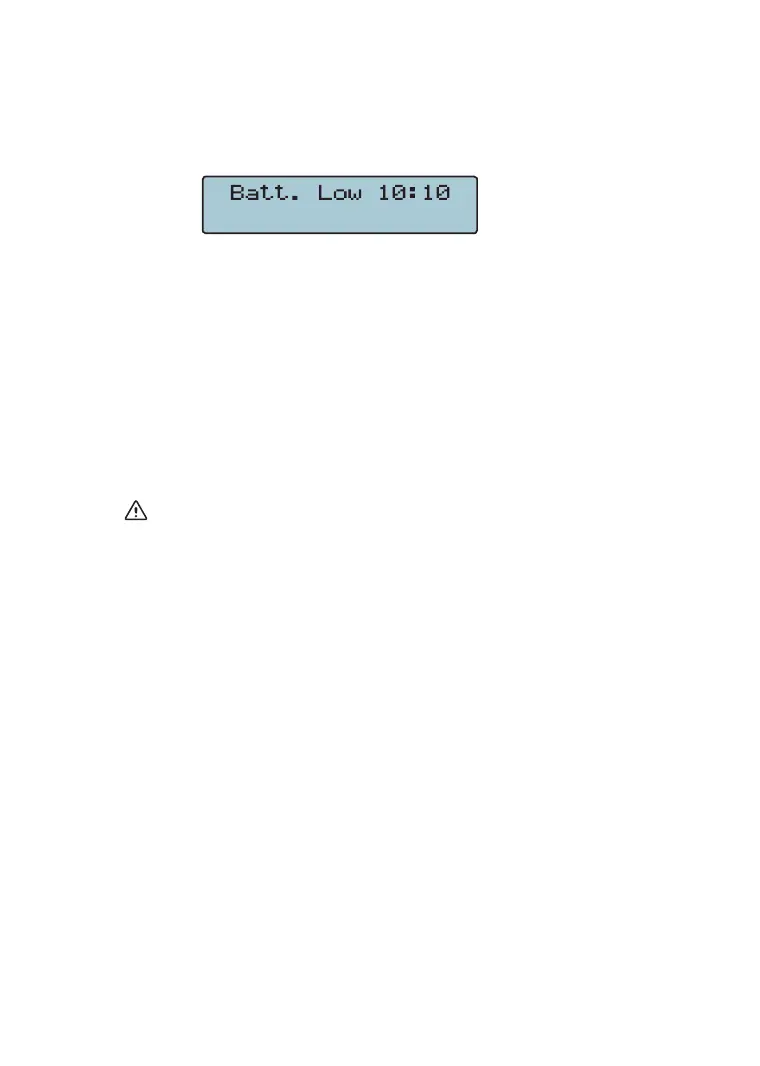
After "Low Battery" is displayed on LCD display, perform
battery charge; LCD displays the picture shown in below:
(B) Process:
1. Plug one end of charger into the battery-change socket
and the other end into the ACV power socket.
2. If ACV plug socket is energized, the LED charge
indicator is lit on indicating that charge is underway.
If the ACV plug socket isn’t energized, remove to
another power-energized one making power charge.
3. After the voltage reaches 12.6V, charge process is
complete. (It can be observed on LCD display.)
No measurement can be performed during the charging
process.