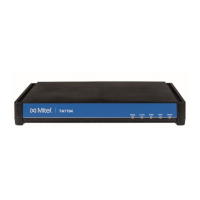
The Mitel Unit Quick Start
The Mitel Unit Quick Start
The Quick Start will allow you to connect your cables and access the Management Interface
web page for the first time.
Depending on your network set-up, proceed with one of the following procedures:
• Using IPv4 to Connect the Mitel Unit to a Network with a DHCP
• Using IPv4 to Connect the Mitel Unit to a Network without a DHCP
Using IPv4 to Connect the Mitel Unit to a Network with a DHCP
Prerequisite
• Make sure that your network connection is working.
• If your unit does not have an FXS port, or if you do not have access to the DHCP server's logs,
then use the Using IPv4 to Connect the Mitel Unit to a Network without a DHCP procedure.
1. Wear an ESD wrist strap, ensuring it makes good contact with your bare skin.
2. Attach the ESD wrist strap end to an earth ground (unpainted bare metal spot of a grounded
equipment rack).
3. Make sure the circuit breakers of AC power sources used to power the Mitel unit are OFF.
4. Make sure the provided external Power Adaptor is connected to the DC connector of the Mitel
unit and in an appropriate AC electrical outlet.
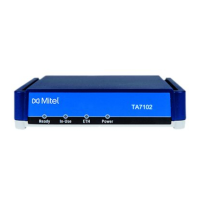
5. Connect a 10/100 BaseT Ethernet RJ-45 cable into the ETH1 connector of the Mitel unit.
6. Connect the other end of the cable to a router/switch connected to your Network.
7. Validate the installation.
8. Turn ON the AC power sources that are used to power the Mitel unit at the circuit breaker
NOTE: When the unit is brought from a cold to a warm environment, condensation, that might be
harmful to the unit, may occur. If this is the case, wait one hour before connecting the power cord.
9. If you have an FXS port, dial *#*0 to get the IP address or consult the DHCP server's logs to
find out your IP address.
Result: The Power LED on the unit will be flashing when the unit performs a DHCP query. It will
become solid once it successfully gets an IP address from the DHCP server. At this point, you can
now use the DHCP IP address to access your unit's management interface.