Do you have a question about the Mitsubishi Electric American Standard NAXWEL09A112A Series and is the answer not in the manual?
| Series | NAXWEL09A112A |
|---|---|
| Category | Air Conditioner |
| Cooling Capacity | 9, 000 BTU/h |
| Power Supply | 208-230V, 1 Phase, 60 Hz |
| Refrigerant | R-410A |
| Operating Temperature (Cooling) | 115°F |
| Operating Temperature (Heating) | 75°F |
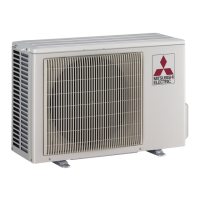
| Outdoor Unit Dimensions (H x W x D) | 31.5 |
Safety precautions and instructions for installation, including warnings and cautions to prevent injury.
Lists essential tools required for the proper installation of the air conditioning unit.
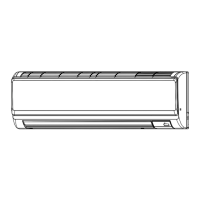
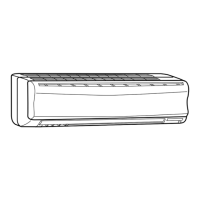
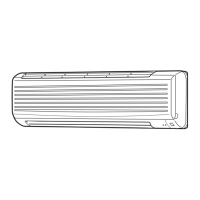
Guidance on choosing an optimal location for the indoor unit for effective airflow and operation.
Recommendations for placing the remote controller for convenient operation and signal reception.
Criteria for selecting an appropriate installation site for the outdoor unit, considering wind and noise.
Details on exclusive circuits, wiring standards, and conductor types for power and ground connections.
Specifications for insulating refrigerant pipes, bending radius, and insulation thickness.
Lists and quantities of included parts for installation, such as plates, screws, and controllers.
Identifies parts that must be provided by the installer, like connecting wires and pipes.
Instructions for proper drain piping installation for the outdoor unit, especially in cold regions.
Step-by-step guide for securely attaching the indoor unit's installation plate to the wall.
Instructions on drilling the wall hole for piping, including correct positioning and angle.
Detailed procedure for connecting indoor unit wiring to the terminal block, including grounding.
Steps for forming refrigerant pipes and connecting them, including using felt tape and extension pipes.
Guidelines for drain piping, ensuring downward slope, proper connections, and insulation.
Procedure for connecting power supply and indoor/outdoor connecting wires to the outdoor unit's terminal block.
Detailed instructions on cutting, flaring, and tightening refrigerant pipes using specific torque values.
Steps for connecting refrigerant pipes to the indoor unit, including oil application and tightening.
Instructions for connecting refrigerant pipes to the outdoor unit's stop valve.
Detailed steps for evacuating the system, leak testing, and ensuring proper refrigerant levels.
Instructions for performing a test run of the unit, including using the emergency operation switch.
Procedure to verify that the remote controller signals are received correctly by the indoor unit.
Explanation of the auto restart function and how it operates after power interruptions.
Guidance on explaining the unit's operation and features to the end-user.
Procedure for removing and reinstalling the front panel assembly of the indoor unit.
Steps for safely detaching the indoor unit from its installation plate.
Method for safely recovering refrigerant from the system before relocating or disposing of the unit.