Do you have a question about the Mitsubishi Electric LU2-4410-B1T-CS and is the answer not in the manual?
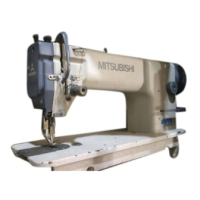
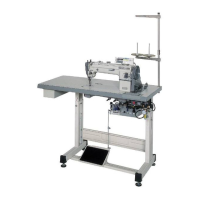
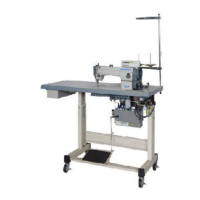
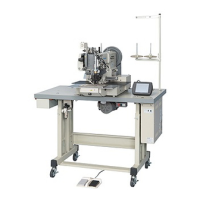
| Brand | Mitsubishi Electric |
|---|---|
| Model | LU2-4410-B1T-CS |
| Category | Sewing Machine |
| Language | English |
Essential safety guidelines to follow before operating the sewing machine to prevent injuries and ensure safe use.
Key precautions to take before beginning sewing machine operation, including lubrication and verification steps.
Guidelines for operating the sewing machine in various environmental conditions to prevent malfunctions.
Procedure for adjusting the needle's stopping position (UP and Down) for precise sewing control.
Instructions for filling and maintaining the oil reservoir to the correct level for proper lubrication.
Procedure for replenishing oil to specific parts of a new or long-unused sewing machine.
How to check the oiling condition during operation and clean the oil tank.
Steps to adjust the oil flow to the rotating hook for optimal lubrication.
Precautions regarding the built-in detector, including cleaning and behavior during power interruptions or overloads.
Instructions for installing the belt covers on the machine and motor sides for safety.
General operational precautions, including pedal safety, power failure, control box care, and multimeter usage.
Step-by-step guide for correctly installing needles, including troubleshooting common issues like insufficient insertion or distortion.
Instructions on winding the bobbin thread, covering tension, thread guide, and winding amount adjustments.
Recommendations for selecting the correct twist direction for needle and bobbin threads for optimal sewing.
Detailed instructions for threading the needle threads through guides and tension mechanisms.
How to adjust the stitch length and operate the backstitch/reverse sewing function.
Instructions for preparing and inserting bobbins into the hook assembly for sewing.
Procedure for threading the bobbin threads through the bobbin case and guiding them correctly.
Visual guide and explanation for achieving balanced thread tension between needle and bobbin threads.
How to adjust the needle thread tension using tension nuts and thread take-up spring.
Procedure for adjusting the presser foot pressure based on the fabric type and thickness.
Detailed steps for synchronizing the rotating hook's movement with the needle's motion for correct stitch formation.
How to adjust the feed dog height to ensure proper fabric feeding and stitch consistency.
Procedure for aligning the timing belt to synchronize the hook and thread take-up lever movements.
How to adjust the gap between the hook opener and its lug for correct operation.
Steps to synchronize the needle's movement with the feed dog's motion for proper stitch formation.
Explanation of the safety clutch function, how it operates, and how to set or adjust its force.
How to adjust the upper feed length to correct uneven feeding issues.
Procedure for adjusting the length of forward and backward stitches using the eccentric pin.
How to adjust the working height of the outside and inside presser feet for different fabrics.
Adjusting the alternating movement of presser feet for optimal feeding of various fabric types.
Instructions for installing the eccentric cam correctly in relation to the thread take-up lever.
Method for fine-tuning the eccentric cam position for precise adjustments.
Steps for installing the movable knife, including setting its protrusion and gap with the inner hook.
Procedure for correctly installing the thread trimmer cam and setting the gap between components.
How to adjust the thread trimmer cam to synchronize the movable knife's action with pulley markings.
Procedure for adjusting the thread tension releasing mechanism, including cam, roller, and opening amount.
How to adjust the meshing pressure between the movable and fixed knives for sharp thread trimming.
Instructions for sharpening the fixed knife; replacement is recommended for the movable knife.
Steps for adjusting the thread trimmer mechanism when changing the needle width or replacing parts.
How to install the rotary solenoid and set the gap with the solenoid arm to prevent interference.
Step-by-step guide for removing the hook assembly, including loosening gears and removing related parts.