MITSUBISHI
ELECTRIC
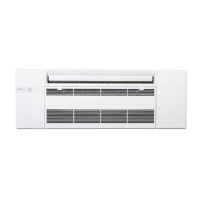
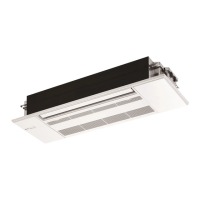
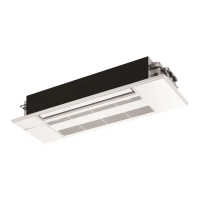
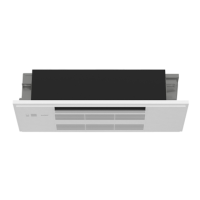
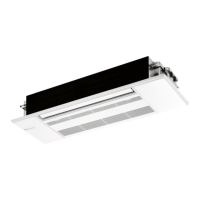
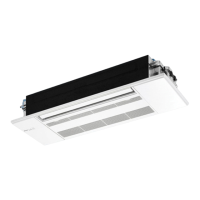
MITSUBISHI Room
Air
Conditioner
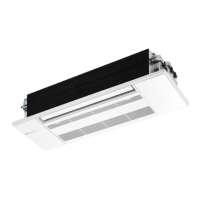
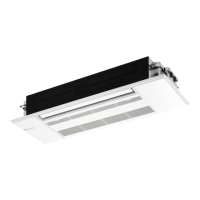
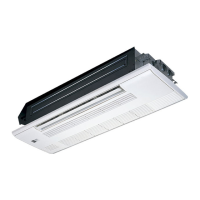
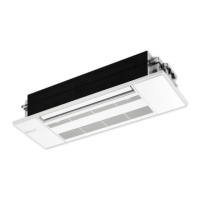
Optional Grille
Model MLP-444WU
INSTALLATION
MANUAL
Correct installation
is
essential for good performance
of
the product and safety.
Be
sure to read this manual
before installation.
[ THE FOLLOWING SHOULD ALWAYS BE OBSERVED FOR SAFETY
• Be sure to read "THE FOLLOWING SHOULD ALWAYS BE OBSERVED FOR SAFETY" before installation.
• Be sure to observe the warnings and cautions specified here as they include important items related to safety.
• After reading this manual, be sure to keep it together with the OPERATING INSTRUCTIONS for future reference.
A
WARNING
(Could lead to death, serious injury, etc.)
■
Do not perform installation by yourself (user).
Incomplete installation could cause fire or electric shock, injury due to
the unit falling, or leakage
of
water. Consult the dealer from whom you
purchased the unit
or
a qualified installer.
■
Install the unit securely in a place which can bear the weight of the
unit.
If the installation location cannot bear the weight of the unit, the unit could
fall causing injury.
■
Perform the installation securely referring to the installation
manual.
■
Be sure to use the parts provided
or
specified parts for the installa-
tion work.
Incomplete installation could cause fire
or
electric shock, injury due to the
unit falling,
or
leakage
of
water.
The use of defective parts could cause fire
or
electric shock, injury due to
the unit falling, or leakage of water.
■
Use appropriate protective equipment and tools for safety.
Failure to do so could cause injury.
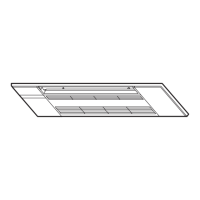
1.
Components
• This kit contains the following parts.
(1) Grille (2) Screw (3) Screw
'\'\3~
~
,,
~
~
"
Q'ty 1
6
1
Remark
MS
x
16
4 X 12
2. Checks before installation
• Before installing the grille (1), make sure the indoor unit
is
square with the ceiling opening (or parallel to the wall-ceiling joint).
• Check that the 4 points for securing the grille (1)
on
the indoor unit are level with the ceiling surface.
Use the installation template supplied with the indoor unit to arrange the position of the indoor unit so that the 4 points for securing the grille (1) are
level with the ceiling surface with a tolerance of 3 mm (1/8 inch). (Fig. 1)
Note: Instructions for using the installation template are provided
on
the installation template itself.
Note: If the misalignment between the 4 points for securing the grille (1) and the ceiling surface
is
more than 3 mm (1/8 inch), the intake
grille may not open
or
close properly.
• Make sure the following
is
completed: insulation for the refrigerant pipes, drainage pipes, etc. and wiring connections and arrangements.
• Check that any material like ceiling insulation does not protrude to the ceiling opening.
""'7"'"'
~l===-
□
~ra/_i_n
p_a_n..:::::::-..:::::::-....::::-'--=J=~
ewwww,
Ceiling surface
Point for securing grille (1)
Make
sure
these
surfaces
are
flush
with
each
other
(0 • 3
mm
[D
-1/8
inch]).
Points for securing grille (1)
Fig.1
En-1