Do you have a question about the Mobatime PROFILINE Series and is the answer not in the manual?
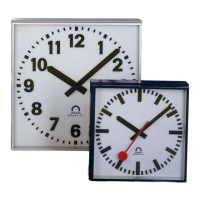
Details wall, ceiling, and pedestal mounting options for clocks, specifying dimensions.
Guides on how to properly reassemble and close the clock after maintenance or adjustments.
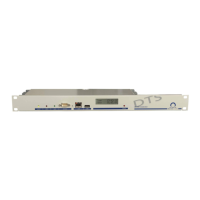
Details mains power connection requirements for illumination and clock movement.
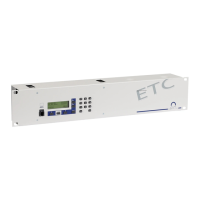
Setup and operation for radio-controlled clocks using a DCF 77 receiver.
Details on autonomous clocks synchronized via GPS, including antenna mounting.
Instructions for manually setting the time on pulse-controlled slave clocks.
Notes that radio-controlled movements automatically set the correct time.
Steps for opening the clock housing to access internal components for replacement.
Instructions for securely closing the clock after component replacement.
| Category | Clock |
|---|---|
| Operating Temperature | 0°C to +50°C |
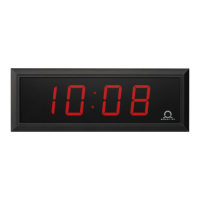
| Synchronization | DCF77, GPS, NTP |
| Display | LED |
| Mounting | Wall |
| Time Base | Quartz |
| Outputs | RS232, RS485 |
| Dimensions | Varies by model |
| Weight | Varies by model |