English 16
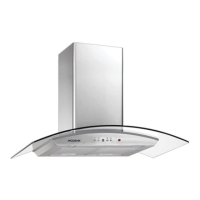
Creating holes on the wall and methods for installing bracket
Notes:
- Height / distance are 65 – 75 cm, except for CX 9753 type where the height / distance is 35 – 40 cm.
- For CX 9753, we recommend installation for use with a stove without top cover.
- Height / Distance C can be shortened in accordance with the ceiling height.
- Make a vertical line on the wall to its highest point or to an appropriate height on the center part of the
area where the vent hood is to be installed
- Make a horizontal line at H (cm) distance from the stove to mark the lowest limit for the vent hood.
- Install bracket I on the wall just like in the above picture up to height A and mark the holes for dynabolt
and fischer. Specially CX 9753, Attach the unit on the wall up to height A and mark the holes for
dynabolt/fischer/screw.
- Install bracket II on the wall just like in the above picture up to height B and mark the holes for fischer
hole.
- Install bracket III on the wall just like in the above picture up to height C and mark the holes for fischer
hole.
- Drill the wall with a Ø 10 mm for dynabolt and ϕ 8 mm for fischer in all marked sections.
- Insert the dynabolt and fischer into the hole.
- Install all brackets using nut for dynabolt and screw for the available fischer.
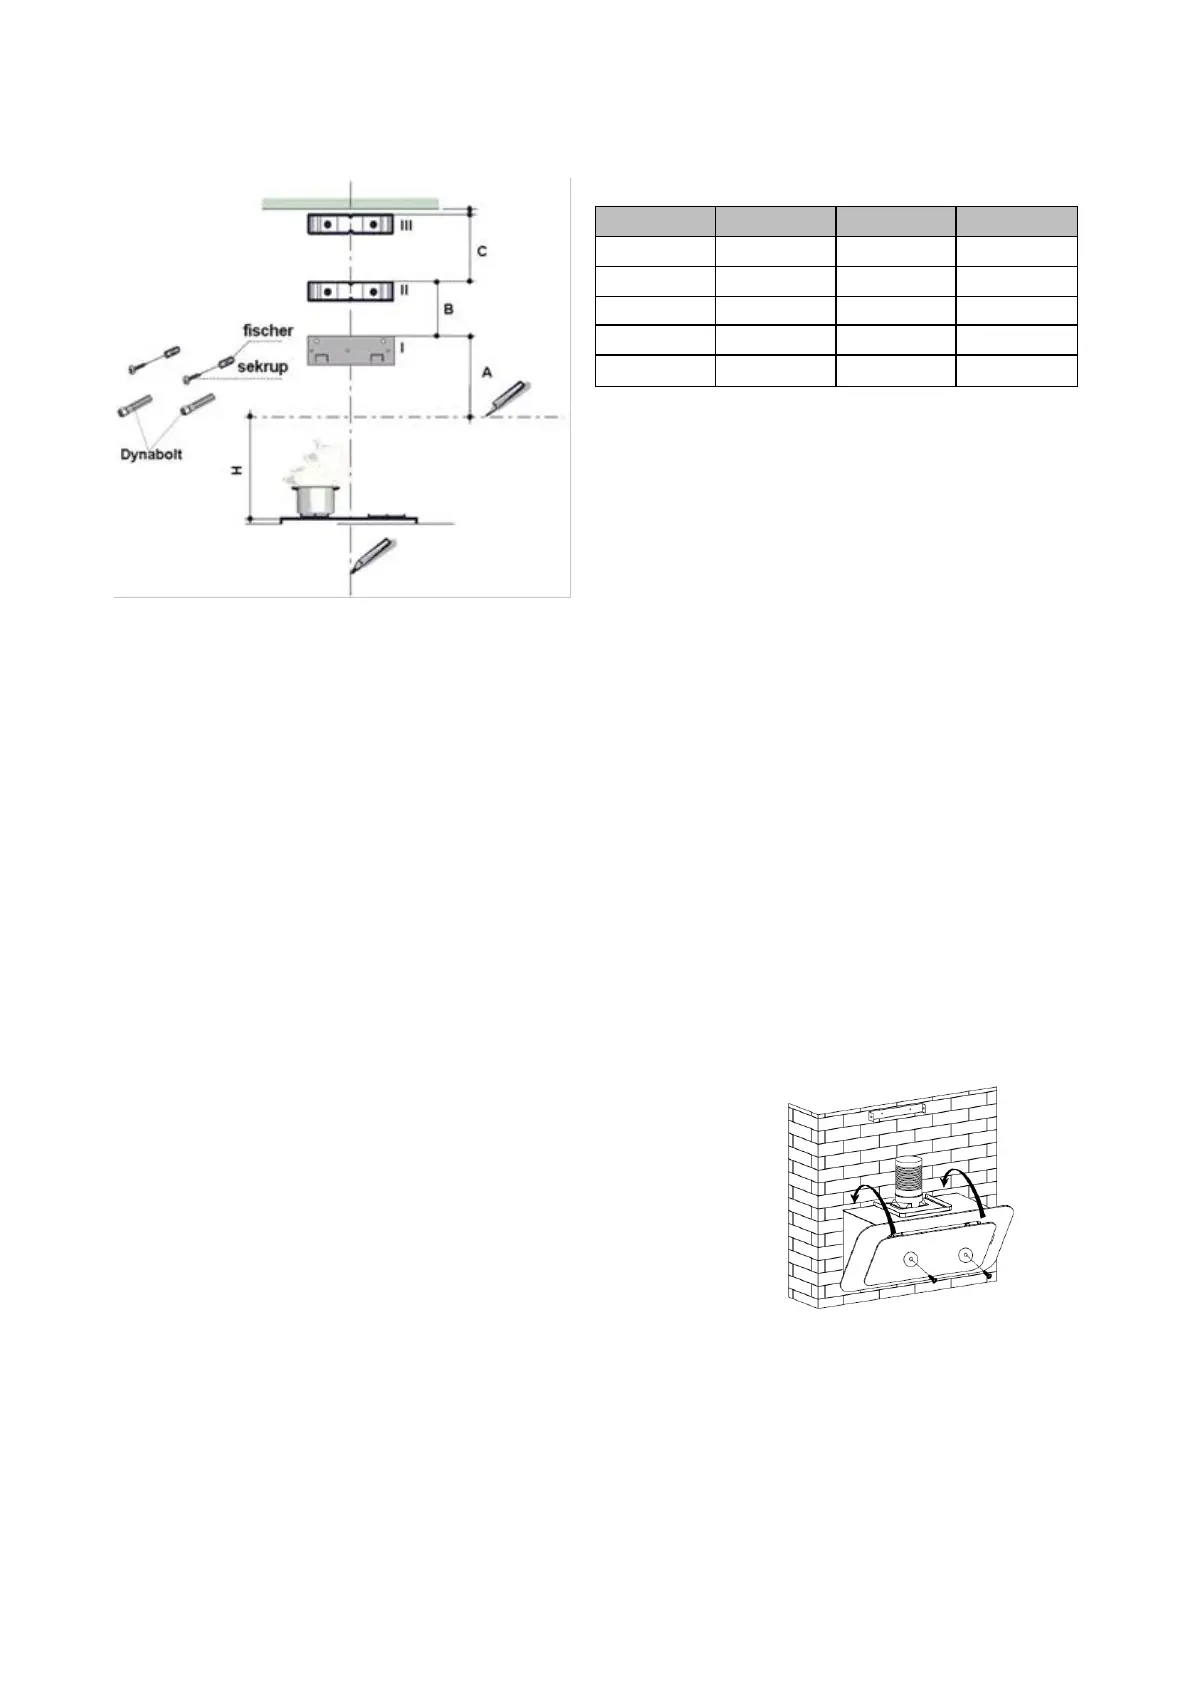
Installing the Hood Body
- Install hood body on the bracket I on the wall, or on the screw
head specially for CX 9753.
- Connect the exhaust system with the spigot / flange if the vent
hood is to be operated as a ducting / exhaust system.
 Loading...