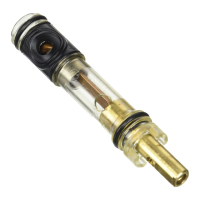
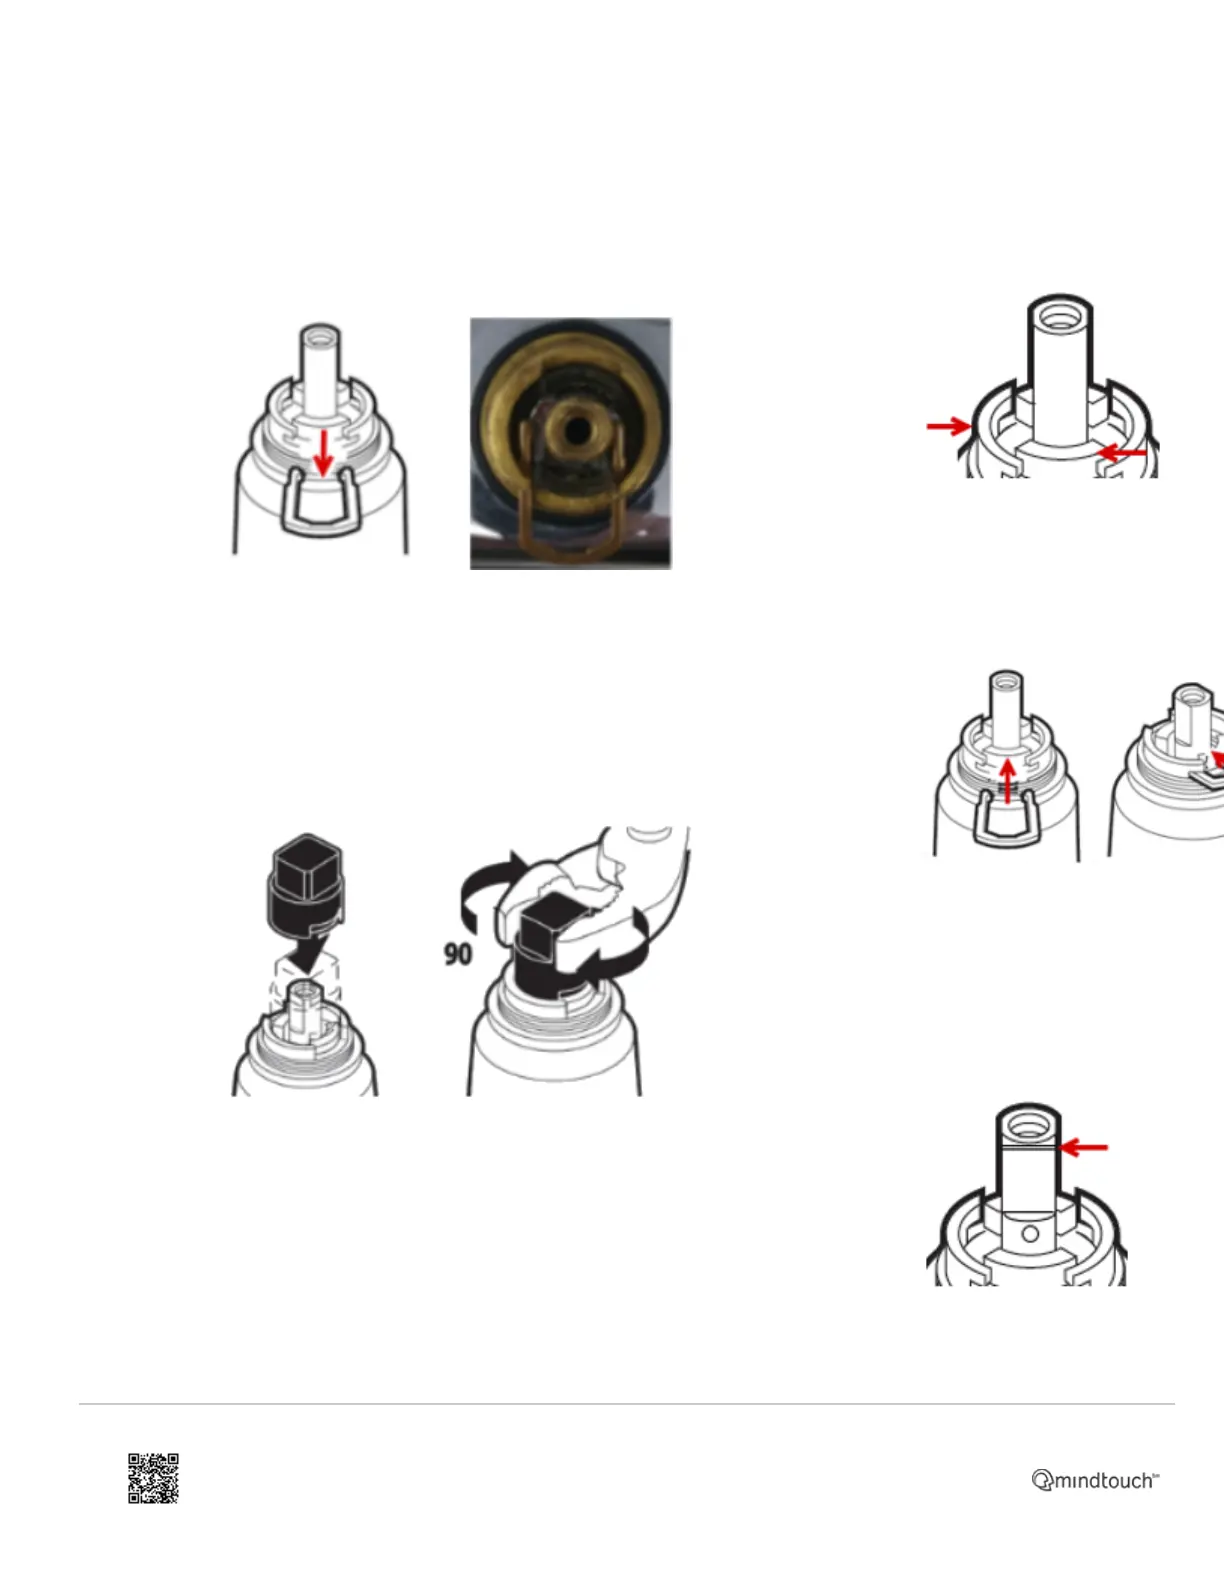
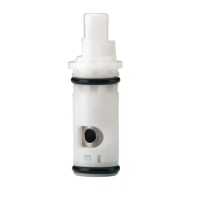
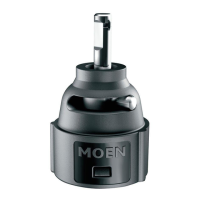
Removing The Cartridge
1. Slide
the
copper
clip (#3)
out of the
valve
body
(#4).
Note: The
copper
clip
(#3) is
installed
between
the gaps
on the
valve
body.
2. Using
the
plastic
twisting
tool (#2),
provided
in the
1225
cartridge
kit, rotate
the
cartridge
(#1) 1/4
of a
turn (90
degrees)
in either
direction
to help
loosen
the
cartridge
(#1).
3. Remove the twisting tool (#2) and raise the stem of the
cartridge (#1) until it stops. Using pliers, grab the stem of the
cartridge (#1) and pull the cartridge (#1) out. This may require
some effort. Note: It is highly recommended to clean and flush
Installing The Cartridge
1. Slide the
new cartridge
(#1) into the
brass valve
body (#4)
aligning the two
clear plastic
tabs on the
cartridge with
the cutouts on
the brass valve
body (#4).
2. Gently slide
the copper clip
(#3) back into
the brass valve
body (#3) on
top of the
cartridge (#1).
If you
encounter any
resistance, do
not force the
copper clip
(#3), see
FAQ's.
3. Rotate
the stem of the
cartridge (#1)
so the small
notch is facing
forward. The
notch on the
stem of the
cartridge
(#1) determines
the hot and
cold location. If
hot and cold
are reversed,
https://solutions.moen.com/Article_Library/1225_Cartridge%3A_Kitchen_Faucet
Updated: Sat, 27 Nov 2021 18:41:16 GMT
Powered by
2