Do you have a question about the Moen 10600 and is the answer not in the manual?
Provides US customer service phone number and website for installation help and parts.
Provides Canadian customer service phone number and website for installation help and parts.
Provides Mexican customer service phone number and website for installation help and parts.
Specifies maximum flow rates for shower heads and automatic compensating valves.
Moen suggests specific tools for safe and easy faucet replacement.
Lists specific tools like hex wrenches and thread seal tape for installation.
Instruction to record the purchased model number for future reference.
Encourages online product registration via Moen's website for warranty and support.
Essential safety step to turn off the water supply before starting faucet removal.
Procedure to relieve water pressure by opening the faucet handle before proceeding.
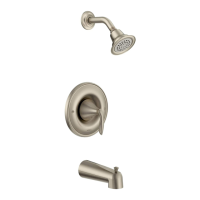
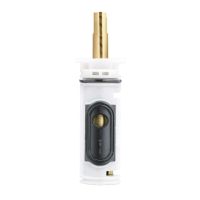
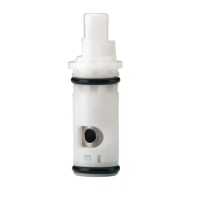
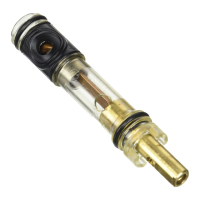
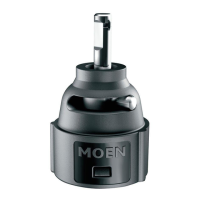
Detailed list and labels for all faucet components, including optional parts.
Indicates which parts are included with the main valve assembly.
Apply thread seal tape to the shower arm threads for a watertight seal.
Screw the shower arm into the wall connection securely.
Slide the shower arm flange onto the shower arm before attaching the shower head.
Screw the shower head onto the installed shower arm.
Ensure the pipe end has no sharp edges or burrs before installing the spout.
Install the tub spout upside down and loosely tighten the set screw.
Tighten the tub spout set screw to secure it in place.
Slide the stop tube onto the valve body.
Attach the escutcheon to the wall using screws that thread into the valve.
Ensure the cartridge stem notch is oriented downwards for correct assembly.
Attach the handle adapter to the cartridge stem and secure it with a screw.
Insert the key stop and adjustable limit stop into the stop tube.
Mount the handle adapter onto the cartridge stem.
Fasten the handle adapter using the adapter screw.
Position the faucet handle onto the installed handle adapter.
Rotate the adjustable limit stop clockwise to reduce maximum water temperature.
Reinstall the limit stop to prevent setting a hotter temperature.
Reconnect the handle adapter and handle, ensuring correct alignment.
Fasten the handle securely using the provided set screw.
Confirms that the faucet installation is complete.
Covers leak-free operation and freedom from material/manufacturing defects for homeowners.
Provides a 5-year warranty for industrial, commercial, and business use purchasers.
Details on how to claim warranty, what's excluded (abuse, misuse, non-Moen parts), and liability limitations.
Explains specific legal rights and how to contact Moen for warranty claims.
| Brand | Moen |
|---|---|
| Model | 10600 |
| Category | Plumbing Product |
| Language | English |