Do you have a question about the Moen 4600 Series and is the answer not in the manual?
Secure faucet to deck, tighten connections, and hold with wrench during tightening to prevent twisting.
Flush system with cold then hot water to remove debris and prevent leaks before operating.
Clean drain opening, apply putty to seat, attach drain body, screw seat and tailpiece, tighten mounting nut.
Choose between Vandal-proof or Easy Removal drain plug positioning as per illustration.
Connect lift rod, knob, strap, and clip, then adjust for clearance and tighten strap screw.
Remove handle, clip retainer, grooved sleeve, spacer, and then pull out the cartridge.
Insert cartridge, align ears, replace clip, spacer, sleeve, and retainer ring, then re-install handle.
Run water before use, use cold water for drinking/cooking, and flush plumbing to reduce lead.
Contact Moen for product, installation, parts, or warranty questions.
| WaterSense Certified | Yes |
|---|---|
| ADA Compliant | Yes |
| Lifetime Limited Warranty | Yes |
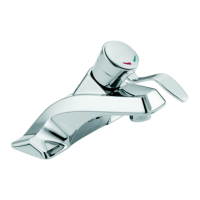
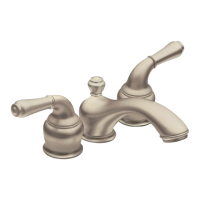
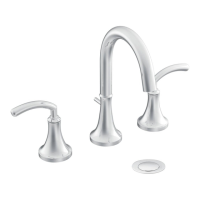
| Series | 4600 Series |
| Finish | Chrome |