FLOOR
PLANCHER
PISO
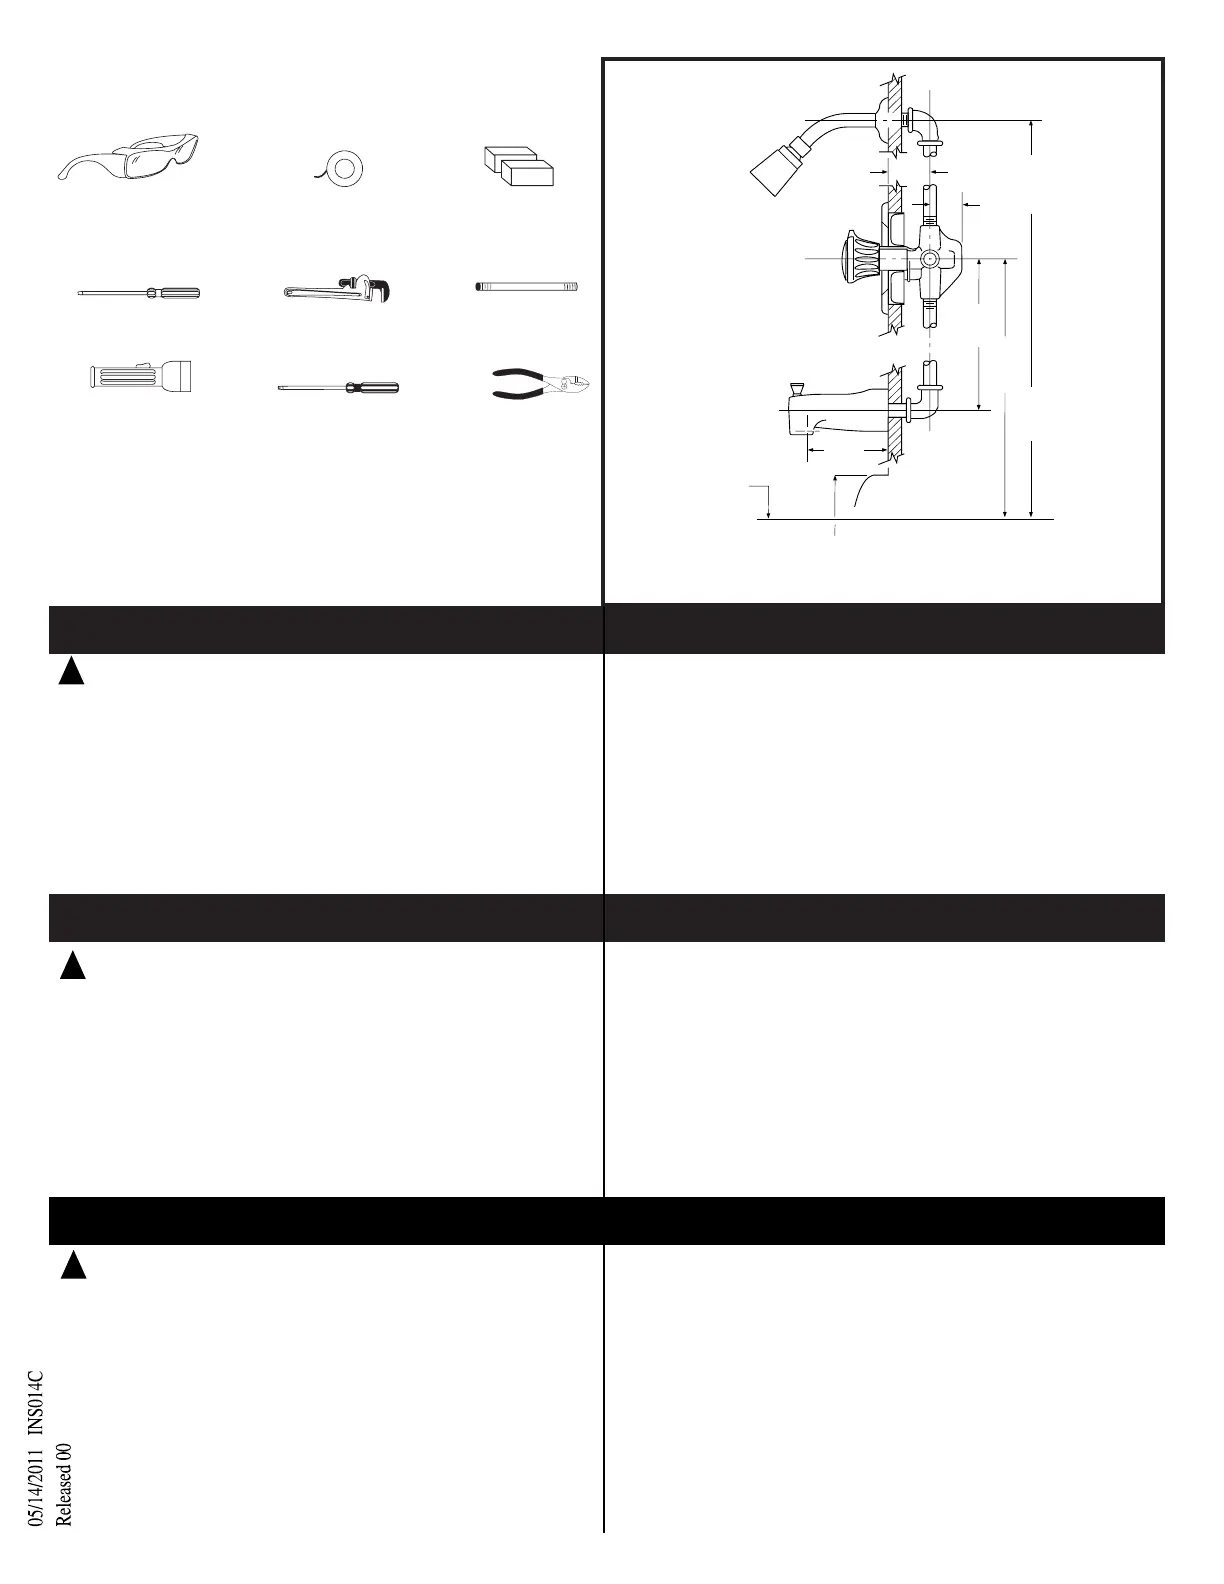
6" - 8"
(152 -
203mm)
1-1/4" (32mm)
32"
(813mm)
NOM.
2-1/4" (57mm) MAX.
1" (25mm)MIN.
TUB RIM
BORD DE LA BAIGNOIRE
BORDE DE LA TINA
4-1/2"
(114mm)
6' 6"
(1981mm)
NOM.
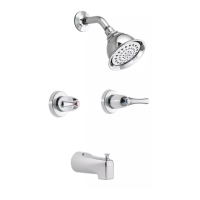
Before you begin installation, determine the piping and pipe fitting you must supply.
Inlet and outlet ports are 1/2" female pipe thread. Wrap all male threads with Teflon
tape (not supplied).
If you are connecting to a shower only, plug bottom discharge port with 1/2" pipe plug
(not included). If for tub only, plug top discharge port.
Avant de commencer l’installation, déterminer la tuyauterie et les raccords de tuyau-
terie dont vous aurez besoin. Les ouvertures d’arrivée et de sortie requièrent du tuyau
femelle fileté de 1/2 po. Envelopper tous les filets males avec du ruban Teflon (non
compris).
Si vous faites un raccordement à la douche seulement, boucher l’ouverture de la
décharge du bas avec un bouchon de tuyau de 1/2 po (non compris). Pour un rac-
cordement à la baignoire seulement, boucher l’ouverture de la décharge du haut.
Antes de empezar la instalación, determine la tubería y accesorios que usted debe
adquirir. Las aberturas de entrada y salida son tubos hembras con rosca de 1/2".
Envuelva todas las roscas machas con cinta de teflón (no incluída).
Si usted está conectando solamente la regadera, tapone la abertura de descarga
inferior con un tapón para tubo de 1/2" (no incluído). Si únicamente conecta la tina,
tapone la abertura de descarga superior.
FRANÇAIS
ENGLISH
1
HELPFUL TOOLS
OUTILS UTILES
HERRAMIENTAS UTILES
ATTENTION: Toujours couper l’alimentation en eau avant d’enlever
ou de démonter le robinet. Ouvrir la poignée du robinet pour libérer la pression d’eau
et pour s’assurer que l’alimentation en eau a bien été coupée.
Lors de l’installation d’un nouveau robinet, s’assurer que la bague de retenue de
cartouche est bien fixée. La cartouche et la bague de retenue de cartouche ont été
correctement installées et vérifiées avant de quitter l’usine. Il est toutefois possible
qu’en raison de la manipulation du robinet par plusieurs personnes, la bague de
retenue ne soit plus bien fixée. Vérifier ceci avant l’installation. Si la bague de
retenue n’est pas bien installée, la pression d’eau peut expulser la cartouche du bâti.
Des blessures et des dégâts matériels peuvent survenir.
CAUTION: Always turn water OFF before removing existing faucet or
disassembling the valve. Open faucet handles to relieve water pressure and insure
that complete water shut-off has been accomplished.
Before installing new faucet make sure that the cartridge retainer clip is in place. The
cartridge and cartridge clip were properly installed and tested before leaving the fac-
tory. Although it is unlikely, it is nevertheless possible that through the handling of the
faucet by any number of persons the cartridge clip may not be properly installed. This
should be carefully checked at time of installation If the cartridge clip is not properly
installed, water pressure could force the cartridge out of the casting. Personal injury or
water damage to the premises could result.
ESPAÑOL
ADVERTENCIA: Siempre desconecte el agua antes de remover
la mezcladora existente o desarmar la válvula. Abra las manijas de la mezcladora
para desahogar la presión del agua y asegurarse que se ha logrado un cierre com-
pleto del agua.
Antes de instalar la nueva mezcladora asegúrese que la presilla retenedora del car-
tucho esté en su lugar. El cartucho y la presilla retenedora del cartucho fueron cor-
rectamente instalados y comprobados en la fábrica. Aunque poco probable, no
obstante es posible que, debido al manejo de la mezcladora por varias personas la
presilla retenedora del cartucho no esté correctamente montada. Esto debe revis-
arse cuidadosamente en el momento de instalación. Si la presilla retenedora del
cartucho no está correctamente instalada, la presión del agua podría forzar al car-
tucho fuera del cuerpo fundido. El resultado puede ser lesiones personales o daño
por agua al lugar.
SAFETY GLASSES
LUNETTES DE SÉCURITÉ
GAFAS DE SEGURIDAD
FLATBLADED SCREWDRIVER
TOURNEVIS À TÊTE PLATE
DESTORNILLADOR DE PALA
PHILLIPS SCREWDRIVER
TOURNEVIS À TÊTE ÉTOILÉE
DESTORNILLADOR DE ESTRELLA
FLASHLIGHT
LAMPE DE POCHE
LINTERNA
PLIERS
PINCES
PINZAS
PIPE WRENCH
CLÉ DE LAVABO
LLAVE DE TUBO
THREAD SEAL TAPE
RUBAN D'ÉTANCHÉITÉ
CINTA SELLADORA DE ROSCAS
WOOD BLOCKS
BLOCS EN BOIS
BLOQUES DE MADERA
PIPING
TUYAUTERIE
TUBERIA
For safety and ease of installation, Moen recommends the use of the
helpful tools above.
Par mesure de sécurité et pour faciliter l'installation, Moen s
uggère l'utilisation des outils mentionnés ci-dessus.
Para seguridad y facilidad de instalación, MOEN recomienda
el uso de las herramientas útiles arriba mostradas.
 Loading...