Do you have a question about the Moen 82009 and is the answer not in the manual?
Lists and illustrates essential tools for safe and easy faucet replacement.
Important safety advice to turn off water supply and relieve pressure before removing the old faucet.
Instructions on cleaning and preserving the faucet's metallic finish using non-abrasive wax.
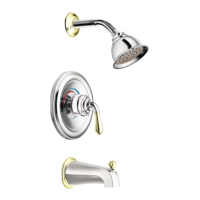
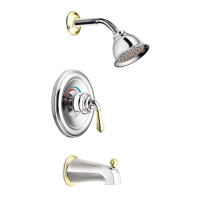
Recommends optimal height for the valve body and shower arm, and tub spout placement.
Details on connecting the valve body using threaded (IPS) or copper (CC) pipe.
Guides on positioning the valve and removing the flow director from the top outlet.
Instructions for rotating the valve and installing the flow director into the valve.
Details on plumbing the valve using threaded (IPS) or soldered copper (CC) connections.
Applying sealant around wall tubes and connecting components as per instructions.
Guides on sliding escutcheons and installing hot and cold handles correctly.
Instructions for installing temperature indicators or handle caps onto the handles.
Steps for threading the shower arm into the wall and sliding the escutcheon onto it.
Details on installing the tub spout, ensuring correct protrusion from the wall.
Final steps for threading and sealing the tub spout onto the pipe.
Instructions for adjusting handle orientation and completing the installation.
Explains Moen's limited lifetime warranty for faucets, including coverage and exclusions.
Outlines the process for making a warranty claim, including necessary documentation.
| Model Number | 82009 |
|---|---|
| Brand | Moen |
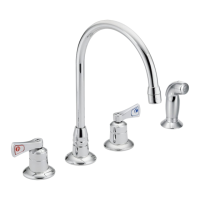
| Product Type | Kitchen Faucet |
| Finish | Chrome |
| Flow Rate | 1.5 GPM |
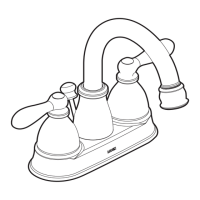
| Installation Type | Deck Mount |
| Handle Type | Lever |
| Number of Handles | 1 |
| Spout Type | High Arc |