Do you have a question about the Moen S72101 and is the answer not in the manual?
Provides phone numbers and websites for installation help and parts in USA, Canada, and Mexico.
Lists essential tools for safe and easy faucet replacement.
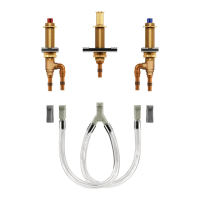
Detailed list of faucet parts with their corresponding labels (A-M).
Explains the meaning of icons used in the installation guide for sink types.
Crucial advice for safely turning off water and relieving pressure before removal.
Instructions for aligning and inserting the faucet body into the sink opening.
Attaching the mounting washer and nut to the faucet body.
Using the installation tool to tighten the mounting nut securely.
Connecting the outlet hose to the mounting shank based on side spray presence.
Attaching flexible supply lines to shut-off stops and tightening them.
Installing the hose guide and side spray into the sink opening.
Connecting the diverter to the faucet body securely.
Connecting the side spray to the diverter.
Assembling the outlet hose to the diverter.
Connecting flexible supply lines to shut-off stops.
Procedures for flushing the faucet after installation.
Explains what the warranty covers for homeowners and other purchasers.
Outlines the procedure for submitting a warranty claim, including proof of purchase.
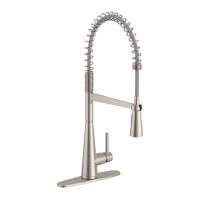
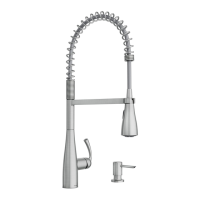
| Product Type | Kitchen Faucet |
|---|---|
| Model Number | S72101 |
| Finish | Chrome |
| Number of Handles | 1 |
| Flow Rate | 1.5 GPM |
| Installation Type | Deck Mount |
| Connection Type | Compression |
| Deck Plate Included | Yes |
| Handle Style | Lever |
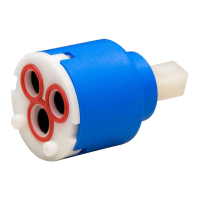
| Valve Type | Ceramic Disc |
| ADA Compliant | Yes |
| Warranty | Limited Lifetime |
| Collection | Arbor |
| Connection Size | 1/2 in |
| Spray Type | Pull-Down |