Do you have a question about the Moen 1255 and is the answer not in the manual?
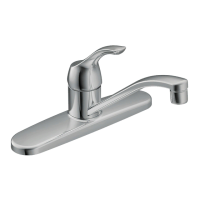
Always turn water supplies off before disassembling your faucet to relieve pressure.
Locate and loosen the Allen screw in the handle to allow it to slide off.
Grasp the dome and pull it upwards to detach it from the faucet.
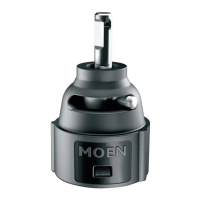
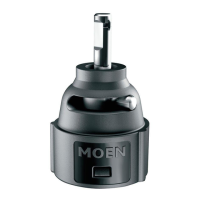
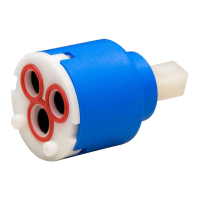
Unscrew the 1255 cartridge nut counter-clockwise using the grey tool, pliers, or wrench.
Lift the 1255 cartridge straight out of the faucet body.
Clean the inside of the faucet chamber with a soft brush, ensuring no debris remains.
Align the cartridge tabs with the faucet grooves and insert it into the chamber.
Tighten the new cartridge nut snugly, then turn an additional 90 degrees to secure.
Gently pry up the black crown ring, being careful not to damage it for reassembly.
Grasp the spout and lift it upwards to remove it from the faucet body.
Identify the location of the upper and lower O-rings on the faucet body.
Pry each O-ring out carefully, avoiding damage to the valve body.
Grease and install new O-rings onto the valve body grooves correctly.
Clean spout interior and slide it back flush with the faucet base.
Secure crown ring into the spout top, tucking tabs under the channel edge.
Gently pull spout upwards to ensure the crown ring is seated properly.
| Material | Plastic |
|---|---|
| Model Number | 1255 |
| Lifetime Limited Warranty | Yes |
| Cartridge Type | Duralast 1255 |
| Compatibility | Single Handle Faucets |