2
orange are
small tabs on
the cartridge
and grooves in
the faucet.
These must
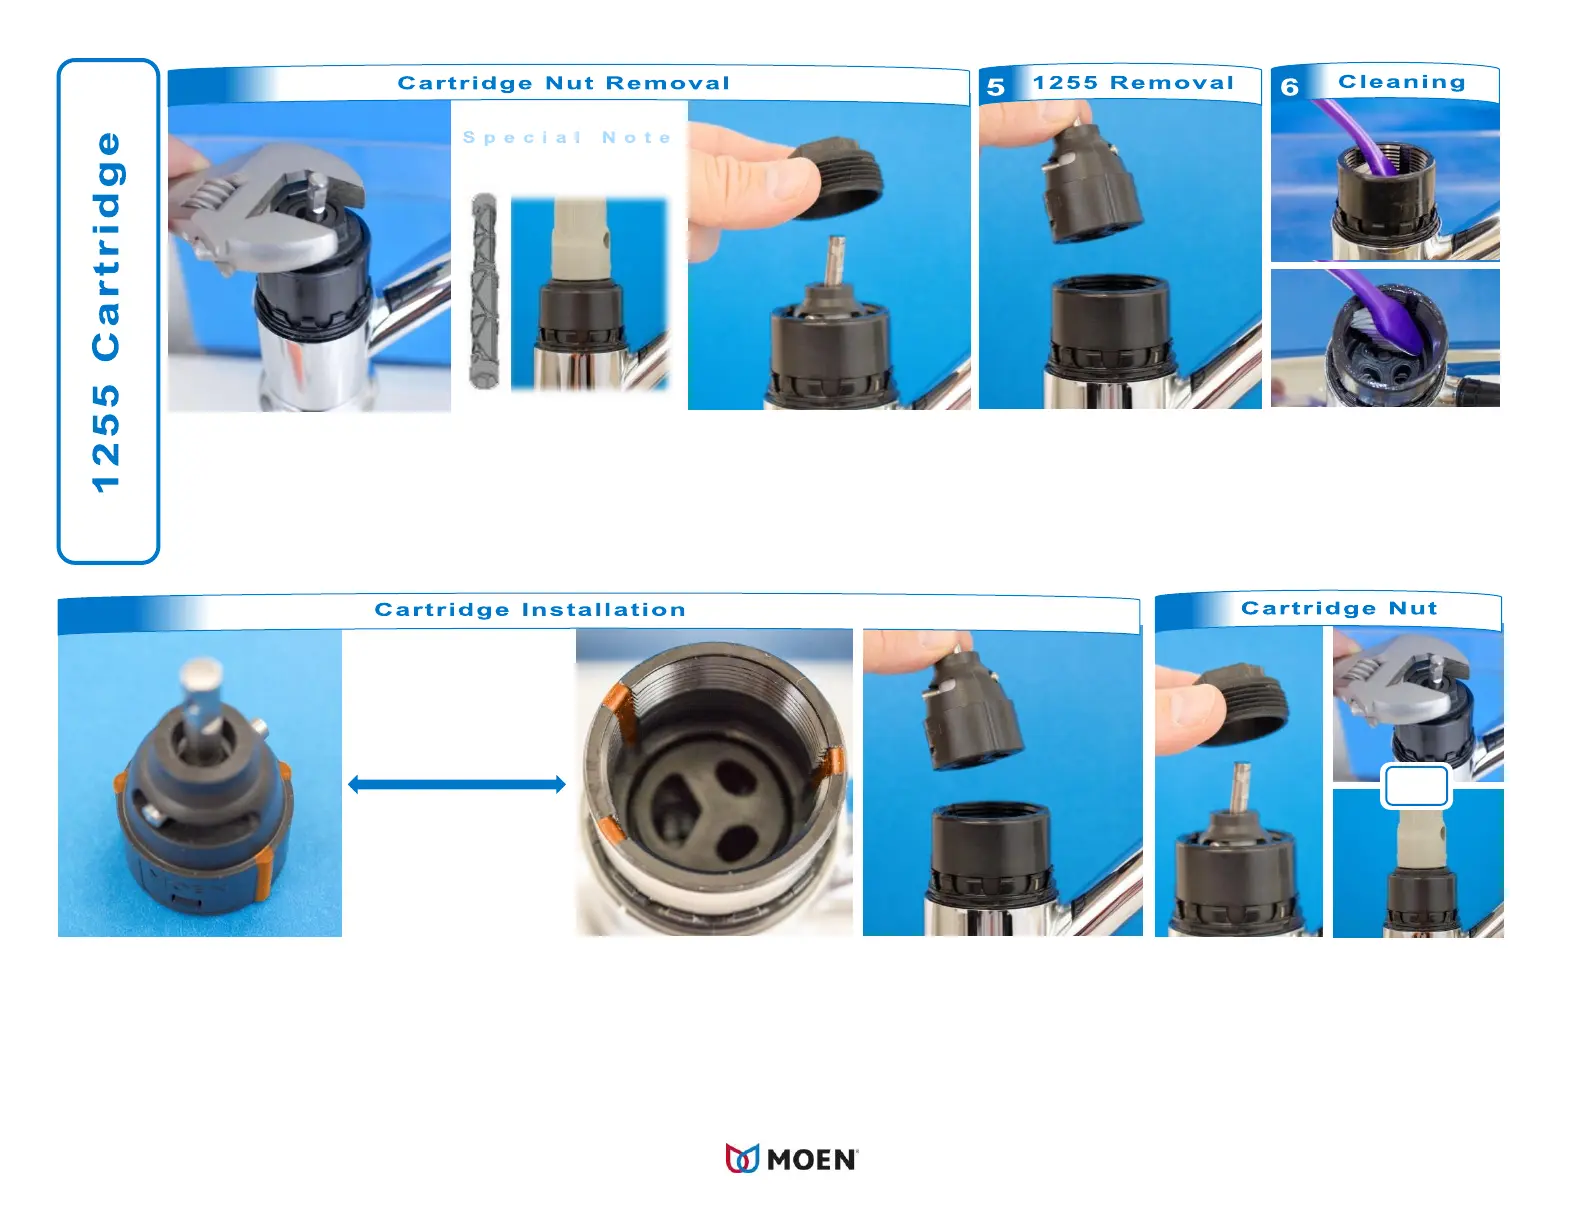
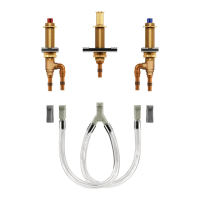
Tool number: 118305
Using the grey assembly tool (supplied with the faucet), pliers or wrench,
unscrew the 1255 cartridge nut counter-clockwise and remove.
Lift the 1255 cartridge out
of the faucet.
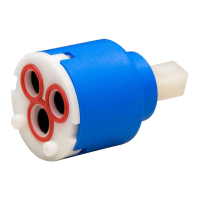
1. View the 1255 cartridge to find the three small tabs protruding.
Look into the chamber of the faucet to find the location of the
three large grooves. The grooves will accept the small tabs
protruding from the 1255 cartridge. These tabs and grooves are
highlighted in orange above for demonstration, but will not be
orange on your cartridge and faucet.
Insert the 1255 cartridge
into the chamber making
sure to line up the three
tabs with the grooves.
clean the inside of
the chamber. Make
sure no debris
remains.
Using the grey assembly tool,
pliers or a wrench, tighten the
new 1255 cartridge nut until
snug. Next turn approximately
90 degrees to fully secure the
nut.