RIY
The Interface Solution Experts
15
The HP Housing. Figure 7 is an outline dimension
drawing of the HP-style unit with the FL housing
option. The spring clips on standard HP-style units
have no dimensional significance, so they are not
shown here.
The standard HP-style housing is equipped with
spring clips, which hold the unit in place when
mounted in an explosionproof enclosure. The spring
clips are squeezed inward to allow for positioning of
the unit in the base of the enclosure. When released,
they recoil to an extended position slightly over the
outer edge of the unit, providing adequate outward
force to hold the unit in place.
For other applications, an HP-style unit equipped with
flange plates (the FL Housing option) can be mounted
on relay tracks or a sturdy flat surface. While for
other applications, the DIN-style housing that mounts
on standard DIN rails is more suitable.
The DIN-style Housing. Figure 8 is an outline
dimension drawing of the DIN-style RIY. The all
aluminum DIN-style units mount directly onto stan-
dard G-type (DIN EN50035) or Top-hat (DIN
EN50022), DIN rails. This packaging is ideal for high-
density mounting of DIN-style packages on a com-
mon DIN rail.
Making the Electrical Connections
The RIY is a loop-powered instrument. The terminals
for the loop-power connections are marked “+PS” and
“–PS”. The loop-power connections and the input
connections marked “1”, “2”, “3”, and “4” are the only
electrical connections to be made to the RIY. These
terminals are clearly marked on the front panel of
each unit.
Electrical connections for HP-style units are made at
the front panel to individual compression screw
terminals; one for each connection. Each terminal
has a slotted-head screw that is used to terminate
electrical wires.
On DIN-style units, the sensor input and loop-power
connections are made to removable terminal blocks.
Wires are connected to these blocks through open-
ings in the top, and secured by compression screws
on the front of each block.
9. Verify that voltmeter reading is 1 Vdc (4 mA).
This indicates that full-scale value was captured
successfully. If voltmeter reads 5 Vdc, repeat
steps 7 and 8 until 1 Vdc reading is obtained.
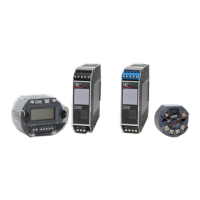
10. To trim zero-percent output,
while monitoring output,
press the Up or Down ZERO
push button until desired
output reading is obtained
(e.g., 1.000 Vdc).
11. Press the Up and Down
SPAN push buttons simulta-
neously.
12. To trim 100-percent output,
while monitoring output, press
the Up or Down SPAN push button until desired
output reading is obtained (e.g., 5.000 Vdc).
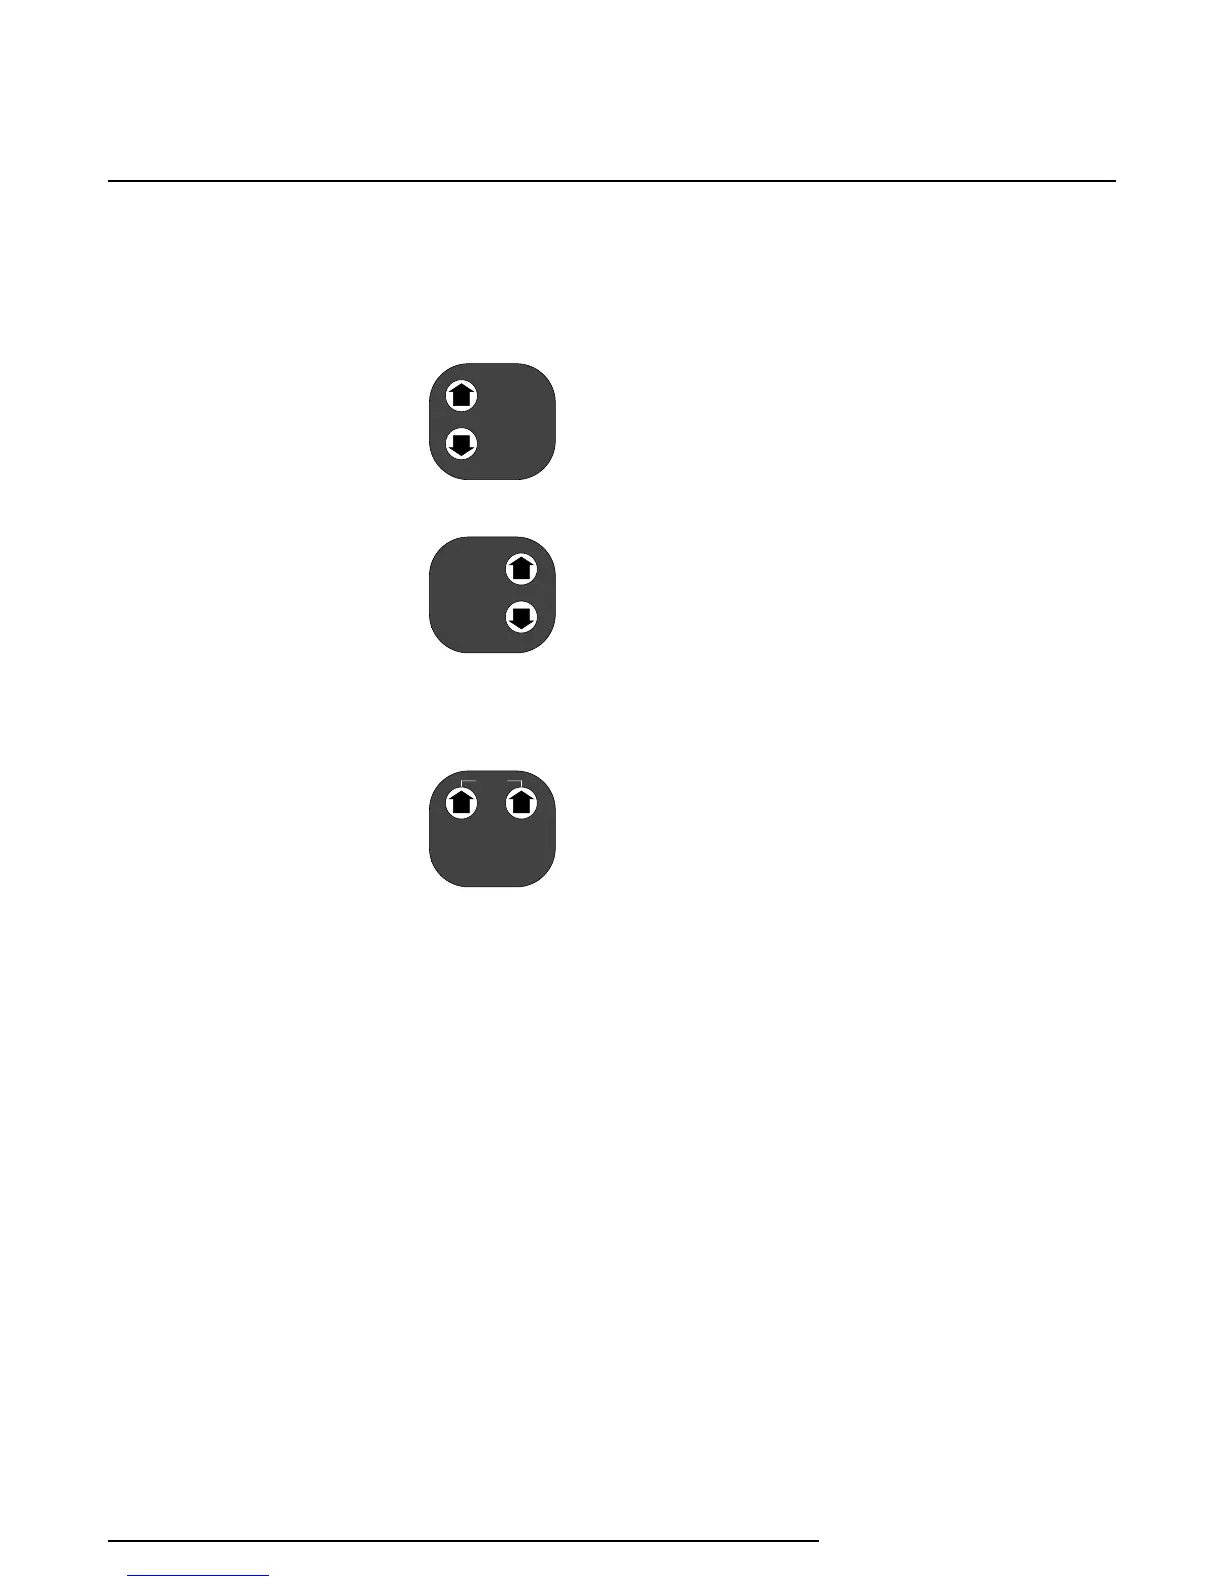
13. When desired values are
captured and outputs
trimmed, press both Up
arrows simultaneously to
save latest settings.
14. When procedure is complete, set SW301-6 to the
‘on ’ position for keyboard lockout.
Installation
Installing the RIY consists of physically mounting the
unit and completing the electrical connections.
Before installing the RIY, you should perform a bench
check and calibration, if needed, to confirm that the
configuration of the unit is appropriate for the in-
tended application.
Mounting the RIY
The RIY is available in an HP- or DIN-style housing.
Mounting considerations differ for each of these
housing style.
ZERO
SPA N
SA VE
ZERO
SPA N
 Loading...