Chapter 2
Getting Started
This section helps you to get familiar with the basic operations of the radio.
2.1
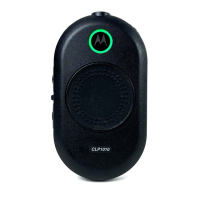
Installing the Battery
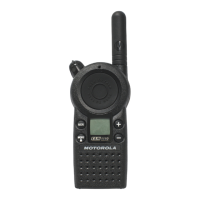
Procedure:
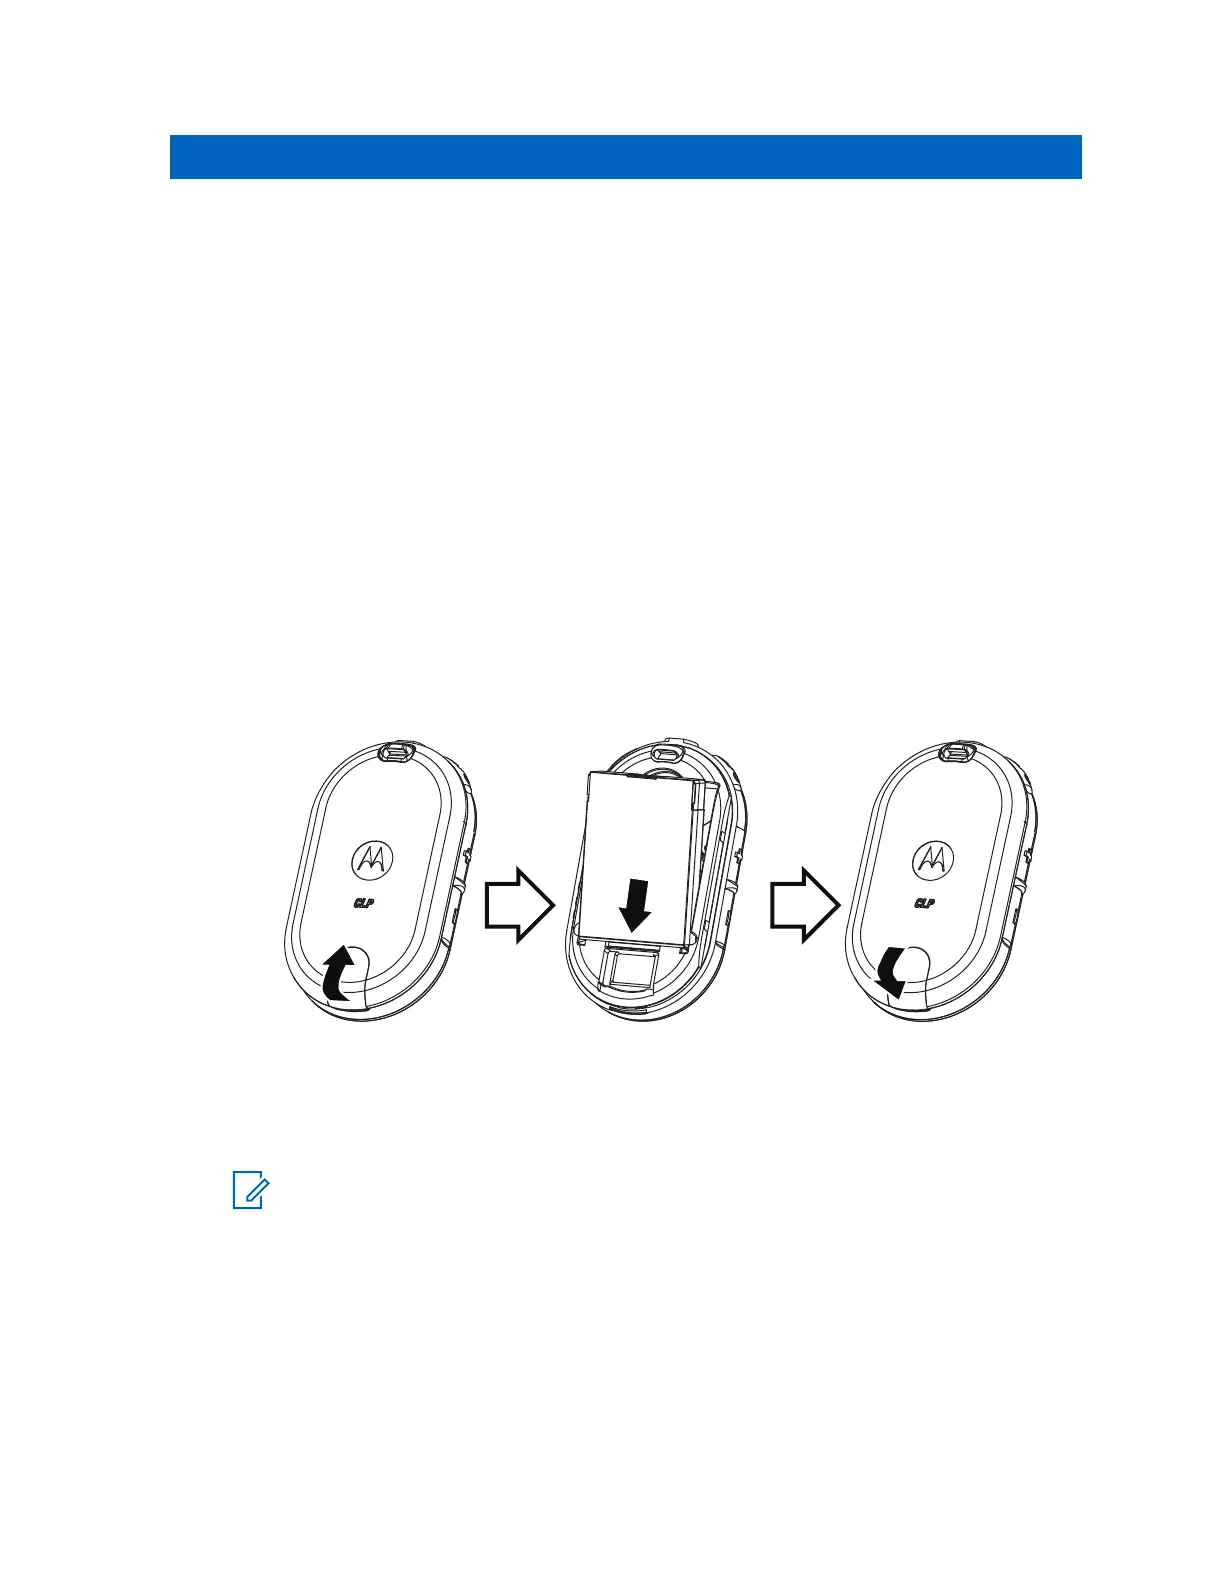
1 At the bottom of the battery door, lift the latch up and remove the battery door of the radio.
2 Align the battery contacts to the tabs of the battery compartment.
3 Insert the end with the battery contacts before pressing the battery down to secure in place.
4 Place the battery door on the radio and push the latch down to lock the battery door.
Figure 2: Battery Installation
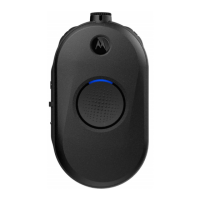
NOTE: The standard package of a CLP Series radios comes with a standard Lithium-
Ion battery and a battery door. For other options, customers can order Hi-capacity
Lithium-Ion battery (P/N HKNN4013) and the Hi-capacity Lithium-Ion battery door (P/N
HKLN4440).
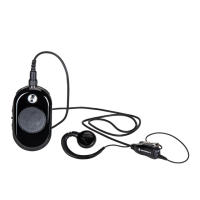
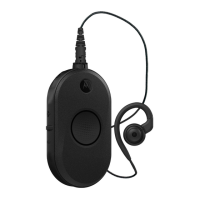
2.2
Connecting Wired Audio Accessory
Prerequisites: Turn the radio off.
68012000044-ED
Getting Started
11
 Loading...