68P02900X91 1-1
EN
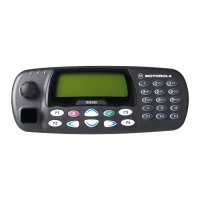
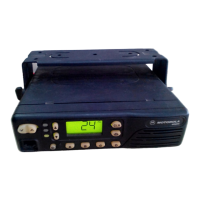
Remote Mount Controlhead Installation
To fit the remote front housing:
1.
Remove the control head from the radio using a flat blade screw driver. Insert the screw driver in the recess
between the control head and the radio. Press until the side of the control head releases.
2.
Pull the control head away from the radio. Remove the flex connector from the socket on the control head side.
3.
Take the remote mount front housing and connect the flex connector to the radio front housing PCB. The contact
surface of the flex should be facing the PCB.
4.
Press the front housing onto the radio chassis until the protuding taps on radio chassis snap into the recesses
inside the front housing.
To fit the remote back housing:
1.
Connect the flex to the control head back housing PCB (i.e. original PCB inside control head).
2.
Press the control head onto the remote back housing until it snaps into place.
To install the remote control head into the vehicle:
1.
Position the remote mount bracket in the desired location and mark the positions of the mounting holes,
centrepunch the marked spots and drill a 4 mm Ø hole at each mark. Mount the trunnion with the supplied screws.
2.
Ensure the socket gaskets are in the back of control head and radio front housing and connect the remote mount
cable to both connectors.
3.
Snap the control head into the mounting trunnion and fix it with the wing screws.
Remote Front Housing
Remote Back Housing
Remote
mount
radio
Front housing pcb
Pad
Remote mount
front housing
Gasket
Remote cable
Flex connector
Controlhead
PCB Controlhead
Gasket Controlhead
Bracket
remote mount
Gasket for
Remote cable
socket
Remote Controlhead
back housing
Flex Connector
Interface
English
 Loading...