3-2. MICOM-3 Disassembly
Note
The numbers in parentheses refer the subassembly or component number in the
MICOM-3 or Control Head exploded views at the end of this manual.
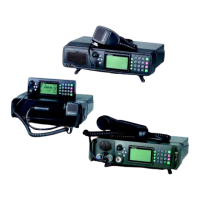
3-2.1 Removing the Control Head
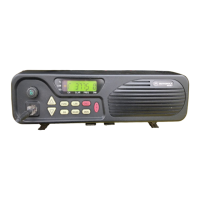
3-2.1.1 Removing the MICOM-3F Control Head
1. Insert a small flat blade screw driver, or similar, in the slotted area on the right hand-side panel
of the radio.
Figure 3-1. MICOM-3F Control Head
Removal
2. Press until the side of the control head releases.
3. Gently pull the control head away from the main board.
4. Remove the flat cable from the socket on the radio side.
Note
This procedure is also used to open the MICOM-3T control head.
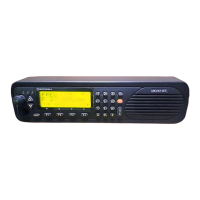
3-2.1.2 Removing the MICOM-3R Control Head
1. Unscrew the four screws located on the front panel.
2. Gently pull the control head away from the main board.
3. Remove the flat cable from the socket on the radio side.
4. in case you require to remove the handle, unscrew the fixing screws.
Figure 3-2. MICOM-3R Control Head
Removal
3-2 Cat. No. 6886859J01
 Loading...