12. Replace the PA shield (7).
3-3.3 LORD Board Assembly
See the corresponding MICOM-3 exploded view.
1. Make sure the cover (8) including the gasket (9) is well positioned.
2. Positioned the RF shield contacts on the RF shield.
3. Replace the PCB (13) with the 25-pin connector facing its recess in the low RF chassis.
4. Place shield on the PCB and secure it with the 6 screw (14).
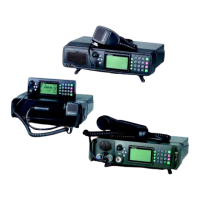
3-3.4 MICOM-3 Assembly
See the corresponding MICOM-3 exploded view.
1. Replace the cover (8) on the chassis (1) and secure it with 2 screws (15).
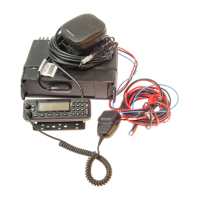
2. Connect the 2 RF coax cables (16), the 24-pin flat cable (17) and the 40-pin flat cable (3) (see
also Figure 5-9).
3. Place the front panel gasket (18) on the chassis (1) and insert the 24-pin flat cable through the
opening in the gasket.
4. Position the gasket correctly around the chassis.
5. Reinstall the Control Head or front cover as follows:
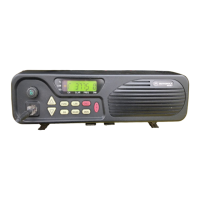
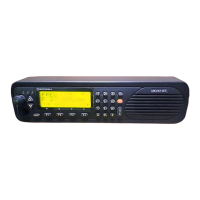
• For the MICOM-3F, press the Control Head onto the radio chassis snap until the
protruding taps on the chassis snap into the recesses inside the control housing.
• For the MICOM-3R and MICOM-3T, use the following procedure:
• Place the front panel gasket (18) on the chassis (1) and insert the 24-pin flat cable
and the ground wire through the opening in the gasket.
Note
Make sure that the front panel gasket is lubricated with NYE
Fluorocarbon 865.
• Position the gasket correctly around the chassis.
• Lock the 24-pin connector and the ground wire.
• Press the Control Head or front cover onto the radio chassis and fasten with the
four screws removed in para. 3-2.1.2 and 3-2.1.3.
Cat. No. 6886859J01 3-5
 Loading...