DEFAULT SETTINGS
III
Capture Mode PANORAMIC
Photo Quality 4.0 MP
Photo Delay after each photo is taken 15 SECONDS
Multi Shot Count OFF
Video Resolution VGA
Video Length 10 SECONDS
Camera Name MOULTRIECA M
Temperature FAHRENHEIT
Info Strip printed on photos ON
Time Lapse Frequency 30 SECONDS
Time Lapse Duration 3 HOUR
GPS Latitude 000.000000 N
GPS Longitude 000.000000 E
Delete All? NO
Default Setting NO
Security Code 00000
Page 3
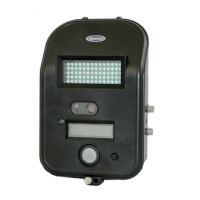
P-150 Digital Game Camera
Slide the UNLOCK switch on the bottom of Camera and use the knob to pull the
slide-out Battery Tray. Install or eight(8) AA size alkaline or lithium batteries
with polarities as indicated in the Battery Tray. Re-install the Battery Tray.
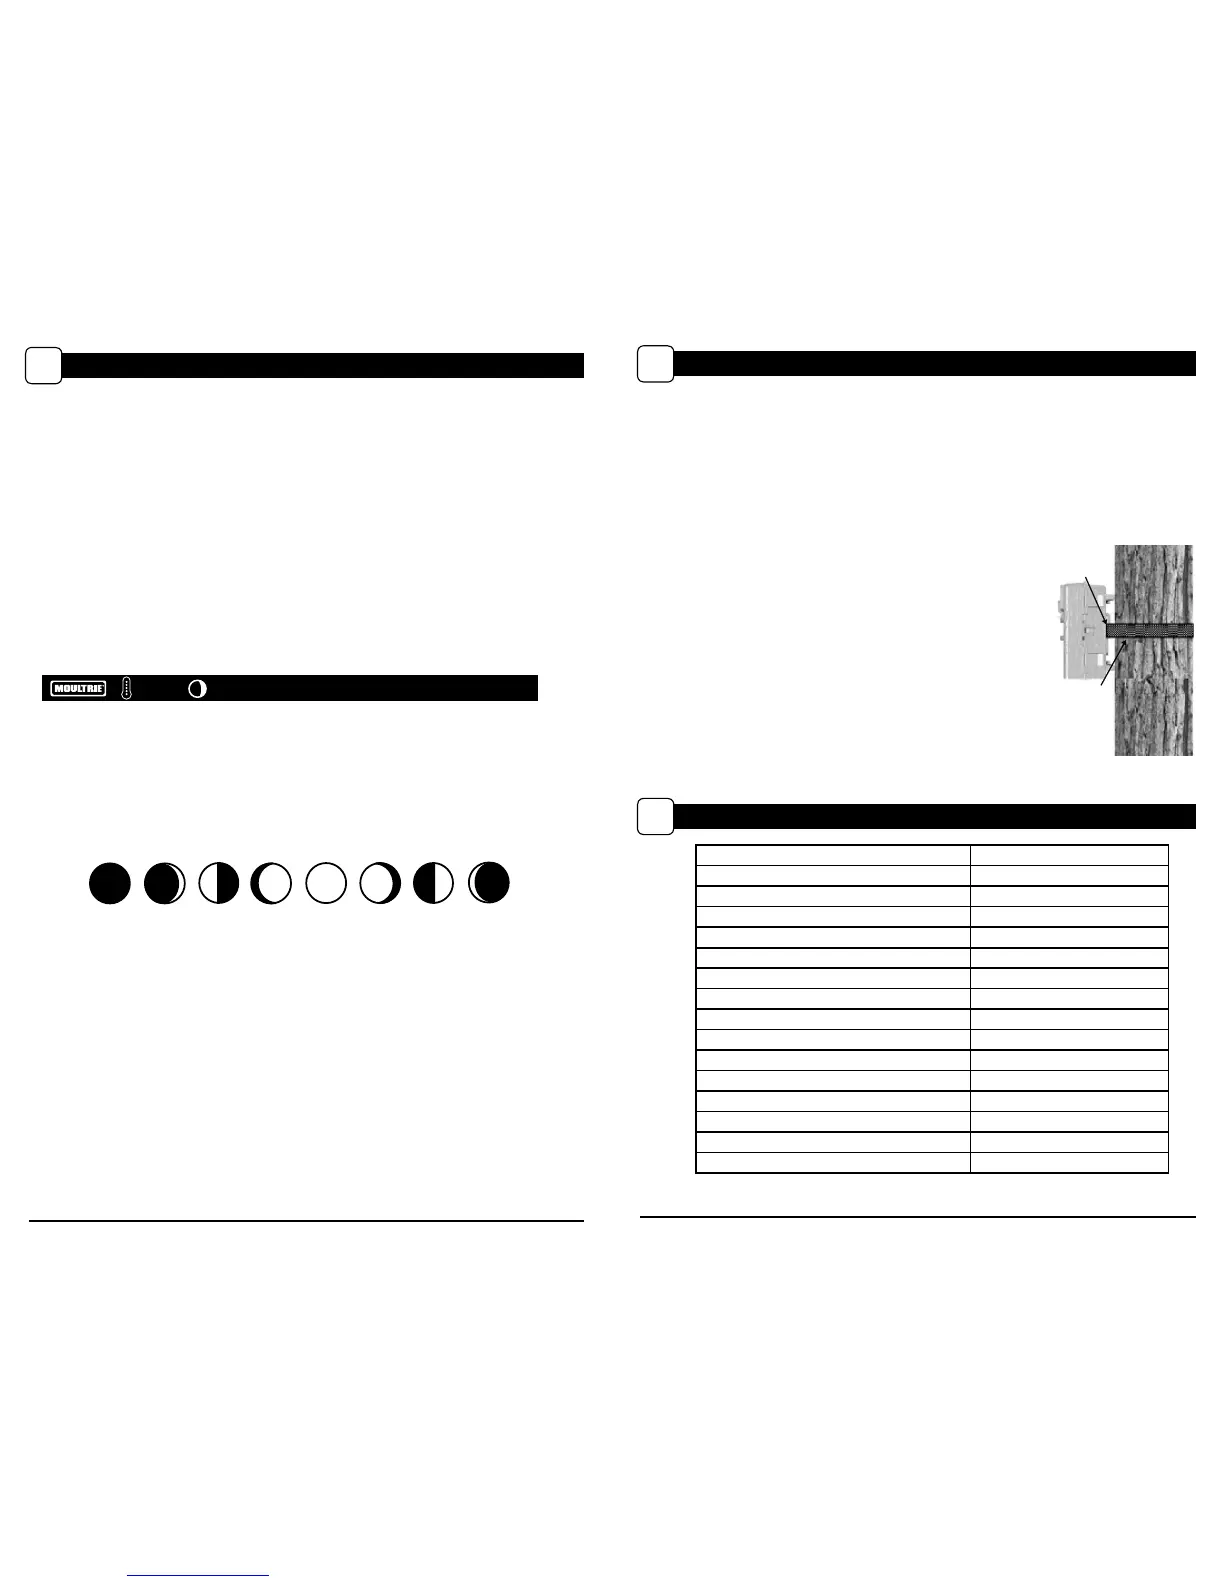
Thread the provided Mounting Strap through the Eyelets on the back of the
camera and secure to a tree or pole approximately 36" from the ground as shown.
Turn Camera on by sliding ON/OFF/IR TEST switch
to the ON position.
Press the MODE button one time to get to the
Camera Setup Menu. Set Time and Date by pressing
ENTER, using UP/DOWN to adjust selected field,
LEFT/RIGHT to move to the next field and ENTER
when done.
Press MODE button until MENU SELECTION
screen is displayed. Use the UP/DOWN buttons
until the MAIN SCREEN option is highlighted
yellow. Press ENTER.
Your Camera will now automatically take pictures
whenever an animal is detected in range -based on
the default settings below.
M-880 GameSpy Digital CameraPlotStalker Software Page 3
Page 14
PLOTSTALKER ACTIVITY SEARCH
B
ACTIVITY SEARCH
The Search Feature will scan through your photos and automatically
look for changes in regions that you identify in Setup.
In search mode, the PlotStalker software scans through the .mlt photo file, stops
on a photo when changes are found in your identified region, and then highlights
the changes in blue. You can click anywhere in the video viewing area to remove
the blue highlights.
ACTIVITY SEARCH SETUP
Click the Settings button to activate
the Region and Sensitivity settings
for the Activity Search
1
2
3
Click on the Set Motion Search Area Button.
Use the mouse to select and drag the red outline around the area you want to
search for movement. This allows you to focus on a very precise area if
required.
Click OK button on the Settings Popup window to confirm your settings and
exit the menu.
Set to High, Medium or Low - This sets the level of pixel change the program
will detect. Note; a pixel change will occur with a color, intensity, lighting or
movement so this setting is critical to obtain the desired results.
1
SENSITIVITY
Click on Default button to return to the default values for Search Area and
Sensitivity settings.
GPS Latitude - 000.000000 N
GPS Longitude - 000.000000 W
1
DEFAULT SETTINGS
DEFINE SEARCH REGION
Provides the ability to search for
changes in the photo in a specific
region rather than the entire photo.
Photo Delay after each photo is taken 5 SEC
Info Strip printed on photos
ON
GPS Longitude & Latitude:
000.000000 N / 000.000000 W
Delete All?
Default Setting
Security Code 00000
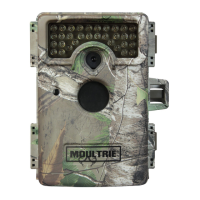
QUICK START INSTRUCTIONS
II
Slide the UNLOCK switch on the bottom of Camera and use the knob to pull the slide-out
Battery Tray. Install six (6) C-cell alkaline batteries with polarities as indicated in the
Battery Tray. Re-install the Battery Tray and insert your SD card.
Thread the provided Mounting Strap through the Eyelets on the back of the camera and
secure to a tree or pole approximately 36” from the ground as shown.
Turn Camera on by sliding ON/OFF/AIM switch to the ON position.
Press the MODE button one time to get to the Main Selection
Screen, select Setup. Set Time and Date by pressing ENTER,
using UP/DOWN to adjust selected eld, LEFT/RIGHT to move
to the next eld and ENTER when done.
Press MODE button until MENU SELECTION screen is
displayed. Use the UP/DOWN buttons until the MAIN
SCREEN option is highlighted yellow. Press ENTER.
Switch camera to ON.Your camera will now automatically
take pictures whenever an animal is detected in range,
based on the default settings below.
STEP 1
STEP 2
STEP 3
STEP 4
STEP 5
STEP 7
Switch camera to AIM. Aim camera using motion
detection to determine target area. Walk in front of the
camera at the desired distance and the camera LED will
ash showing the covered area.
STEP 6
ADVANCED INFORMATION
VI
Viewing Pictures on Computer via USB
1. Plug USB cable (sold separately) into the USB port on your Windows 7/Vista/XP computer.
2. Plug other end of USB cable into the camera’s USB port.
3. To access JPG pictures and AVI movie les, navigate to “My Computer” and double click the
“Moultrie CAM” drive. Picture les will be stored in theDCIM/100MFCAM directory; video les
are located in the DCIM directory.
4. To exit USB mode, follow Windows’ instructions for properly disconnecting a removable drive
and then unplug.
Information on Picture
The info strip below will appear at the bottom of the photo/video:
Photo Delay - (default 5 seconds) -The photo delay determines the number of
minutes between pictures when an animal is detected and remains in range.
To change the delay time, press the UP/DOWN buttons to highlight the desired
setting. Press the ENTER button to save the setting and return to the Camera Setup
Menu. Additional menu choices are available by hitting the UP/DOWN button
when the first/last option is highlighted. Photo Delays can be set to 5, 15 and
30 seconds, 1, 5, 10, 30 and 60 minutes.
PHOTO DELAY
5 SEC
Multi-Shot - (default OFF) - When the Game Spy Camera is configured for
TRAIL in the capture mode screen, the camera can take 2 shot standard or 3
Shot standard, 2 Shot Fast, 3 Shot Fast, and 4 Shot Fast each time an animal is
detected. There is an approximate 3-4 second delay between pictures when the 2
shot standard or 3 Shot standard setting is selected. When the 2 Shot Fast, 3 Shot
Fast, and 4 Shot setting is selected, the camera will take the selected amount of
photos within 1-2 seconds. To choose the desired setting press the ENTER button
to enter the Multi Shot settings. Press UP or DOWN to select the desired number
of photos. Then press ENTER again to return to the camera setup menu.
MULTI SHOT
OFF
Motion Freeze - (default ON) - This feature maximizes the image clarity during
night photos. When this feature is on the camera will use a maximum exposure
time of 1/20sec for the night photos. Other adjustments are made to increase the
brightness and clarity of the photo. When this feature is turned off the camera will
use a maximum exposure time of 1/8sec for the night photos.
MOTION FREEZE
ON
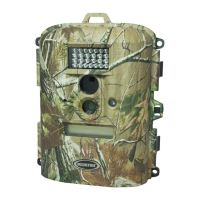
M-880 GameSpy Digital CameraM-880 GameSpy Digital Camera Page 11
Page 6
ADVANCED INFORMATION (cont.)
VI
INFORMATION ON PICTURE
The info strip below will appear at the bottom of the photo/video:
Temp. Moon Date Time Camera Name
Moon Phase
The icons for the moon phase are as follows:
75
o
F 01/01/13 12:00 AM MOULTRIECAM
Photo Delay - (default 1 minute) -The photo delay determines the number of
minutes between pictures when an animal is detected and remains in range.
To change the delay time, press the UP/DOWN buttons to highlight the desired
setting. Press the ENTER button to save the setting and return to the Camera Setup
Menu. Additional menu choices are available by hitting the UP/DOWN button
when the first/last option is highlighted. Photo Delays can be set to 5, 15 and
30 seconds, 1, 5, 10, 30 and 60 minutes.
PHOTO DELAY
1 MIN
Multi-Shot - (default OFF) - When the Game Spy Camera is configured for
TRAIL in the capture mode screen, the camera can take 2 shot standard or 3 Shot
standard, 2 Shot Fast, 3 Shot Fast, and 4 Shot Fast each time an animal is
detected. There is an approximate 3-4 second delay between pictures when the 2
shot standard or 3 Shot standard setting is selected. When the 2 Shot Fast, 3 Shot
Fast, and 4 Shot setting is selected, the camera will take the selected amount of
photos within 1-2 seconds. To choose the desired setting press the ENTER button
to enter the Multi Shot settings. Press UP or DOWN to select the desired number
of photos. Then press ENTER again to return to the camera setup menu.
MULTI SHOT
OFF
Motion Freeze - (default ON) - This feature maximizes the image clarity during
night photos. When this feature is on the camera will use a maximum exposure
time of 1/20sec for the night photos. Other adjustments are made to increase the
brightness and clarity of the photo. When this feature is turned off the camera will
use a maximum exposure time of 1/8sec for the night photos.
MOTION FREEZE
ON
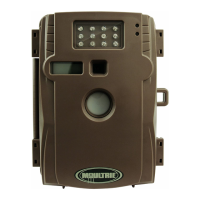
M-80XT GameSpy Digital CameraM-80XT GameSpy Digital Camera Page 11
Page 6
ADVANCED INFORMATION (cont.)
VI
INFORMATION ON PICTURE
The info strip below will appear at the bottom of the photo/video:
Temp. Moon Date Time Camera Name
Moon Phase
The icons for the moon phase are as follows:
0
New
Moon
1
Waxing
Crescet
2
First
Quarter
3
Waxing
Gibbons
4
Full
Moon
5
Waning
Gibbons
6
Last
Quarter
7
Waning
Crescet
Temperature Moon
Phase
Date Time Camera
Name
1
New
Moon
2
Waxing
Crescent
3
First
Quarter
4
Waxing
Gibbons
5
Full
Moon
6
Waning
Gibbons
7
Last
Quarter
8
Waning
Crescent
Moon Phase
The icons for the moon phase are as follows:
Page 10
P-150 Digital Game Camera
 Loading...