Secure the Auger kit to the mounting hardware from STEP 2 using
(1) at washer and (1) hex nut per bolt (3).
(10mm wrench)
77
Washer
Hex Nut
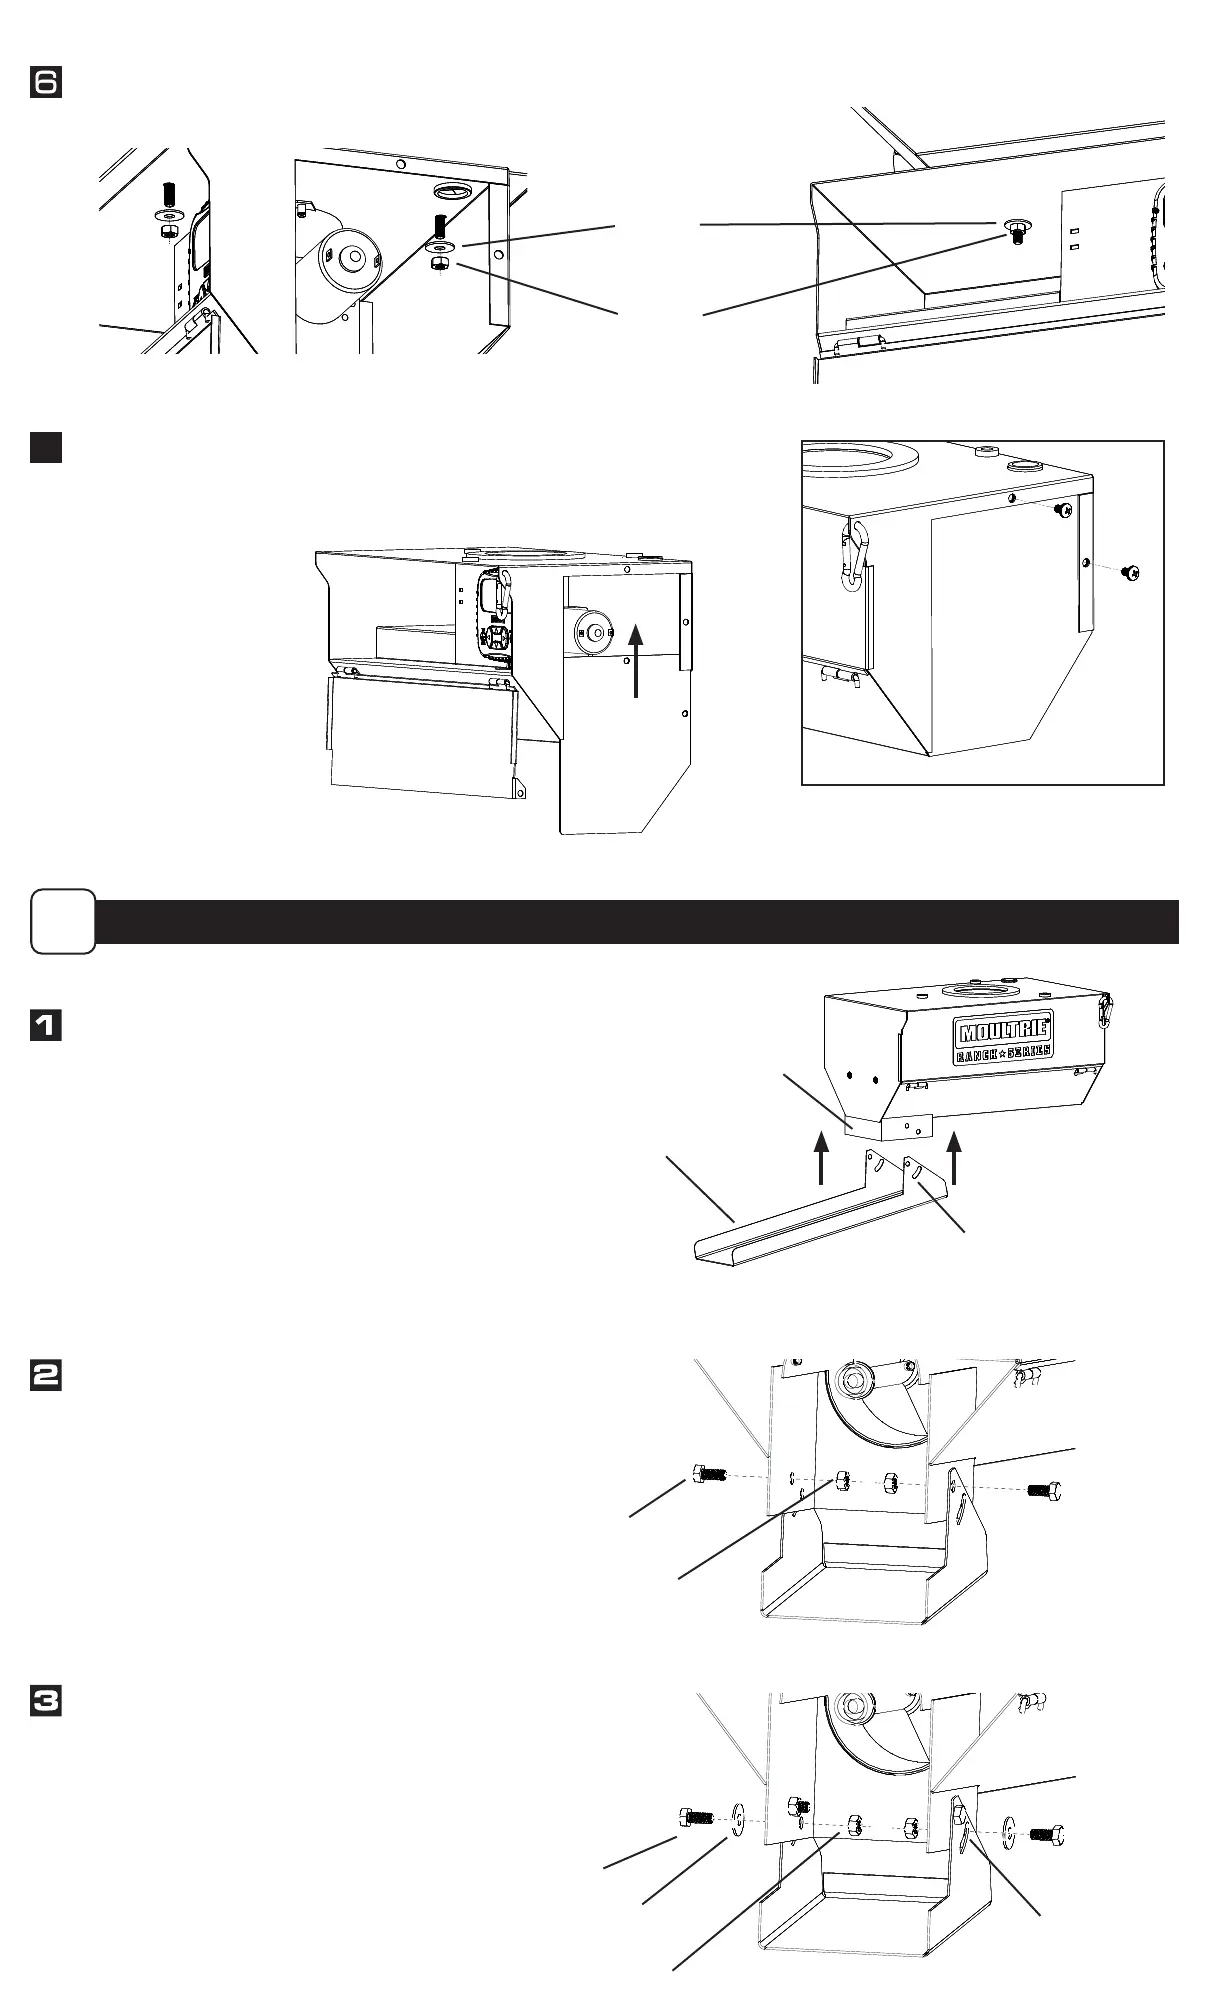
Re-install the access door by sliding it vertically back into its original location.
While holding the door in place, insert the screw on the right-hand side rst
to help align the top screw. Tighten both screws until they are snug, but
DO NOT OVER TIGHTEN or you will strip the threads.
Using the carabiner clip
you removed earlier,
close and secure the
main door of the
auger kit to get it
out of the way for
installing the
feed chute.
Insert
First
INSTALL FEED CHUTE AND BATTERY
B
Place the “feed chute” mounting anges over the
square outlet on the bottom of the auger kit, aligning
all 4 bolt holes.
Feed Chute
Square
Outlet
Mounting
Flange
From the outside of the auger kit, insert (1) bolt through
each of the (2) top holes in the feed chute. From the inside,
secure with a hand-tight hex nut.
Bolt
Nut
Following the same procedure from Step 2, insert (1) bolt
tted with a washer, through both feed chute adjustment slots.
Secure with a hand-tight hex nut.
Bolt
Nut
Washer
Adjustment
Slot
 Loading...