6 7
Installation Tutorial
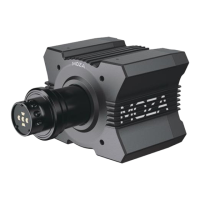
1. Fix the R9 base to the simulator bracket through the 4 screw holes at the bottom.
(Desktop clamping device will be provided later)
2. Insert the Type-B end of the power cable and the USB cable into the corresponding ports on the rear
of the R9 Wheel Base respectively, connect the other end of the power cable to the 220V power socket,
and connect the Type-A end of the USB cable to the PC.
3. Short press the power button on the rear of the R9 base (short press to power on, long press to power
off.
4. Download and install the MOZA Pit House software from the help center of the MOZA Racing ofcial
website (www.mozaracing.com).
5. For more information and teaching videos, please visit the ofcial website (www.mozaracing.com).
Precautions
· It is strictly forbidden to expose the device to rain and humidity to avoid re/electric shock.
· It is strictly prohibited to use the device in direct sunlight.
· Recommended indoor temperature: 15°C ~ 35°C *It is recommended that a single operation time
does not exceed 1 hour. If this limit is exceeded, it is recommended to take a break every 20
minutes.
· Excessive use may cause health risks, do not operate more than 2 hours a day.
· The device is not suitable for children under the age of 16, small accessories may pose a choking
hazard!
· Children under 16 must be accompanied by parents.
· It is strictly forbidden to disassemble the equipment by yourself, otherwise you will lose the
qualication of the warranty.
· The equipment must be connected with the factory-supplied power supply to ensure the safety of
electricity consumption and the protection of user rights and interests.
· In order to ensure related safety, parts repair or replacement can only be carried out by ofcially
authorized repair centers.
· Non-standard power supply is prohibited even if data such as related voltages match.
· Use only AC power provided by a standard wall outlet to avoid damage to the product.
· Do not expose the device to heat sources.
· Unplug the power cord of the device if it will not be used for a long time.
· If you nd any abnormality, please stop using it immediately and seek help from MOZA ofcial or
relevant authorized center.
· Please pay attention to MOZA ofcial website and public platform for the latest related product.
Thisproductuseislimitedtoactivitiesrelatedtosimulateddriving,please
distinguishbetweensimulatedgamesandrealitytoensuresafedriving.
Watchyourhands!
WearingRacingglovesisrecommandedtoprotectyour
hands,andprotectthesteeringwheelgrip.
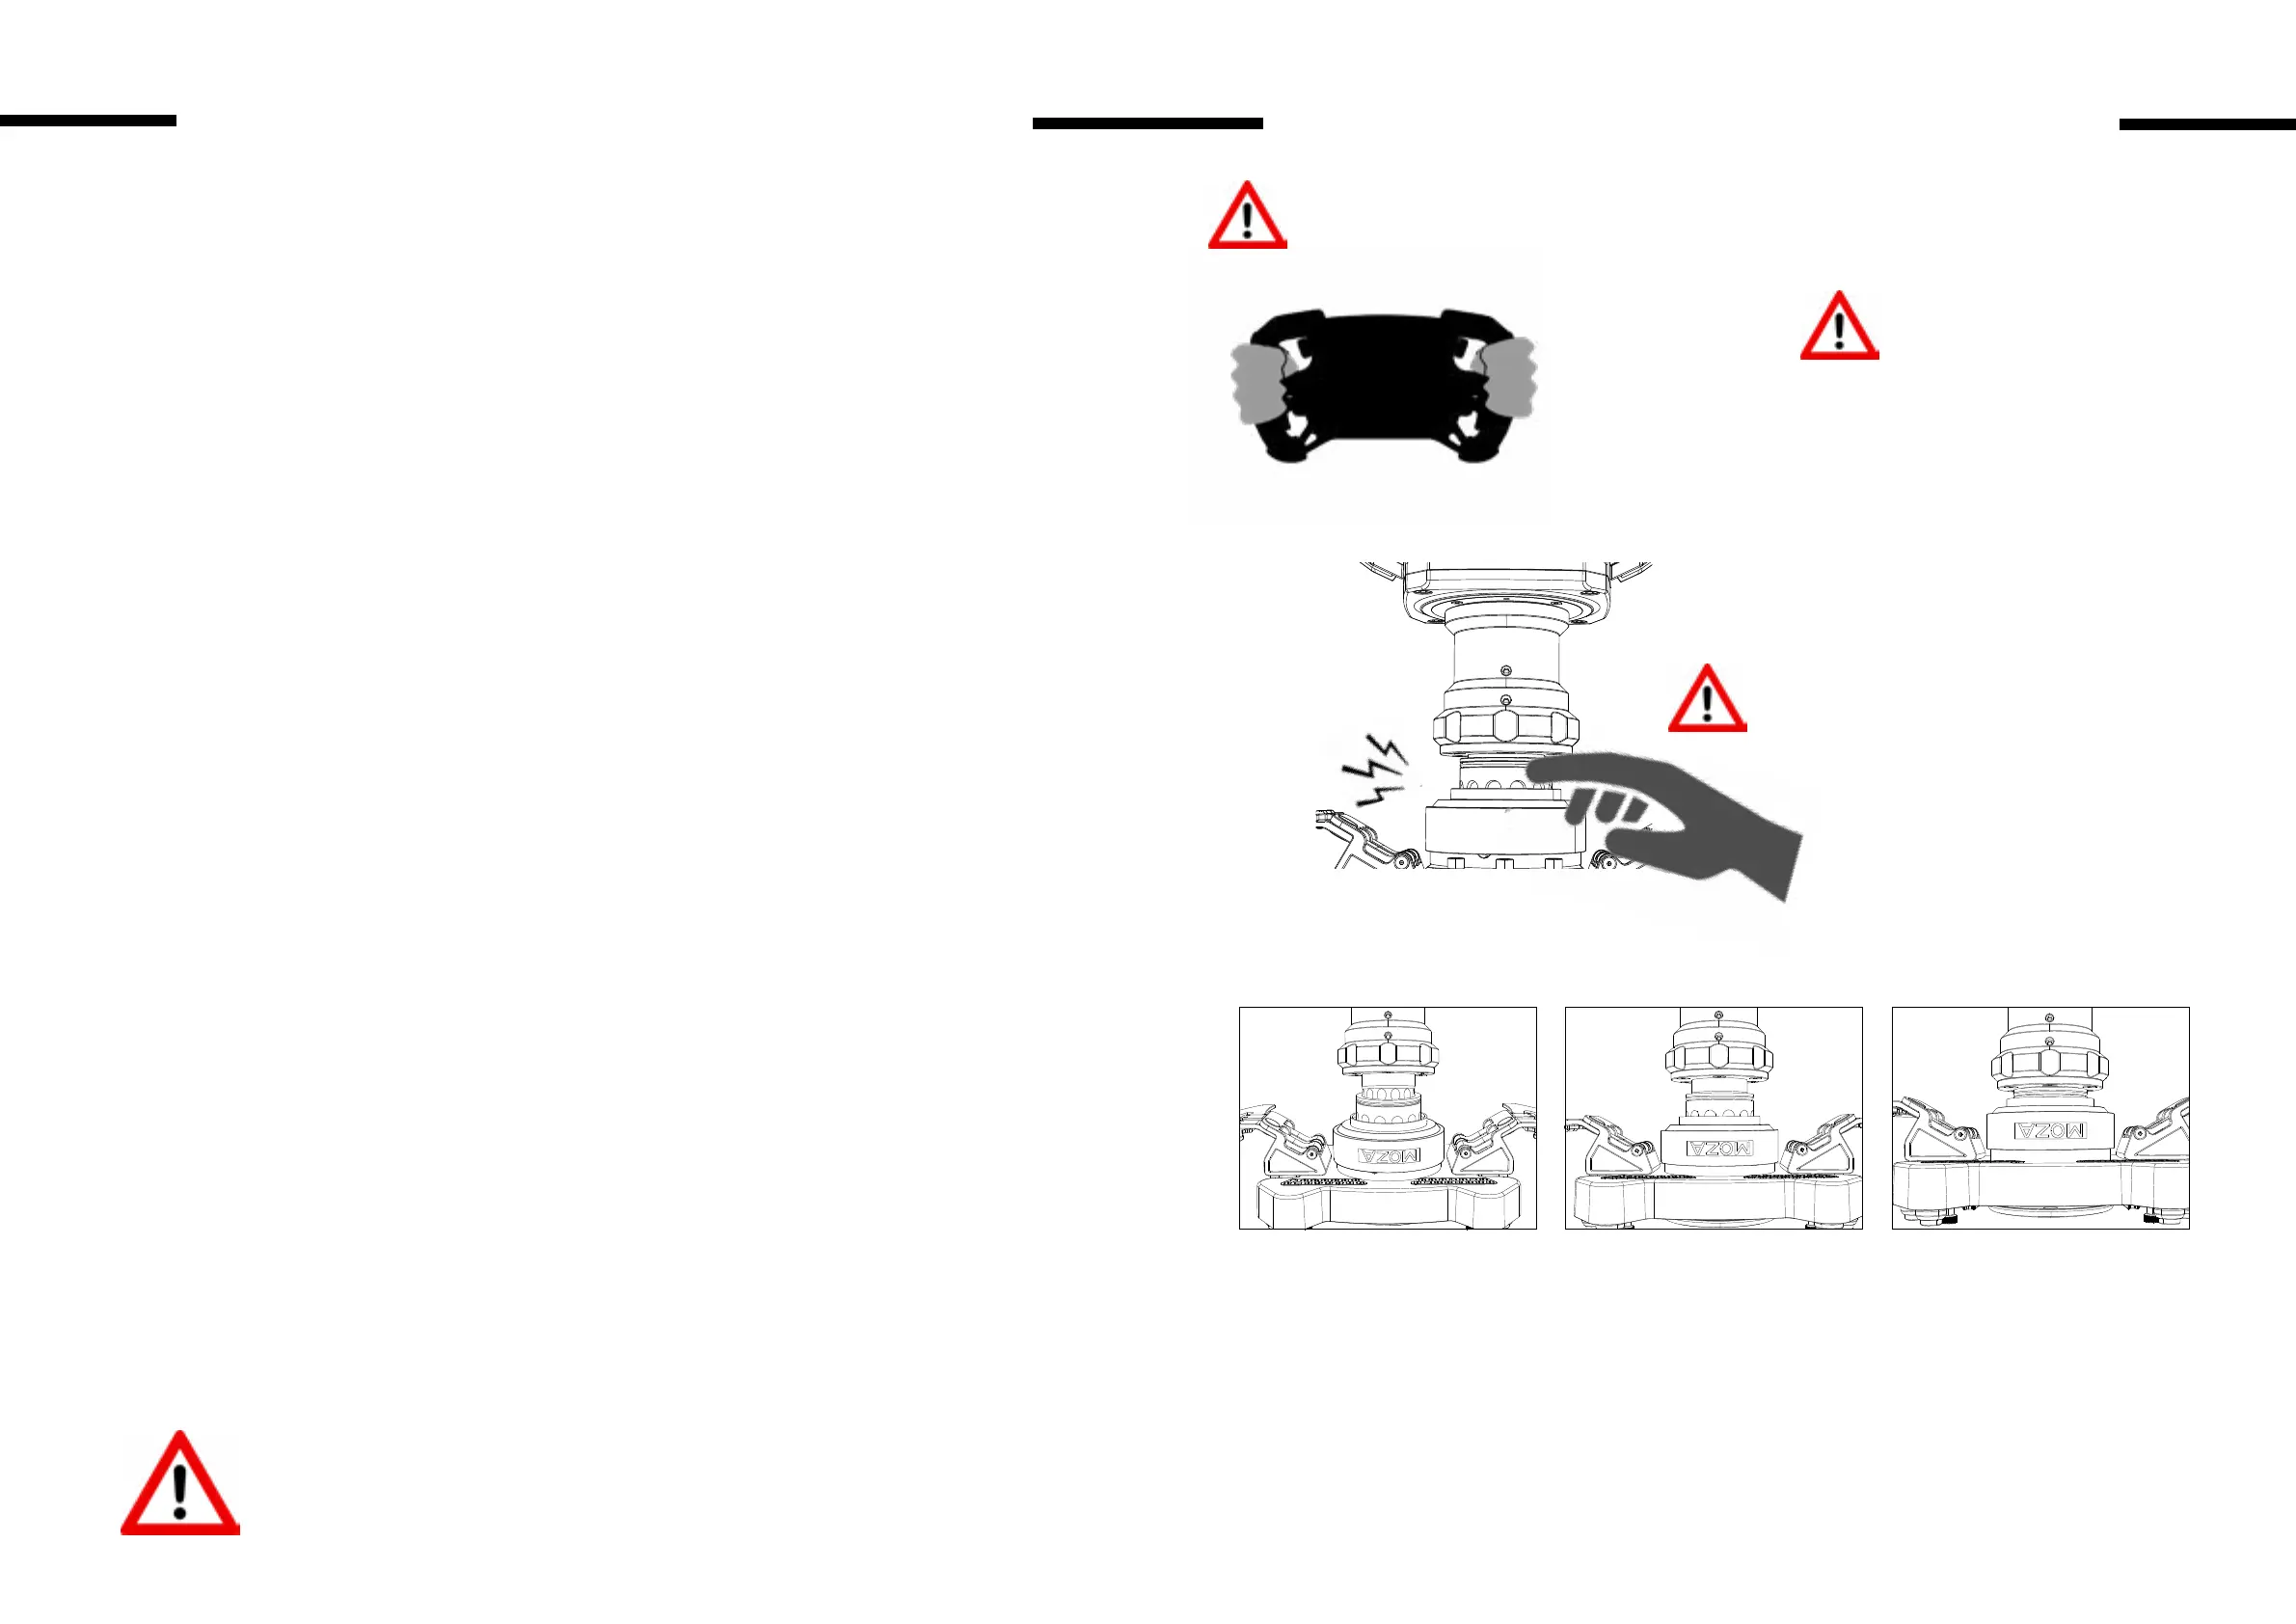
Warning !
×
Donotleaveyourngersbehind
whenlockingthequickrelease.
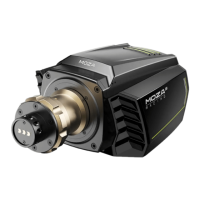
1. Match the position of the 6 steel balls on the female quick release head of the
stering wheel to the 6 grooves on the quick release male head of the base.
2. Press the quick release to the direction of the panel.
3. Quick release will automatically return to the position and lock, if there is no return,
you can try to rotate the panel slightly or remove it before installing.
4. If you need to remove the disk surface, pinch the golden part with both hands, and
pull out the disk surface at the same time
Steps of quick release

 Loading...