13
GB
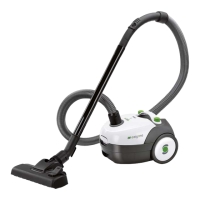
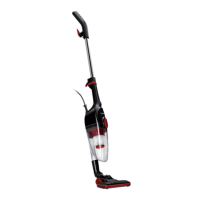
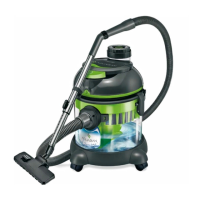
1. Remove the outlet filter
1!
from the vacuum cleaner by pressing the lock button on the filter
housing and then remove the filter cartridge from its housing.
2. Remove the motor filter
2!
To access the filter, raise the vacuum cleaner cover
t
and re-
move the dust bag
1@
. Remove the motor filter
2!
by lifting it upwards and then pull its
cartridge out of the housing.
3. Wash both filter cartridges under running and cool water. For thorough washing, add a small
amount of the detergent. Dry the filters thoroughly after washing.
4. Cartridges should be cleaned every month or more frequently (depending on the usage). If a
cartridge is too contaminated or damaged, replace it with a new one.
5. While mounting cartridges, pay special attention to the proper position of the cartridge in
the filter housing and the filter housing in the vacuum cleaner.
CAUTION: The filter cartridge being mounted must be completely dry. Mounting a wet filter may cause an
electric shock.
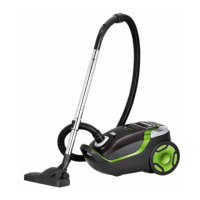
CLEANING AND MAINTENANCE
1. Periodically clean the vacuum cleaner housing and other external elements with a damp
cloth. This will allow maintaining good appearance of the appliance.
2. For this purpose, do not use sharp objects or any strong detergents (e.g. solvents), as this will
cause permanent damage to the vacuum cleaner housing.
3. For air filters and dust bag, follow the above instructions.
IN CASE OF FAILURE
Failure type: Possible causes: Instructions:
front cover not thoroughly closed
dust bag not attached or attached
improperly
attach the dust bag properly
vacuum cleaner housing overheating
a slight housing temperature increase is normal, but if the temperature increases
considerably, immediately turn off the vacuum cleaner and contact the service
low suction power
strongly contaminated filters clean or replace the filters
full dust bag replace the dust bag or empty the textile
bag
blocked hose or extension pipe remove all items blocking the hose or pipe