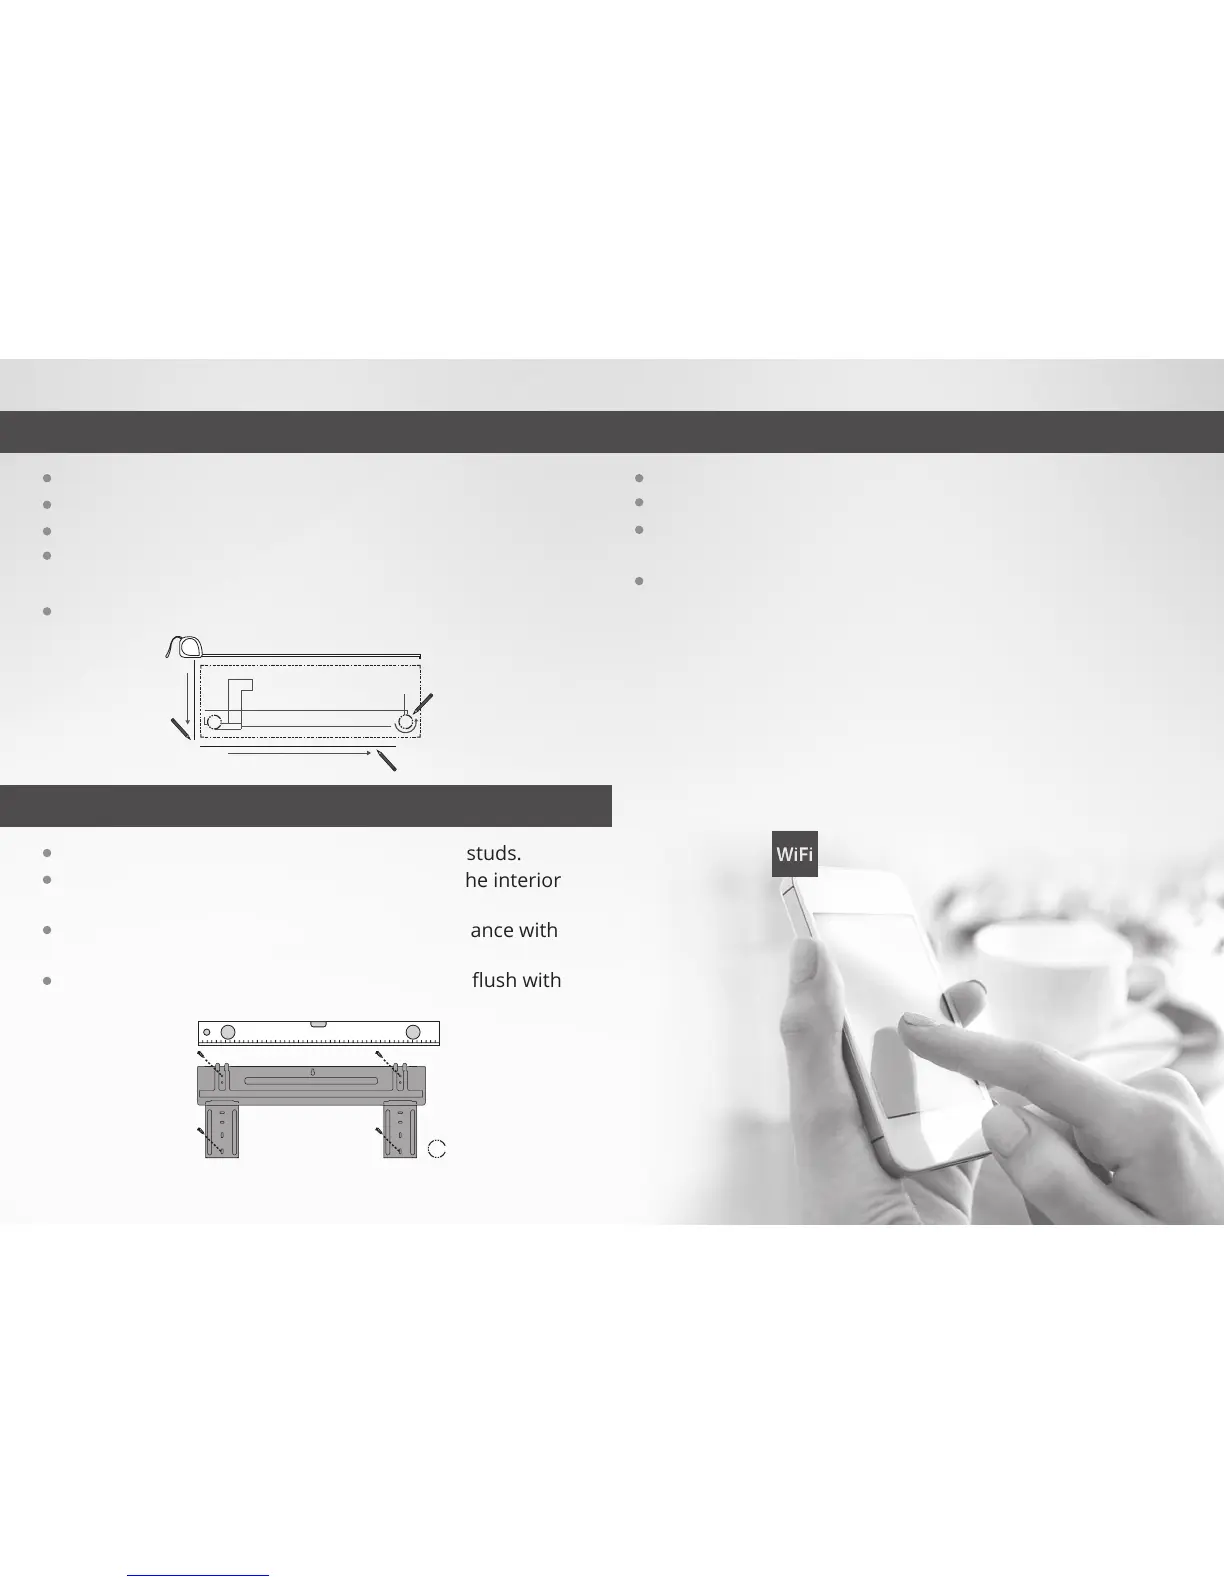
STEP 1
Locate the wall template.
Place the template on the wall at the installation location.
Leave sufficient space for the wall hole
Use the template to mark the indicated drill points and
wall hole site.
Remove the wall template.
STEP 2
Drill screw holes at the indicated points into studs.
Remove the metal bracket from the rear of the interior
air handler.
Screw the metal bracket to the wall in accordance with
the template outline.
Use a level and Ensure the mounting plate is flush with
the wall.
STEP 8
Place the provided batteries in the remote control.
Press the Power button on the remote control.
The MrCool DIY Series unit should activate
automatically.
If you wish to use your smartphone, refer to the
SMART CONTROLLER Manual, located in the SMART
CONTROLLER box for setting up WiFi control via the
MRCOOL app
Enjoy!

 Loading...