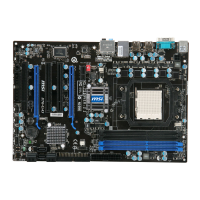
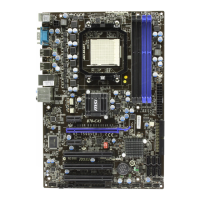
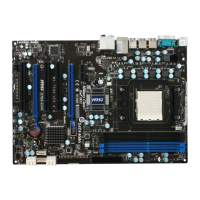
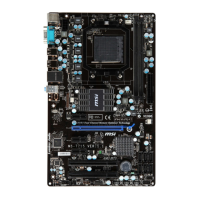
2-19
Hardware Setup
▍
MS-7599
button(optionaL)
The manboard provdes the followng buttons for you to set the computer’s functon.
Ths secton wll explan how to change your manboard’s functon through the use of
button.
OC Dal Button and OC Dal Knob: OC_GEAR1 & OC_DRIVE (op-
tonal)
The button and the knob are used to adjust the FSB.
OC Dal Knob: OC_DRIVEOC Dal Button: OC_GEAR1
You can use them to change FSB clock at any tme under the operatng system. Ths
method does not need to nstall software or reboot. Please follow the steps below to
ncrease or decrease the FSB clock.
Press the OC Dal button to start adjustment. The OC Dal LED (optonal) wll lght
to ndcate current operaton.
Turn the OC Dal knob clockwse/ant-clockwse to ncrease/decrease FSB clock.
You can set the value of OC Dal Step n BIOS.
Press the OC Dal button agan to complete adjustment. The OC Dal LED (optonal)
wll turn o automatcally.
Important
Before you use OC Dal functon to overclock the system. In order to ncrease the
success rate, you should set the voltage n BIOS properly.
After each of the adjustments, ths feature should be shut down. Otherwse, t would
aect the system performance. Therefore, when you complete the adjustment, check
whether OC Dal LED
(optonal)
s on or o, f OC Dal LED
(optonal)
s stll lt, press
the button and then check agan.
1.
2.
3.
•
•
 Loading...


