EasyManua.ls Logo

MSI AEGIS R 13th User Manual

MSI AEGIS R 13th
59 pages
To Next Page IconTo Next Page
Page #1 background imageLoading...
Page #1 background image
USB Type-C
Mini DisplayPort
DVI
HDMI
DisplayPort
Know Your Video Connectors
Step 1 REMOVE THE TEMPERED GLASS SIDE PANEL
Remove the four thumbscrews on the tempered glass side panel. And gently
remove the tempered glass panel away from the case and place it in a safe area.
Step 2 REMOVE THE FOAM PACKAGING
Carefully pull the foam packaging out the system. It should come out easily
without having to apply any force.
Step 3 INSPECT YOUR PC
Make sure all components and cables are seated firmly. Now, you can replace
the tempered glass side panel and secure with thumbscrews.
Step 4 CONNECT YOUR MONITOR
Connect your monitor to either display ports or HDMI ports on the graphics
cards.
Step 5 CONNECT WIFI ANTENNAE, KEYBOARD & MOUSE
Screw the Wi-Fi Antennae to the gold contact points on the rear of the case.
Plug the mouse and the keyboard into any of the USB ports.
Step 6 POWER ON YOUR DESKTOP
Plug the power cable into the power cable socket and plug the other end of
the power cable into a power outlet. Turn the power supply switch on by
having the “I” symbol on the switch pressed down. Press the power button.
If you have any further questions regarding your new computer, please do not hesitate to contact us either through the online customer service site
https://us.msi.com/support or by contacting our customer support at 1-626-271-1004, Monday to Friday from 9:00 a.m. to 6:00 p.m. Pacific Standard Time. You can
also contact technical support by calling 1-888-447-6564, Monday to Friday open 24 hours (Weekend and Public Holiday closed). We will reply to you as soon as possible.
IMPORTANT
PLEASE READ BEFORE TURNING ON THE DESKTOP
G52-BZ011X1-LAX
Scan for setup
video guides
Question and Answer IconNeed help?

Do you have a question about the MSI AEGIS R 13th and is the answer not in the manual?

MSI AEGIS R 13th Specifications

General IconGeneral
Operating SystemWindows 11 Home
LAN2.5G LAN
ChipsetIntel® Z790 Chipset
Cooling SystemAir Cooling
Rear I/OUSB 3.2 Gen 2 Type-C
WirelessWi-Fi 6E
Front I/OUSB 3.2 Gen 2 Type-C, USB 3.2 Gen 1 Type-A, Audio Jack

Summary

Initial System Setup

Prepare Case and Connect Peripherals

Remove side panel, foam, connect monitor, keyboard, mouse, Wi-Fi.

Power On Procedure

Connect power cable and initiate system startup.

System Specifications Overview

Core Component Specifications

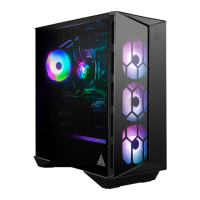
Fan controller, fans, case dimensions, motherboard, drive bays.

I/O, Cooling, and Connectivity Specifications

I/O panel, fan/radiator support, clearance, material, LAN, Wi-Fi.

Detailed Specifications: CPU, Memory, Expansion, Storage

CPU, Chipset, Memory, PCIe slots, M.2, SATA, RAID details.

Case Features and Access

Case Design and Features

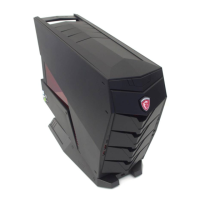
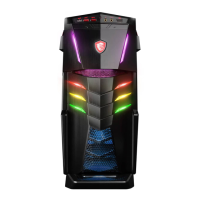
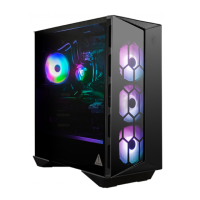
Visual representation of the case's features.

Accessing the PC Interior

Instructions for removing side covers.

Component Installation Guides

Storage, Motherboard, and Graphics Card Installation

Guides for installing SSD/HDD, Motherboard, and Graphics Card.

PSU, CPU, and RAM Installation

Guides for installing PSU, CPU, and DDR5 memory modules.

Connector and Cable Management

I/O Panel and Front Panel Connector Wiring

Identification of I/O ports and front panel header wiring.

Internal Cable Routing and Power Wiring

Diagram for SATA power, internal headers, and power connector wiring.

USB, SATA, and Specialized Connector Pinouts

Pinouts for SATA, USB, TPM, Parallel, Thunderbolt, Fan, RGB connectors.

System Management and Software

Special Features and System Diagnostics

MSI Center features, thermal, performance, DIY friendly options, EZ Debug LEDs.

BIOS Management and Configuration

Introduction to UEFI BIOS, mode checking, setup, and management.

Operating System and Driver Installation

Installing Windows OS and drivers using MSI utilities.
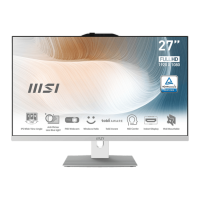
Related product manuals