26
Overview of Components
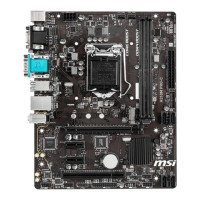
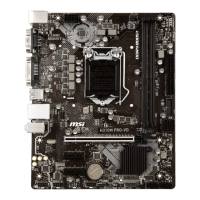
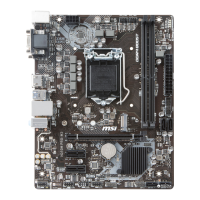
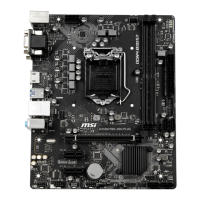
PCI_E1~7: PCIe Expansion Slots
PCI_E2: PCIe 2.0 x1 (PCH lanes)
PCI_E3: PCIe 2.0 x1 (PCH lanes)
PCI_E1: PCIe 3.0 x16 (CPU lanes)
PCI_E4: PCIe 2.0 x1 (PCH lanes)
PCI_E5: PCIe 2.0 x1 (PCH lanes)
PCI_E6: PCIe 2.0 x1 (PCH lanes)
PCI_E7: PCIe 2.0 x1 (PCH lanes)
Important
y
For a single PCIe x16 expansion card installation with optimum performance, using
the PCI_E1 slot is recommended.
y
When adding or removing expansion cards, always turn off the power supply and
unplug the power supply power cable from the power outlet. Read the expansion
card’s documentation to check for any necessary additional hardware or software
changes.
y
If you install a large and heavy graphics card, you need to use a tool such as
MSI Gaming Series Graphics Card Bolster to support its weight and to prevent
deformation of the slot.
SATA1~4: SATA 6Gb/s Connectors
These connectors are SATA 6Gb/s interface ports. Each connector can connect to one
SATA device.
Important
y
Please do not fold the SATA cable at a 90-degree angle. Data loss may result during
transmission otherwise.
y
SATA cables have identical plugs on either sides of the cable. However, it is
recommended that the flat connector be connected to the motherboard for space
saving purposes.
SATA1
SATA3
SATA2
SATA4

 Loading...
