All specifications and informations are subject to change without notice.
-2-
II.Installation Instructions
1.Accessories
Power cord
Signal cable
User manual
Base/Stand
Warranty card
(The above pictures are for illustration only and the physical accessories shall govern.)
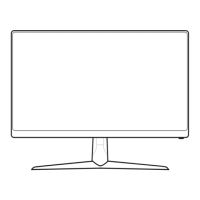
2. Angle Adjustment
2.1 The screen can be adjusted by
inclining f orward and backward;
however, the specific adjustment
depends on the specific model of
the dev i c e . Generally, i t may be
inclined 5 ± 2 °forward and 1 5 ±2°
backward.
2.2 When adjusting the angle of the
monitor, be sure not to touch or press
the area of the screen.
(The above pictures are for illustration only and the physical accessories shall govern.)
All specifications and informations are subject to change without notice.
-3-
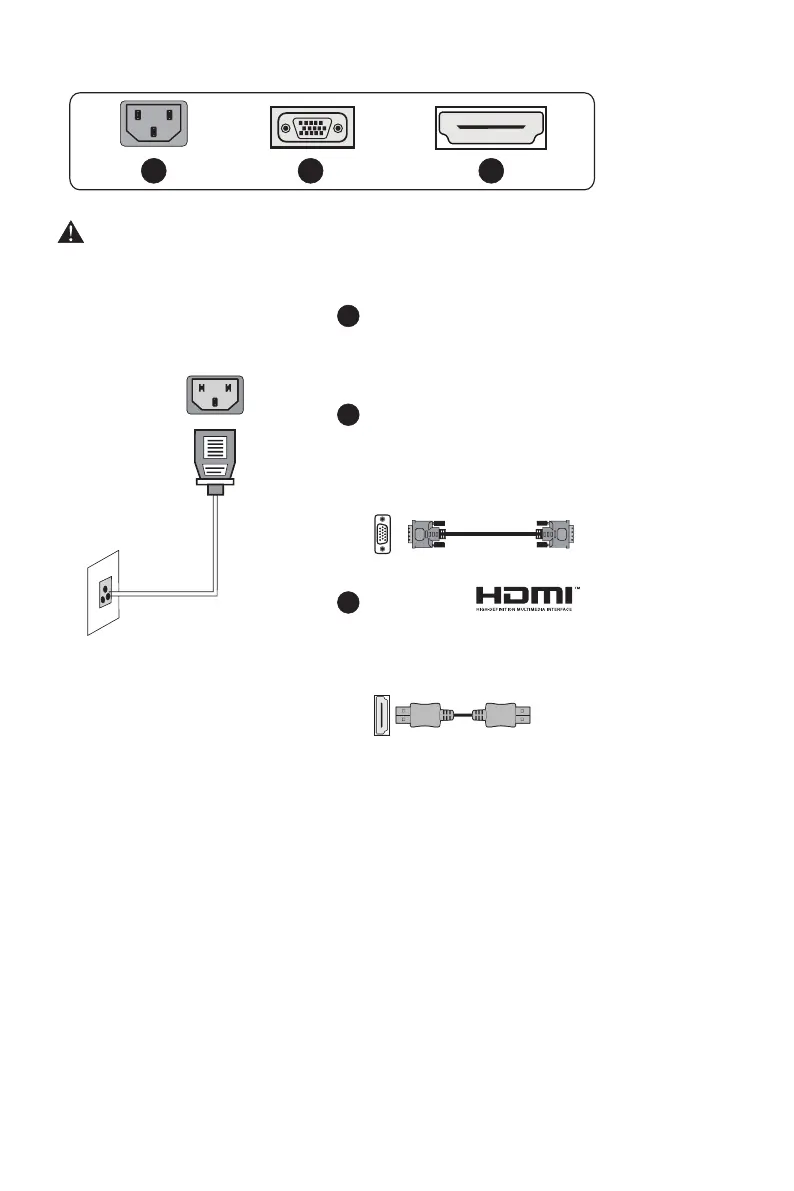
III. Connect the Monitor to PC
(The above pictures are for illustration only and the physical accessories shall govern.)
1
2
3
Before connecting the LCD monitor to the PC, please power down the PC and
the monitor.
Model with inbuilt power supply
* Warning: Always use the power
cord of standard configuration.
2
3
Power Plug
Connect the power cord of the monitor into
the POWER port in the back of the monitor.
VGA Port
Connect the VGA cable into the VGA IN port
in the back of the monitor (this needs the
support of the monitor).
HDMI Port
Connect the HDMI cable into the HDMI IN
port into the back of the monitor (this needs
the support of the monitor).
1

 Loading...