12 | Droit d’auteur Multi PSI. Toutes les informations contenues dans ce document sont sujettes à
modification sans préavis. Copyright Multi PSI. All information contained herein is subject to change
without notice.
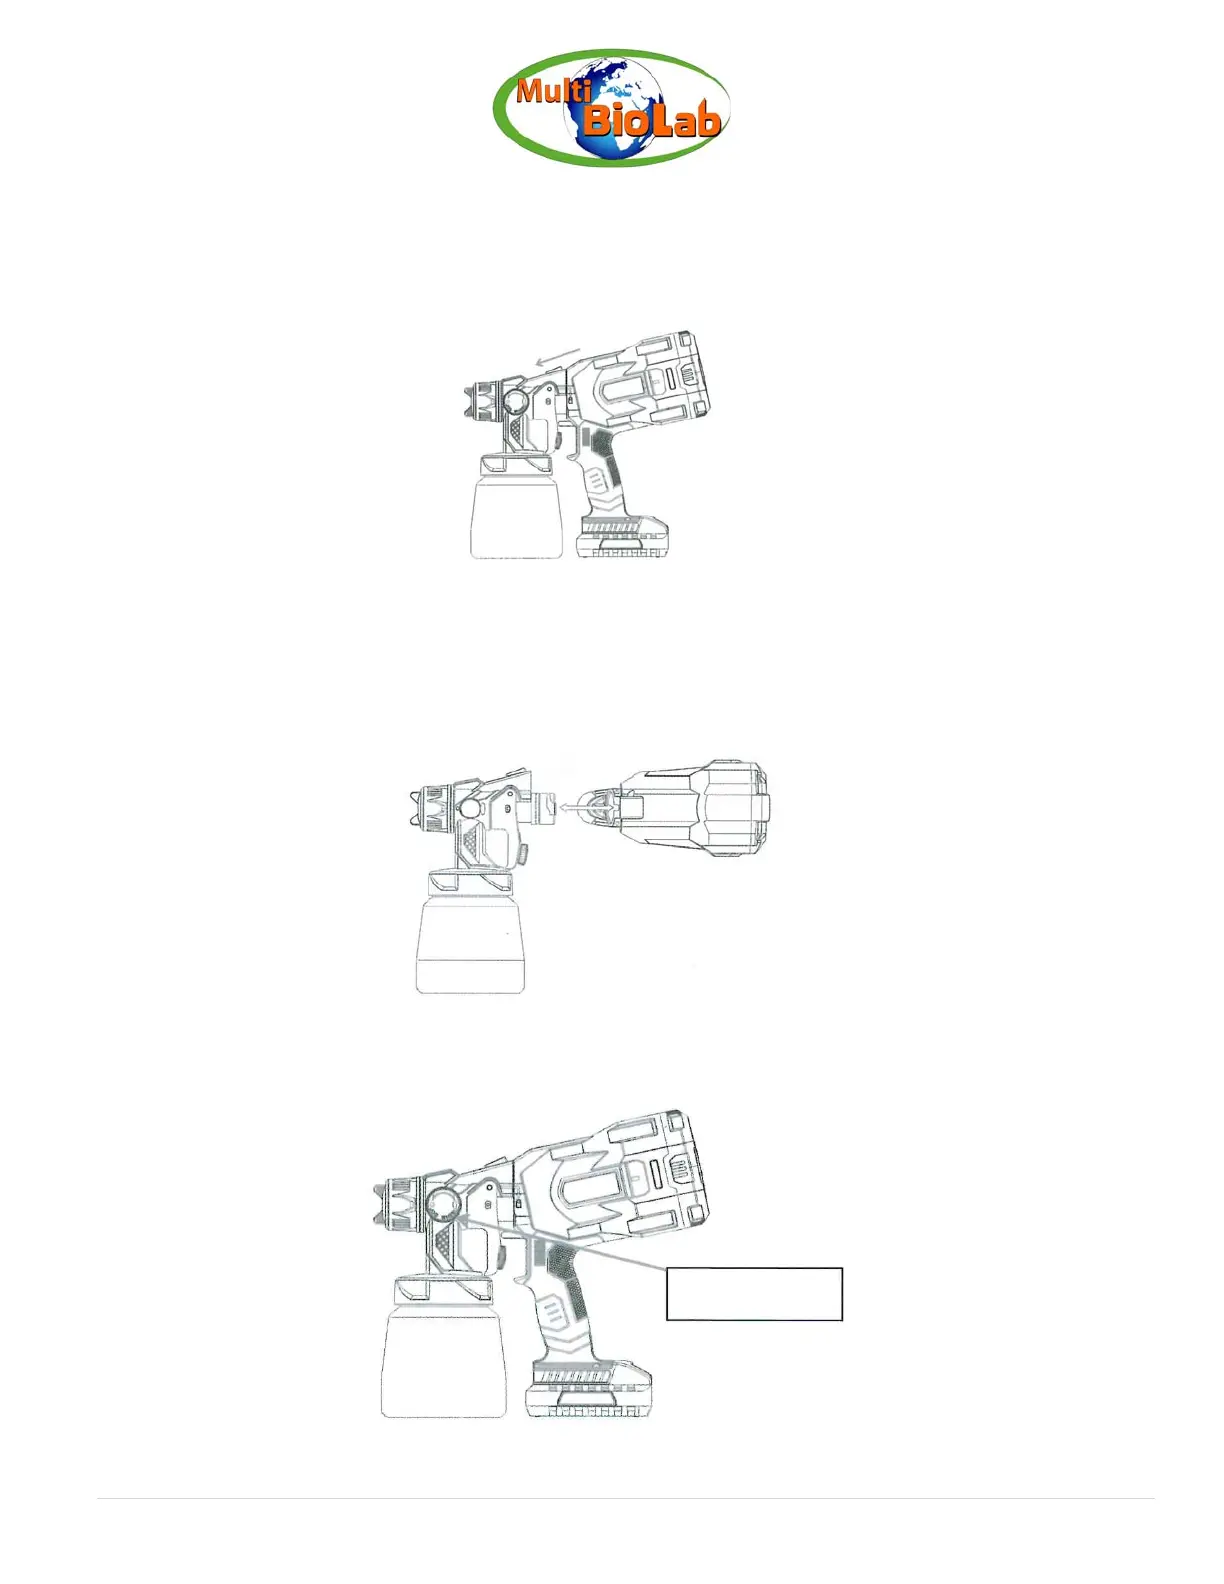
4. Remove the motor.
a. Hold the gun with your hand and press the latch in the direction of the arrow;
b. At the same time, hold the motor handle with your hand and rotate it counter clockwise 90º;
c. Pull out to remove the motor from the gun.
5. Connect gun body with motor.
a. Hold the gun with your hand to align the slot on the gun with the slot on the motor and insert it
(as shown in the figure);
b. Hold the motor handle with your hand, rotate the right hand clockwise 90º;
c. When the gun and host are parallel, it is locked.
6. Adjust the needle adjusting screw to meet your requirement.
a. Adjust the screw to left to decrease solution volume, lower solution thickness;
b. Adjust the screw to right to increase solution volume, increase solution thickness.
a)
Adjustion screw