18. Reinstall the ice bin securing the ice bin to the
condensate bowl using the four (4) screws.
Use caution not to damage the micro switch
push rod.
19. Remove the two (2) Phillips head screws that
secure the top rear panel to the units frame and
remove the top rear panel.
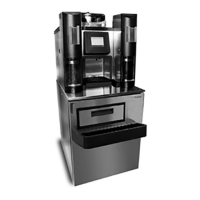
20. Locate the mounting bracket that houses the
power supply, relays, and SRB. Remove the two
(2) screws that secure the mounting bracket to
the units frame.
Slightly lift the bracket releasing the right side
hinge then carefully lower the bracket down
towards the lower refrigerated cabinet.
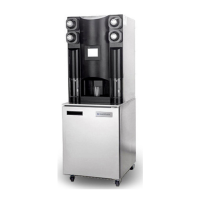
21. Mark the position of the shaver motor as currently
positioned within the motor mounting bracket.
Once the shaver belt is replaced the motor will
be returned or very near this same position
when tight.
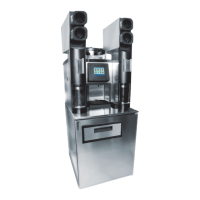
22. Locate the four (4) hex head bolts that secure the
shaver motor to the motor mounting bracket.
Completely remove one of the bolts that secure
the Hall Effect sensor mounting bracket to the
motor mounting bracket. Loosen the remaining
three (3) hex head bolts.
Swing the Hall Effect mounting bracket to the
side allowing room for easy removal of the
shaver belt.
23. Remove the existing shaver belt.
Multiplex
2100 Future Drive
Sellersburg, IN 47172
Phone: 844-724-2273
Fax: 920-683-7592
Page 7 of 13
2020 Tune Up, continued
 Loading...