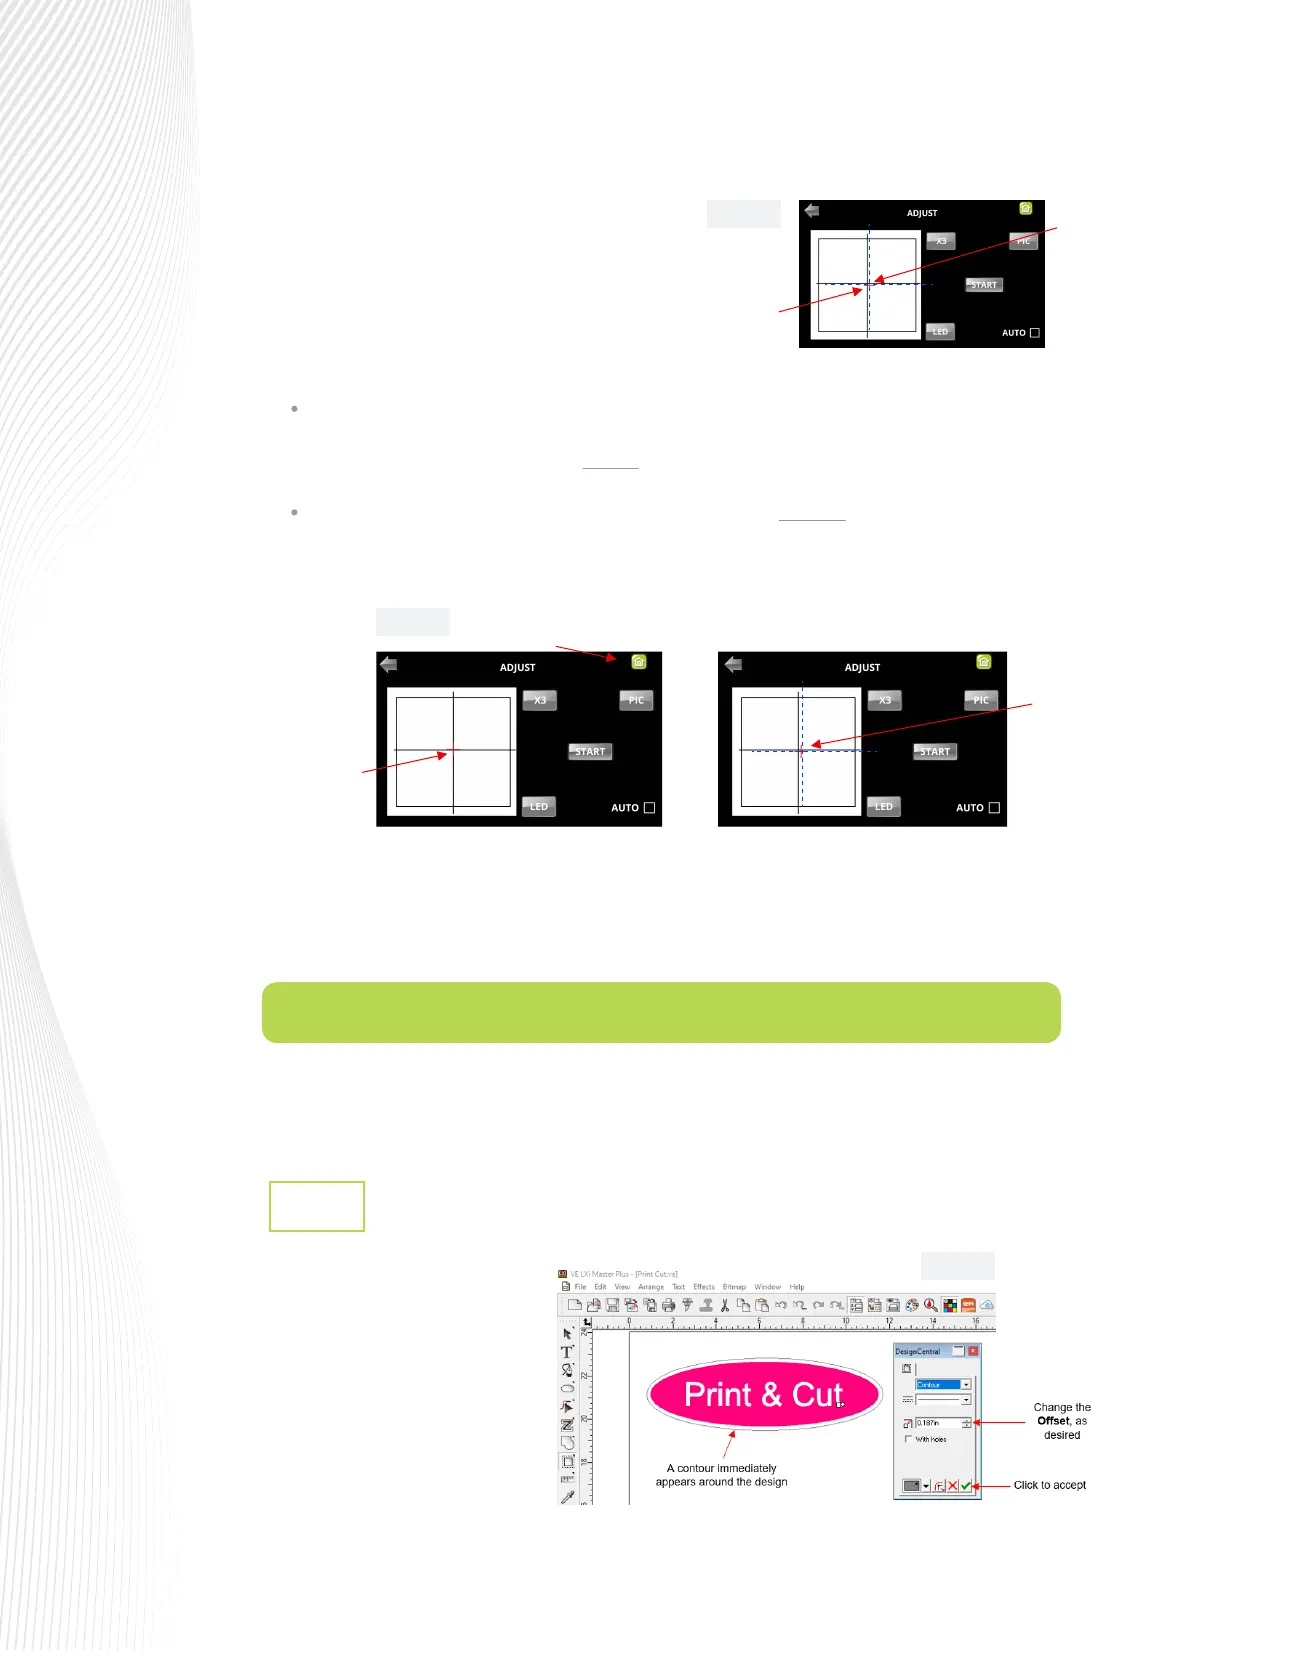
Adding a Contour Cut to a Design
3.2.1
Design or import the image
which will be printed.
To add a contour path for cutting,
select the design and go to
Eects>Contour Cut. This will
open the Contour Cut dialog in
the Design Central toolbox and a
contour cut should appear:
10.
11.
Tap your nger near the middle of the
drawn test shape on the screen. This will
move the red + close to that location.
Press OK. A new photo will be taken and
one of two things will happen:
12.
Once the alignment is in place, press the HOME button and then press STOP on the MAIN SCREEN to save
the calibration and conclude the process:
This section presents the desktop print-and-cut workow which requires LXi Master or Master Plus. If you
use LXi RIP, please refer to Section 3.3.
The red + is so close to the center that the Muse’s camera will now take over and nd the true center on
its own. You will see the red + and the blue dashed + aligned in the center and the arrows (only) will
return to their blue color. Refer to the left side of the next screenshot.
The red + and the blue dashed + are still not aligned. Refer to the right side of the next screenshot. You
will need to tap the center again and press OK. Continue, if needed, until the center is identied
automatically.
3.2 Contour Cutting with Vinyl Express LXi 19
Fig. 3.2.1
Fig. 3.1.4
Fig. 3.1.3
Blue dashed + is also much
closer to the middle of the
test shape
Everything is
aligned with
the center
Not quite aligned
– tap center again
versus
Press Home
Red + is now much
closer to the middle
of the test shape
 Loading...