1.
2.
3.
Import or design the project. To create a contour cut line use the
same procedure from Section 3.2.1. In this example the following
design has a negative contour Oset added:
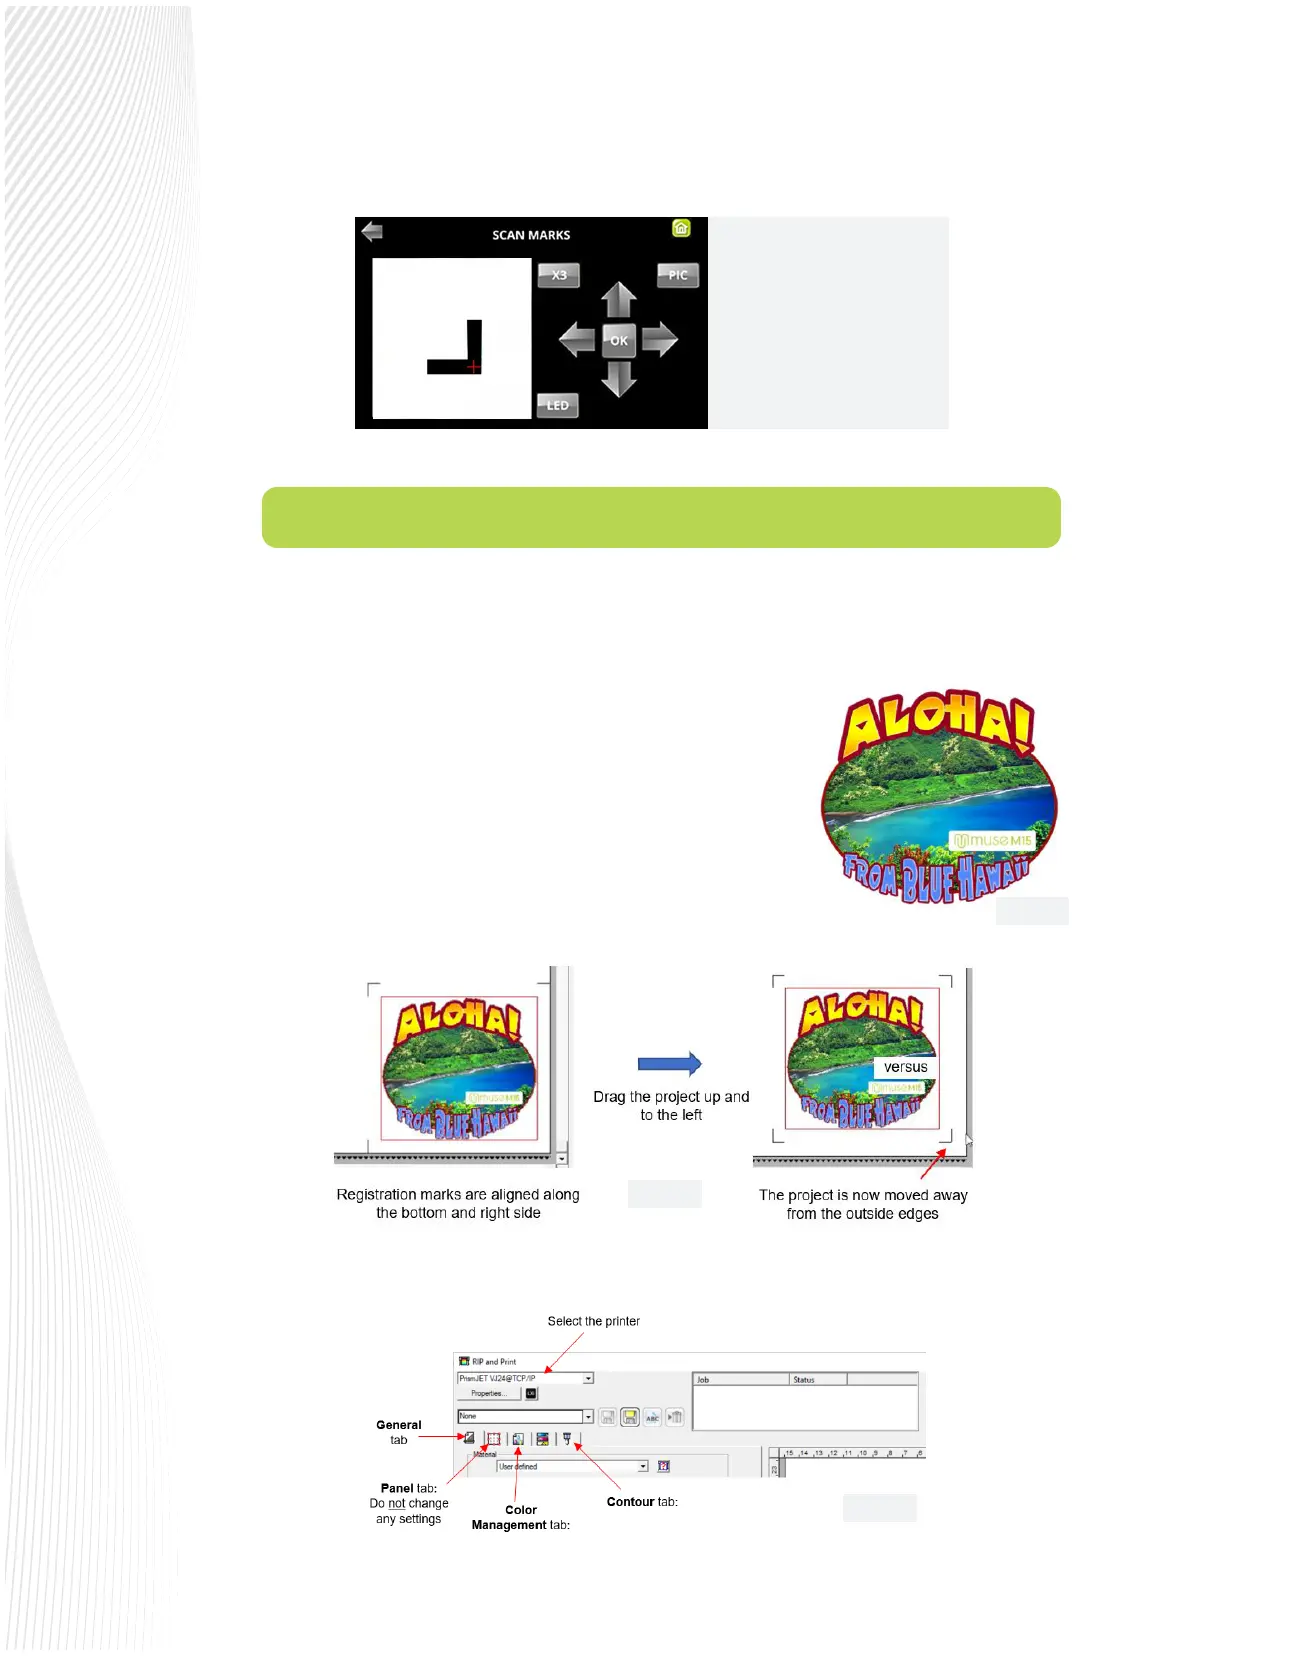
Click on the RIP and Print icon to open the RIP and Print window, as
well as Production Manager. You’ll observe the design aligned in the
lower right corner of the preview. Select the design and move it
away from the corner. Otherwise, when the camera moves to
photograph the rst registration mark, it could send the cutting head
out of range on the right side of the MUSE:
Note the following in the RIP and Print window:
3.3 Contour Cutting with Vinyl Express LXi RIP Design
The RIP Design license allows use of large format printing (with the drivers for the large format printers
included) as well as color management tools. The following steps present a typical workow:
When the cut job is sent, the
Muse activates its camera and
begins scanning the marks. Each
mark is displayed on the LCD
control panel in real time as it’s
scanned.
Fig. 3.2.9
Fig. 3.3.1
Fig. 3.3.2
Fig. 3.3.3
 Loading...