ww.harpkit.com 3
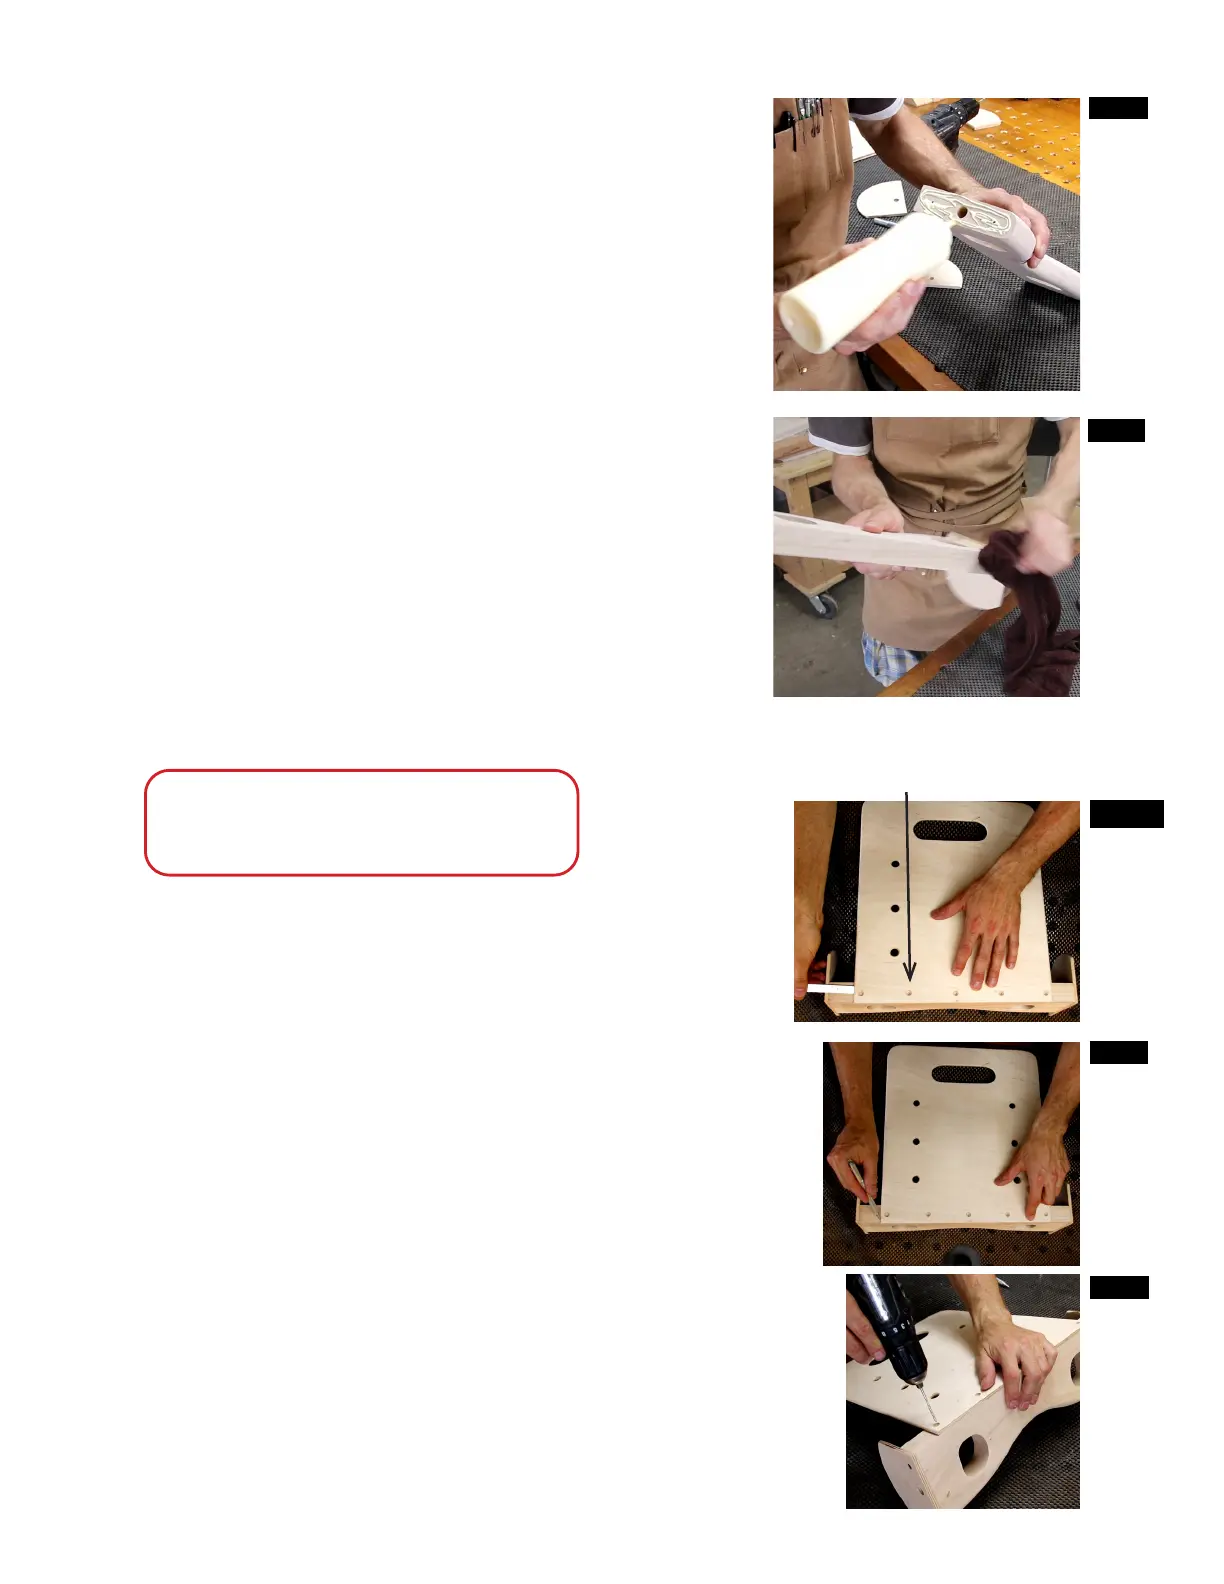
____3. Apply wood glue to the end of the axle. (fig. 3A)
Once again, use the 1/2” bolt to line up the fender
and the axle.
Partially thread the 1” wood screws into the pilot
holes. Use a drill to drive the screws in until they
are snug the glue squeezes out.
Clean up the glue with a wet rag and a putty
knife. (fig. 3B)
Repeat the process for the opposite fender.
____4. Be sure to orient the paddle correctly. The fend-
ers should face the same direction as the paddle.
(fig. 4A) Be sure the bottom of the paddle is flush
with the axle.
Center the paddle with the countersunk holes
facing upward. (fig. 4A) There should be about
1” space between the paddle and the fender on
either side.
Mark your edges with a pencil to be sure nothing
gets bumped out of place. (fig. 4B)
Drill 7/64” pilot holes, starting with either end.
Thread 1” wood screws into place. This will hold
the paddle in place while you drill the other pilot
holes. (fig. 4C)
ATTACHING THE PADDLE
p
Using a vice can be helpful to hold the
axle while attaching the paddle.
FIG. 3A
FIG. 3B
FIG. 4A
Countersunk holes facing upward
FIG. 4C
FIG. 4B